Build a 400 series WW2 Fighter for less than $20

Ask other modelers for a little help / knowledge ?

Re: Build a 400 series WW2 Fighter for less than $20

Postby Mitch » Tue Aug 14, 2012 10:55 pm

That's a VERY good question, and I am glad you asked.

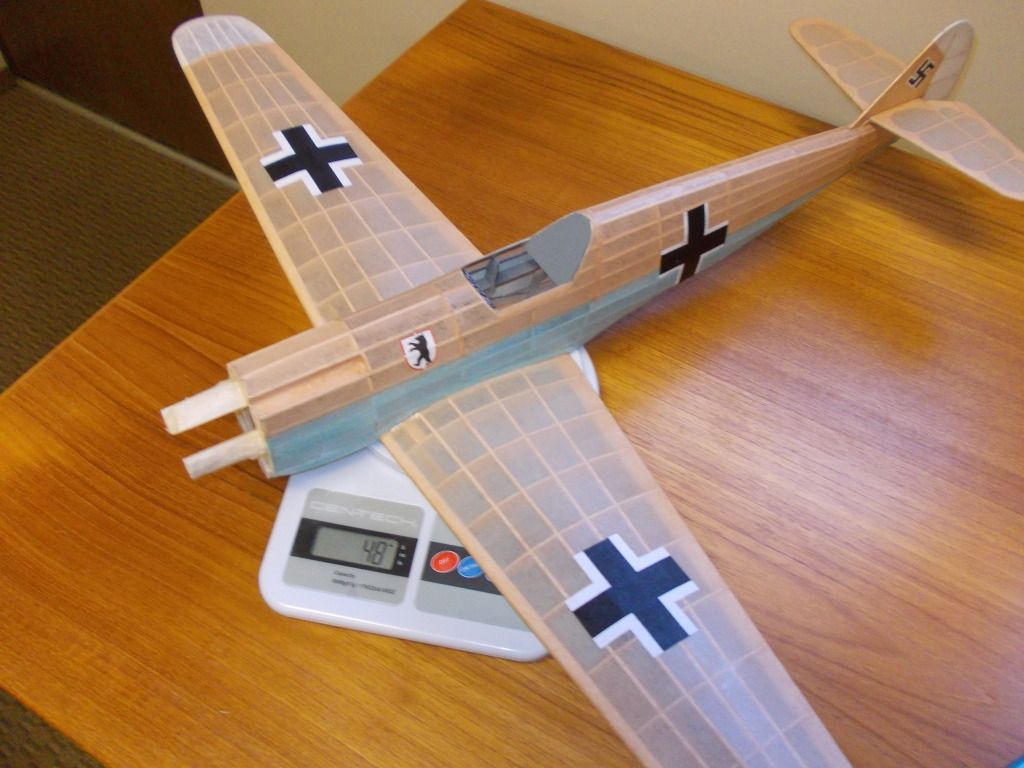
I was just doing some boring work... Nose supports added, instrument panel install, canopy work, starting to make insignia...

I have a further question... How am I doing in this second generation 109.

I took the cowling off Emil (That's where the ballast is) He weights 52g empty.

Fred is on the same level now, nose supports installed. But NO DOPE... drum roll pleaese.............................................

Fred now weighs in at 40g! :D So I just have to stay under 12g of dope and markings! I think that can be done!

Good Night, Mitch

PS. I just weighed the Guillows Catalog and it weighs 30g... just curious, 12g is not much more weight I also have a few detail bits to add, but hope they should not amount to much. Also I think the unballasted Fredrich will be closer to balance than Emil, thus requiring LESS ballast... Now I'm growing concerned... Oh Well, I'm not going to loose any sleep over it.
Mitch
 
Posts: 1347
Joined: Mon Aug 22, 2011 9:16 pm
Location: Kent, WA

Re: Build a 400 series WW2 Fighter for less than $20

Postby karolenaz » Wed Aug 15, 2012 3:45 am

Very good job :) You're profesional :)
karolenaz
 
Posts: 17
Joined: Wed Jul 11, 2012 2:32 pm

Re: Build a 400 series WW2 Fighter for less than $20

Postby Mitch » Wed Aug 15, 2012 7:36 am

Thank You, I suppose I will aways be my own worst critic.

I just remembered Fred has more wing area. The Guillows Plans say 6 sq. in. increase, even with my rounded wingtips I should have 5 more sq. in. in Fred.

I also wanted to show you can build these models fairly cheaply and quickly.
Here's a review of how these models were built...

Bf 109 E (Emil): Model built as per plan, sanded ALL parts. Opened up B frames AFTER model built. Sanded Tail C and D to 1/2 thickness. 3 colors of LITE tissue. Guillow Decals, increased peg length (for more rubber).

Bf 109 F (Fredrich): Custom Wing 1/32 hand cut ribs and all new LE 1/4 and TE 1/16 E parts, increase wing length, round wingtips. Opened up B frames BEFORE model built. Removed material from INSIDE C and D parts after tail assembled. Tail remained desired thickness and still reduced weight. 3 colors of LITE tissue. Custom Markings, decreased peg length (for better CG).

Future Project, Bf 109G (Gernot): Custom Wing as before but with NACA profile, square wingtips. Include wing fairings. Open up B frames BEFORE model built. Custom made tail with laminated 1/32 balsa. 2 colors of LITE tissue. Custom Markings. Peg position TBA

Last Planned Project Bf 109K (Karl): as per G model, with following changes. NACA profile wing, modified with reduced thickness. Custom NEW improved streamlined cowling made from balsa with different propeller spinner, modified tail, other improvements and markings TBA.

I also wanted to help people build MORE models. I myself would not want to build this many of the same model if I had to pay 50 + dollars at the hobby shop, but if I can get parts from Guillows and build 3 more 109's for under 50 dollars... I think that's a deal. Also I think my learning is improved when I build the same model and continue to strive to make it BETTER.

Mitch
Mitch
 
Posts: 1347
Joined: Mon Aug 22, 2011 9:16 pm
Location: Kent, WA

Re: Build a 400 series WW2 Fighter for less than $20

Postby Wildpig » Wed Aug 15, 2012 8:46 am

Mitch wrote:I have a further question... How am I doing in this second generation 109.

I took the cowling off Emil (That's where the ballast is) He weights 52g empty.

Fred is on the same level now, nose supports installed. But NO DOPE... drum roll pleaese.............................................

Fred now weighs in at 40g! :D So I just have to stay under 12g of dope and markings! I think that can be done!


A 23% reduction in empty weight. Excellent.

-Weights Department
Wildpig
 
Posts: 529
Joined: Thu Jan 26, 2012 9:41 am

Re: Build a 400 series WW2 Fighter for less than $20

Postby Mitch » Wed Aug 15, 2012 11:40 am

Thank You, Thank you, thank you...

Before we all celebrate. I decided to attach the Main Assemblies at this stage. My method is I lay down a generous (but careful) amount of white glue on wing and fuselage at all 3 contact areas. (3 rib lines, LE and TE) Let dry. Reapply to fill in any gaps I find. Reapply a third time and smooth finish bead line with Q-Tip. I will glue on tail when wing is secure. I will be curious to see if she gains any measurable weight with all this glue.

At that point I will check CG on both models for comparison. Note: I used some hand selected balsa stringers on Fredrich also. The ones on top that are broken by cockpit. Guillows in front (Heavy and strong) Hand select in back towards tail (Very light and not so strong). All other stringer that run the length in Fuselage and Wing were balanced (Heavy toward front and center).

I did everything I know of to lighten the empty wt of this new production Improved Guillows Kit! :D

So there will be 3 glue sessions today, so doping might not start until tomorrow. Building any kit takes PATIENCE.

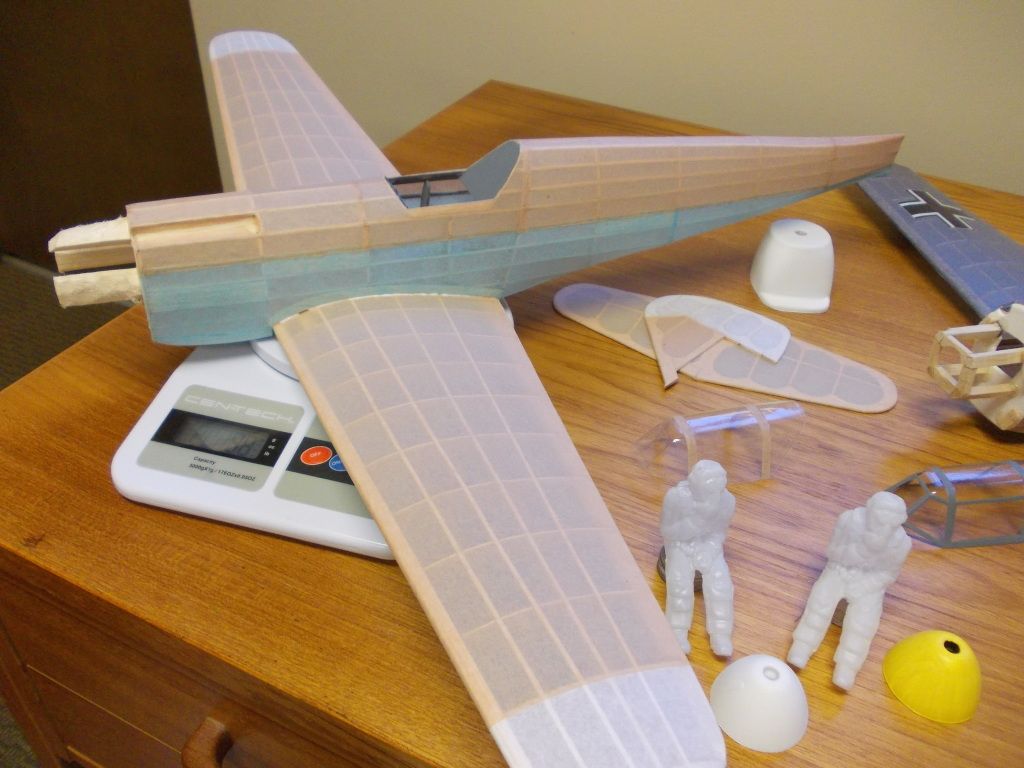
Here's Willi and Hans sitting at the factory, while the 109F gets a wing... My next job will be to rework these pilots and paint. ALL my 1/16 fighters have room in the cockpits for there pilots. I plan to order some more pilots from Guillows also. Not a bad deal at 2 dollars a piece. I think they have potential! (Rember another hobby of mine is painting Military Figures)

Image

Also, I decided to "paint" the canopy with strips of paper as the paint from the rattle can would not be a perfect match :!:

Mitch

PS So far no wt gain, the model is on the scale at 38g and the tail is 2g. :D
Mitch
 
Posts: 1347
Joined: Mon Aug 22, 2011 9:16 pm
Location: Kent, WA

Re: Build a 400 series WW2 Fighter for less than $20

Postby Mitch » Wed Aug 15, 2012 10:40 pm

Okay Guys,

I didn't forget you all... was busy with other things... I know "What's more important than working on my Guillows Kit?"

Anyway the first coat of glue set up so nice. This NEW Formula white glue is really good in my book. ELmer's Glue-All.

I decided to glue up the tail and it is now braced up and setting as I write. I'll wait 20 minutes and at 9 pm, check the plane.

Emil's CG is 3 inches AFT of Balance point without ballast. At 9 pm I will check Fredrich for the first time and update with results...

Mitch

UPDATE: Okay Fredrich's CG looks to be in approximately the same place as Emil's. I added one more bead of glue at the wing root, and I think that will be enough. Fredrich is just tipping the scale now at 41g, sometimes showing 40, sometimes 41. I will put on one coat off dope tomorrow AM and weigh again. The insignia will go on in the second coat. I plan to have 3 coats of dope as I feel that is when this paper will really shine and the insignia will be under 2 layers. Emil will also get a coat on the repaired wing and the port rudder where the decal feel off and new decals will be apllied.
Mitch
 
Posts: 1347
Joined: Mon Aug 22, 2011 9:16 pm
Location: Kent, WA

Re: Build a 400 series WW2 Fighter for less than $20

Postby Pauli72 » Thu Aug 16, 2012 5:50 am

Friedrich is looking great Mitch. 8) Even without the yellow tissue accent on the airframe. Just a couple questions.

1. What dihedral angle did you put on the wings? I seem to recall from my Guillow's 109 that there were 3 options. I'm guessing you went with the FF recommendation, but with the extra wing span length, I was just wondering if you changed that angle...

2 What brand & type of dope are you using. Guessing a nitrate of some type to dry quickly.

3. Just wondering if you could weigh Friedrich both pre & post dope. Curious what he'll gain from that with each successive layer.

I've really been enjoying these frequent posts. Look forward to some awsome flight photos & performance results. Now cue the Hogan's Heros theme music...lol
Keep up the great work.
Pauli
Pauli72
 
Posts: 127
Joined: Fri Dec 16, 2011 9:36 am
Location: Wisconsin

Re: Build a 400 series WW2 Fighter for less than $20

Postby Mitch » Thu Aug 16, 2012 9:08 am

Thank You,

You mean you want me to look at the Directions? Would you believe I built this model and the only time I looked at the directions was at my last step of covering the fuselage...and I didn't follow it then either...

Let's see... I got to find the directions... I know there somewhere... I'm not going to read though it all now. I'll look at the plan, as you say they sometimes they give choices, but I only see one option.

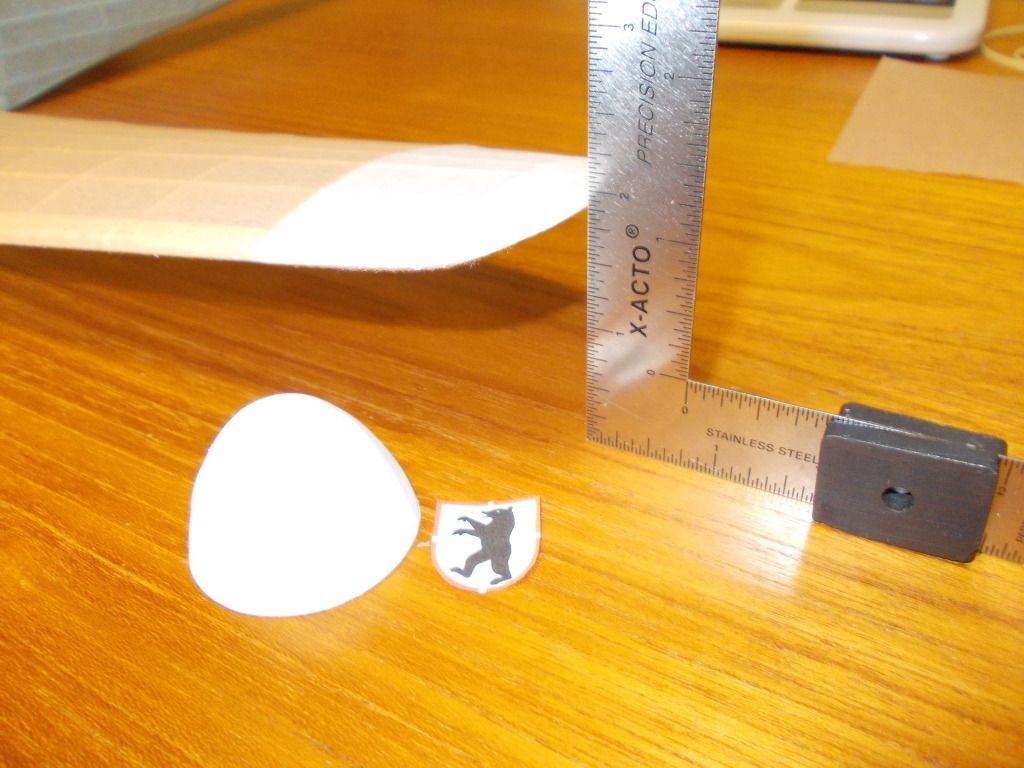
I built the model using the wing brace supplied and that set the diehdral. I made sure both wing tips were raised up the same amount. I seem to recall 1-5/8 inches, looking at the plan now that's what it showes for the longer wing. Here's a pic...
Image
Looks like 1-7/8 in to me but remember the wing tip rises up (What's that called?) so take off 1/8 for that, also the wing is mounted in the plane now and the center section is another 1/8 off the table, so BINGO, I'm spot on as per plan 1-5/8 inches.

I will be using SIG clear Nitrate Dope with a SIG Retarder.

I will weigh the model though the doping, after each coat.

I have the bottom wing / fuselage faring to install that I made from balsa after that is covered and inserted, the plane will be ready for doping.

Mitch

UPDATE: This detail stuff takes up time... just realized I need to instal the underwing faring. Made my own out of Balsa. Different than the one from Guillows but that comes on the second sheet of plastic, and although I bought the complete kit, my future 109's will only be built with A,B,C balsa sheet from Guillows, Plastic canopy, and only ONE plastic part, the cowling and spinner.
Image

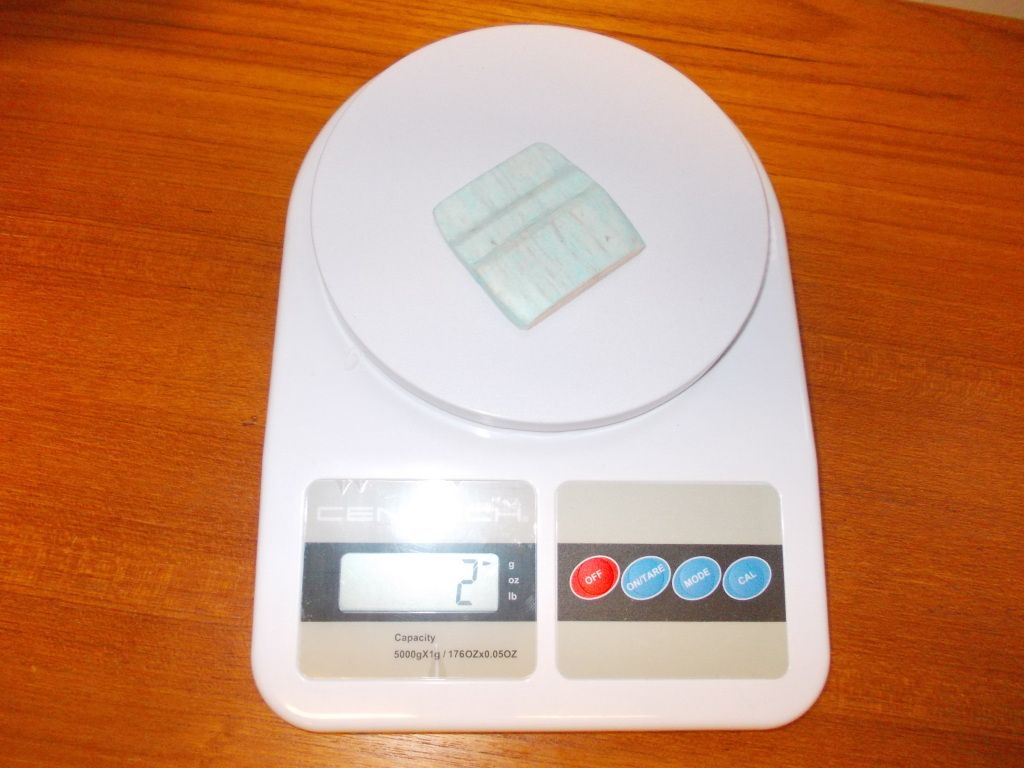
I was suprized that it weighed so much and made me apprieciate ALL else I have done to keep the weight down. But I will install this piece. It really locks in the wing. The weight is LOW and FWD (just barely) of the CG, It will act I believe as the skid pad when Fredrich does the "wheels up" landings.

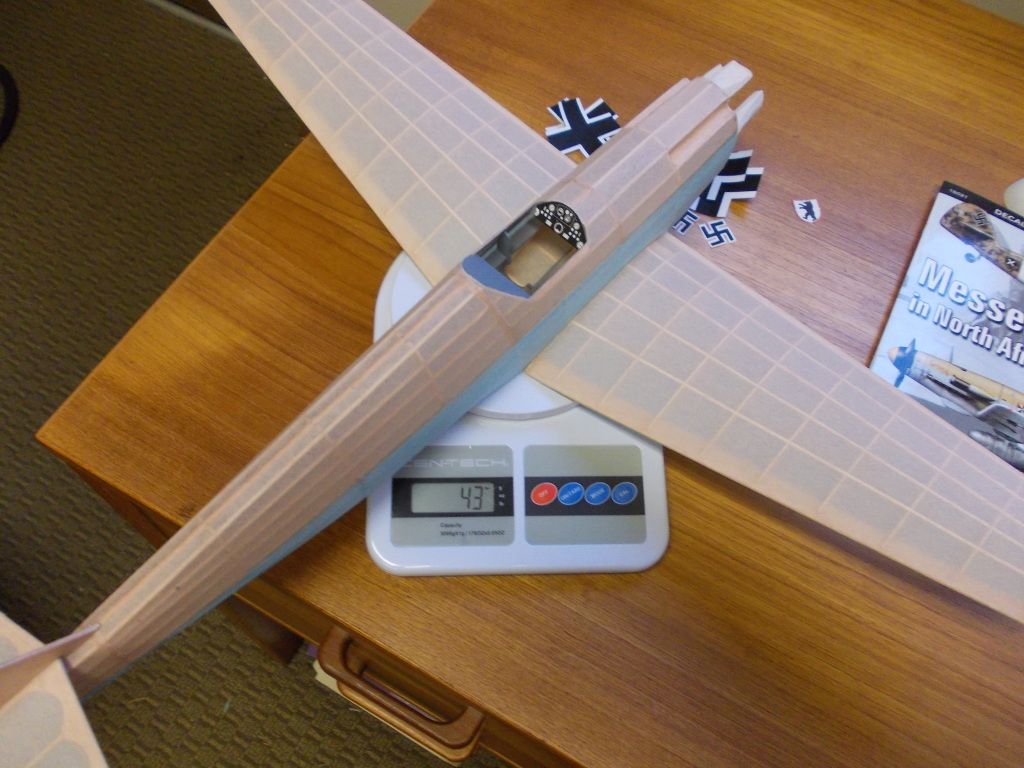
So since I just now glued in the fairing, Fredrich weighs in at a solid 43g. The plane is ready for dope. But I will wait another 24 hours to let this new glue joint COMPLETELY dry. Once I put dope over this joint it would seal off the air and the White Glue would NEVER fully cure. (at least thats my story, and I sticking to it)

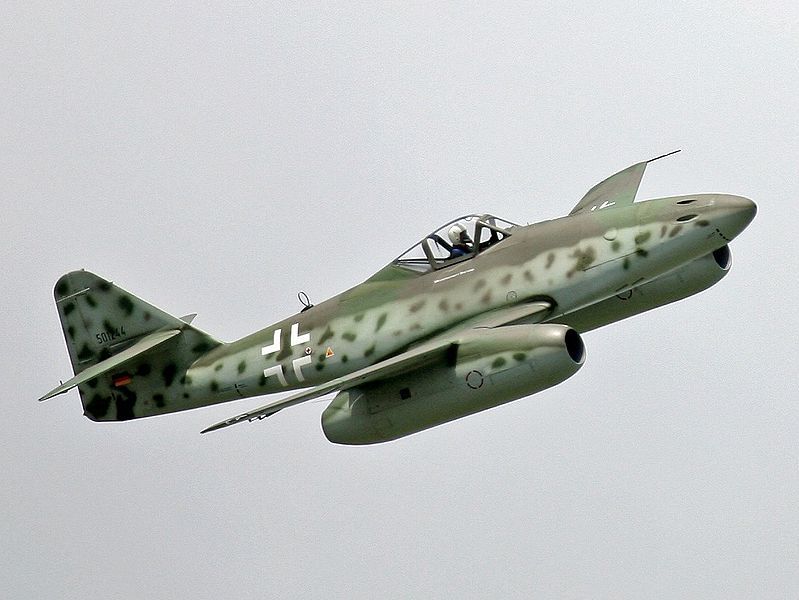
In the mean time I will continue to cut out markings and look though my plans and drawings... While aboard ship I was drawing out plans for planes that I wish Guillows made... So for a preview of what's happening at MSL (Mitch's Skunkworks Labratories)...
Image

I drew planes for this... 1/16 scale gives her a 32 inch ws... She should be in Guillows 1000 series... Maybe after I build the prototype I should send off the plans to Guillows :D

PS: Still need to test fly my 36 inch ws Ta-152. I saved and the Cut-N-Paste drawings from that bird, She could be in the 1000 series also. What do you all think?

UPDATE: Just realized I was working though LUNCH. Will take a break, but here's the project update:
Image

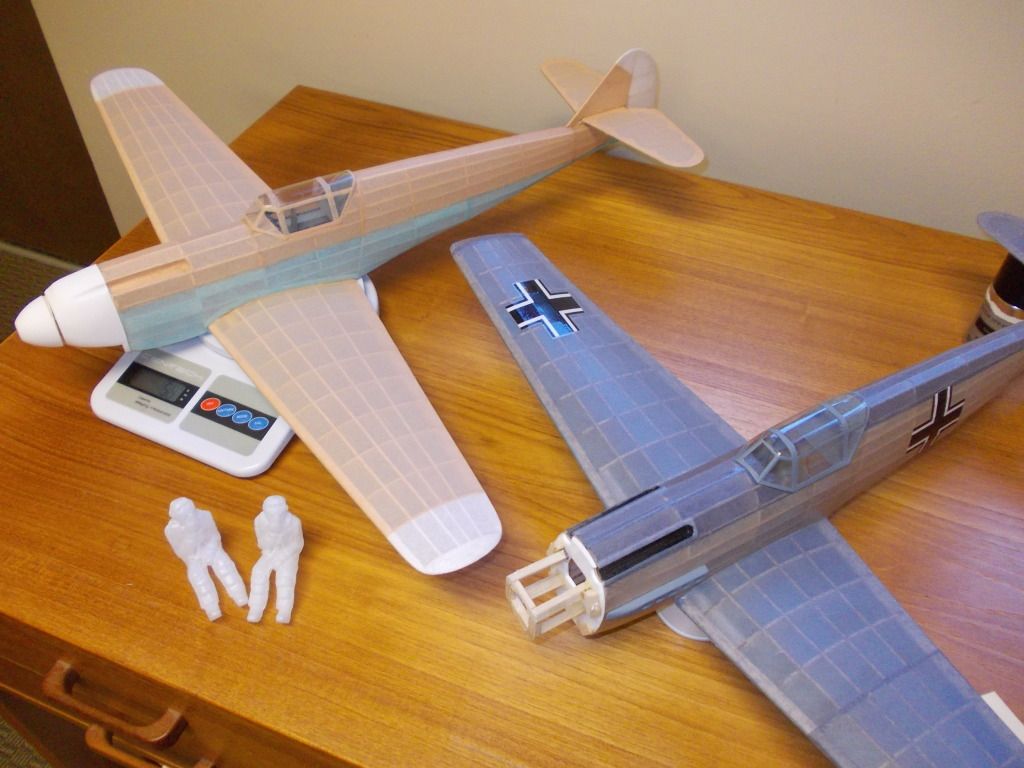
Emil is in the shop for much needed reto fit. Finish repairs to wing and tail and will recieve NEW DECALS. Also some work on cowling mounts and NEW ENGINE is coming... SIG tan sport rubber!

Fredrich has cowling fitted with new improved attach points. Canopy is out of the "Paint" shop and getting fitted... Doping tomorrow... Looks good fresh from the Factory.

Meanwhile poor Willi and Hans are worn out and all white after seeing what that P-51 will do... They need some much deserved P and P... That's Putty and Paint. I will plan to touch up the molds with some "Green Stuff" 2 part Epoxy, and then try my painting skills on there white bodies, with some Vallejo paints...

PS Don't be alarmed at that 56g you see on the scale there is a block of wood and a pencil in the nose to hold the spinner on for the photo shot. Fredrich is weighing in at 51g with the cowling screwed in and almost in BALANCE 8) The Balance was checked with the Spinner OFF :!:

Mitch... Tune in tomorrow for Doping, Phase ONE :!:
Mitch
 
Posts: 1347
Joined: Mon Aug 22, 2011 9:16 pm
Location: Kent, WA

Re: Build a 400 series WW2 Fighter for less than $20

Postby Mitch » Thu Aug 16, 2012 10:40 pm

Okay Team,

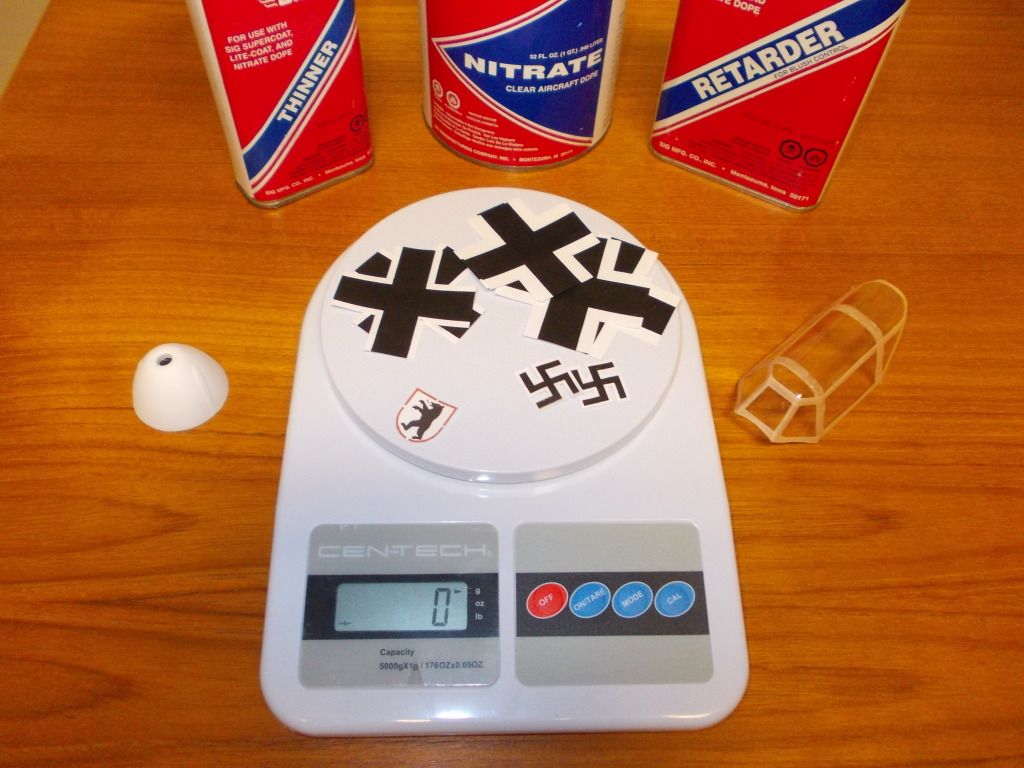
I am getting ready for doping. Spent alot of time cutting out insignia on tissue. When I got to the swastikas I decided to copy the decal and use that as a templete to tissue. Then I thought... why not just use these paper ones... A bit heavier, but alot easier to apply.

So then I copied all the crosses also. I used the decal from the FW for the crosses because the cross is a bit thicker on the FW and that is what I want on the Afrika Corps Bf109. I also cut off the black outline because I don't want that on this plane.

:!: CAUTION :!: I have applied printed paper before and after about the third stroke of the brush with dope the ink breakes down, and runs...

SO I WILL ATTEMPT THIS! I think it is worth the risk. The crosses are perfect, I weighed all the insignia and it is between 0 and 1 gram, so I am okay with that.

Image

Here is all the isignia. So tomorrow morning I will apply the first coat of dope.

I will be using SIG Dope. Butrate is HOT fuel Proof, Nitrate is for all others, I use Retarder rather than thinner... It says...
"...will slow drying process and control brushing. It will allow the dope time to flow out evenly and create a smooth finish..."
You always need to thin the dope and I have always used thinner in the past, but recently discovered the Retarder.

:!: CATION :!: I WILL USE OUTDOORS :!: ... :!: ALWAYS USE THIS PRODUCT IN A WELL VETILATED AREA :!: ... Moreover...

its says that the dope can be thinned to 50 %... I read that as that is the MAXIMUM... I use about 2/3 dope 1/3 thinner (or retarder) If you have NOT used this before dope has the cosistency of honey, you want it to flow more easily, but not so much like water.

SO THAT'S YOUR LESSON. Tomorrow I have a clean glass jar and will thin my dope and put down the first coat with a nice 1/2 inch Sable Brush! :D

ALWAYS WORK SAFELY, Mitch
Mitch
 
Posts: 1347
Joined: Mon Aug 22, 2011 9:16 pm
Location: Kent, WA

Re: Build a 400 series WW2 Fighter for less than $20

Postby Pauli72 » Fri Aug 17, 2012 1:31 am

What a coincidence...the Me-262 is my next project too. I had a devil of a time finding decent airframe schematics online, and Bill Parker really helped me out and sent them to me. I also bought the Squadron, Me-262 Walk Around book, and am kinda getting a gameplan ready for when I finish my current P-38 build. It will be my first attempt at a total scratch build.

I think a 1/16th scale Me-262 would be a great a addition to the Guillow's 1000 series. 8)
Pauli72
 
Posts: 127
Joined: Fri Dec 16, 2011 9:36 am
Location: Wisconsin

Re: Build a 400 series WW2 Fighter for less than $20

Postby karolenaz » Fri Aug 17, 2012 3:13 am

Nice I just found me-262 deprone version :) And i think i will start build it :)
karolenaz
 
Posts: 17
Joined: Wed Jul 11, 2012 2:32 pm

Re: Build a 400 series WW2 Fighter for less than $20

Postby Mitch » Fri Aug 17, 2012 11:32 am

Okay Team, Here we go... I'm setting up my workstation outside...

1. First I will touch up Miss Emil's repairs and get her ready for new decals.

2. Then I will apply 1st coat of dope over Miss Fredrich.

3. Test dope affect on photocopied inked cross.

Fredrich is weighing in today at 43g this morning. After one complete coat of dope she will be weighed again. Markings will start to go on in 2nd coat.

Image

Mitch

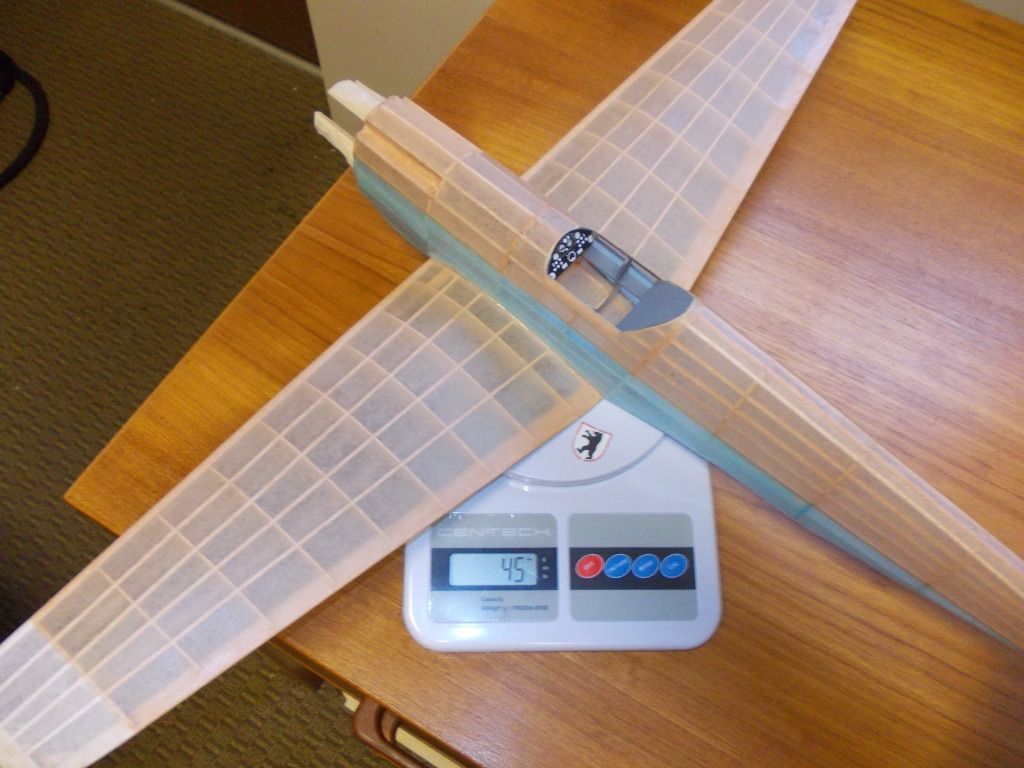
UPDATE: Okay that all went well. Both planes are in the garage and GOOD NEWS... The dope did NOT affect the photocopied inked marking. So All markings will get layed down in the second coat and a final third coat on top of that. I will let the models rest for an hour and check.

UPDATE: So After the first coat and with the weight is now 45g, with or without the marking on the scale...

Image

UPDATE: In the second coat the marking went on, I put on the dope fairly heavy to cover the markings well...

Image

So now Fredrich is weighing in at a solid 48g. I think 2 coats of dope is enough as that is what Guillows recomends for flying models, so I am sure that is what Emil has. Emil is weighed in at 52g. So not quite a 10 % reduction... But Fredrich has more wingspan, and the real test will be Flight condition, balanced and gluide test. I think I can do that this afternoon... So I will check my field kit and make sure I have my clay and a few pennies... I'll report back after the gluide tests.

Mitch
Mitch
 
Posts: 1347
Joined: Mon Aug 22, 2011 9:16 pm
Location: Kent, WA

Re: Build a 400 series WW2 Fighter for less than $20

Postby Mitch » Fri Aug 17, 2012 5:53 pm

To All my Flight Engineers,

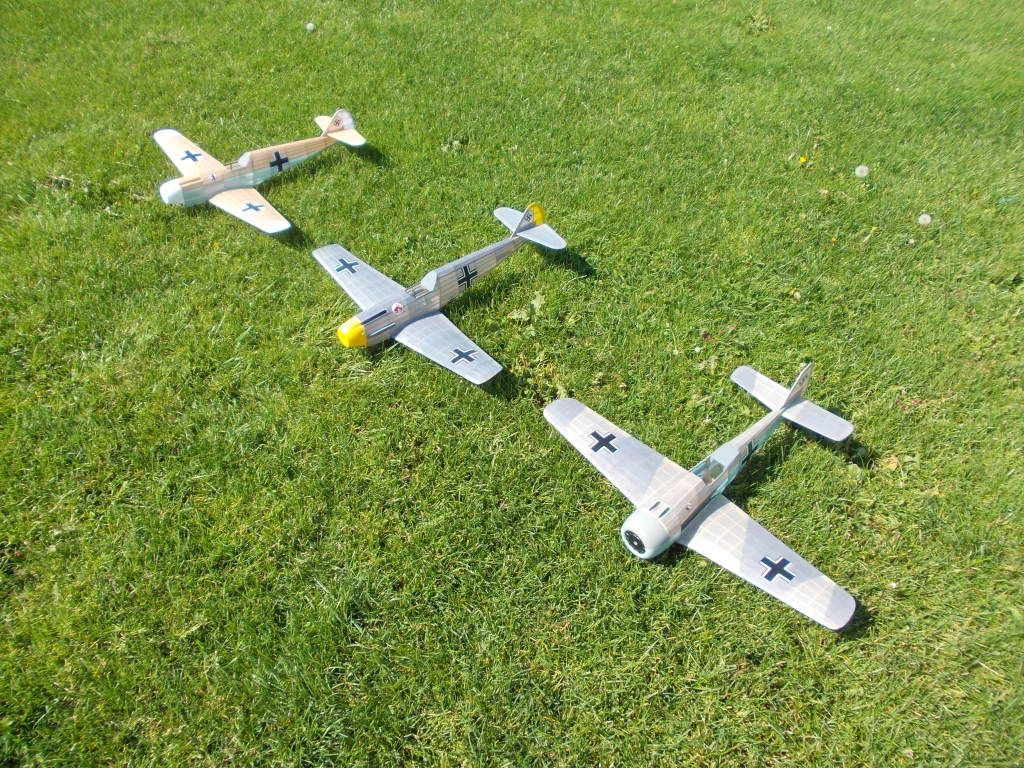
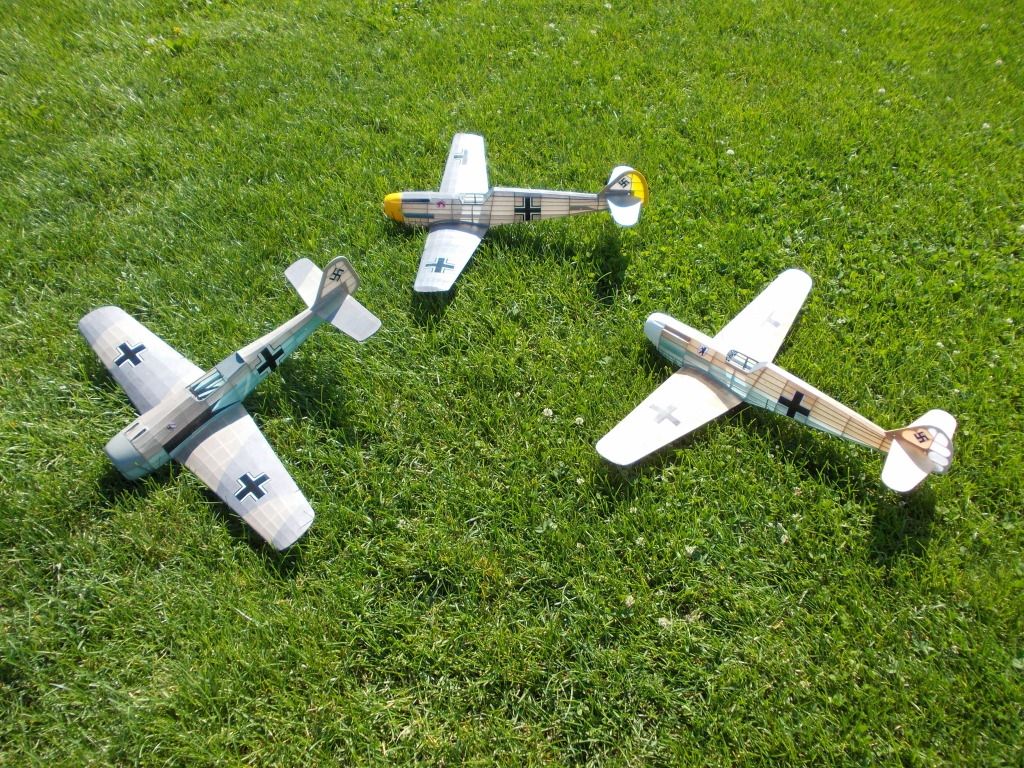
Initail Flight/Gluide tests of the NEW Bf109F Fredrich, seem very promising. There were 3 entries into today's Gluide Tests...

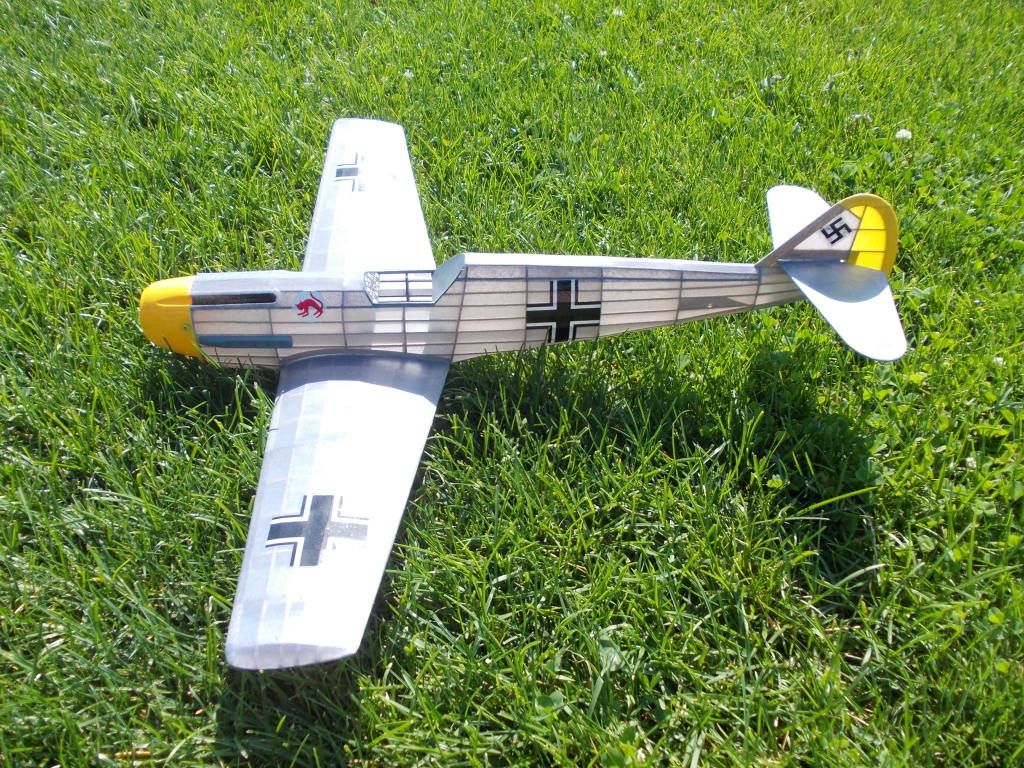
1. Battle Proven Bf 109 E, Emil all repairs made and all insignia repaired / replaced as necessary... Also recieved Unit Designation... CAT ATTACK
2. Previously tested, FW 190, Rechecked and re balanced as needed. Unit Designation... Grosse Deucthland
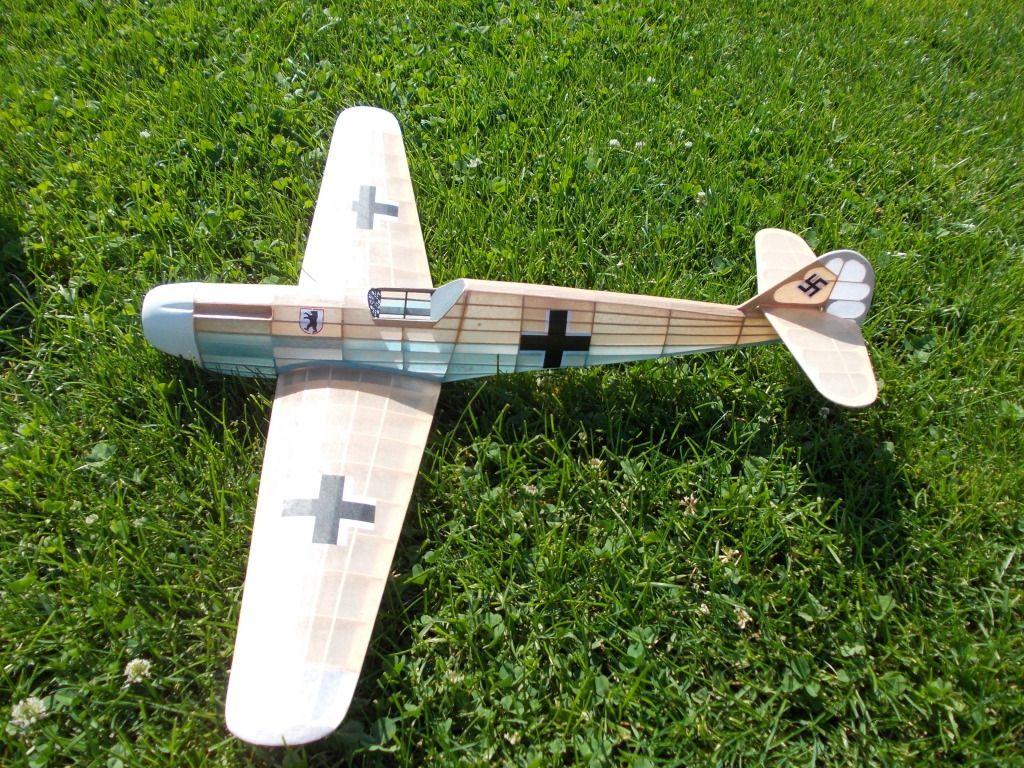
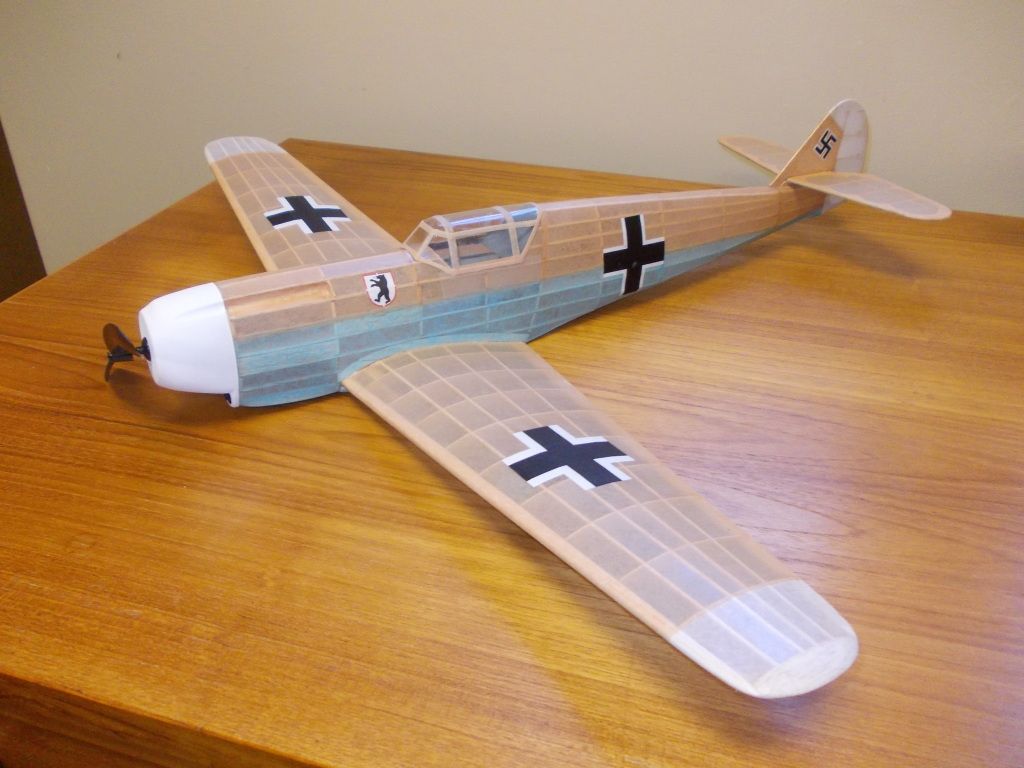
3. NEW entry Bf 109 F, Fredrich, with increased wingspan and other improvements. Unit Designation... Black Bear Squadron

Image

After some pre flight checks and some balance adjustments ALL 3 planes gluided about 30 feet.

Image

Being that it is getting close to 90 degrees on the Flight Field the Project Manager decided to do Power Tests another day.

Here is how they weighed in after there gluide tests today:

Image
FW 190, with a bit more ballast... Weight 80 grams

Image
Bf 109 E, No adjustment needed... Weight 68 grams

Image
Bf 109 F, Balanced and trimmed... Weight 62 grams, This plane has the LONGEST WINGSPAN and most WING AREA of the three! :D

Thank you and tune back latter for Powered Flight Testing

Mitch
Mitch
 
Posts: 1347
Joined: Mon Aug 22, 2011 9:16 pm
Location: Kent, WA

Re: Build a 400 series WW2 Fighter for less than $20

Postby karolenaz » Sat Aug 18, 2012 3:36 am

Realy nice models and beautiful too :)
karolenaz
 
Posts: 17
Joined: Wed Jul 11, 2012 2:32 pm

Re: Build a 400 series WW2 Fighter for less than $20

Postby Mitch » Mon Aug 20, 2012 5:06 pm

Attention All Design Team and Flight Engineers, First powered flight test of Fredrich deemed is an outstanding success.

Here are the results of Flight testing today...
Image
Fredrich has tan rubber motor installed (short for initial testing 125% hook to peg, after knot and excess snipped off length was about 1 inch longer than hook to peg, 4 stands or 2 loops)

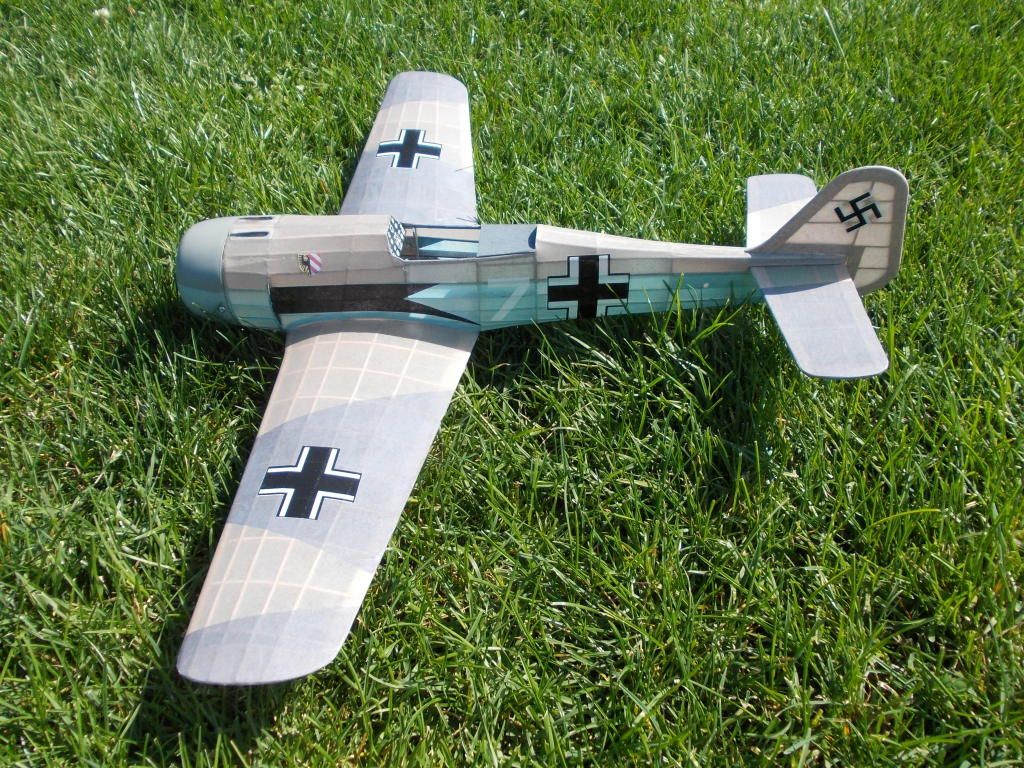
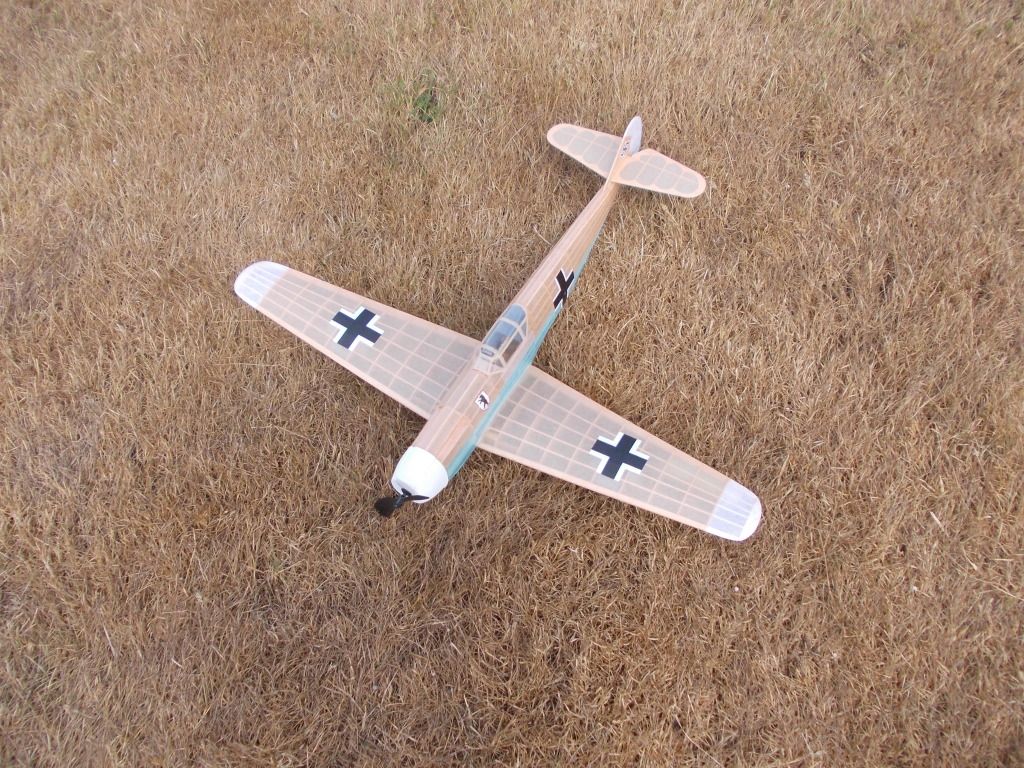
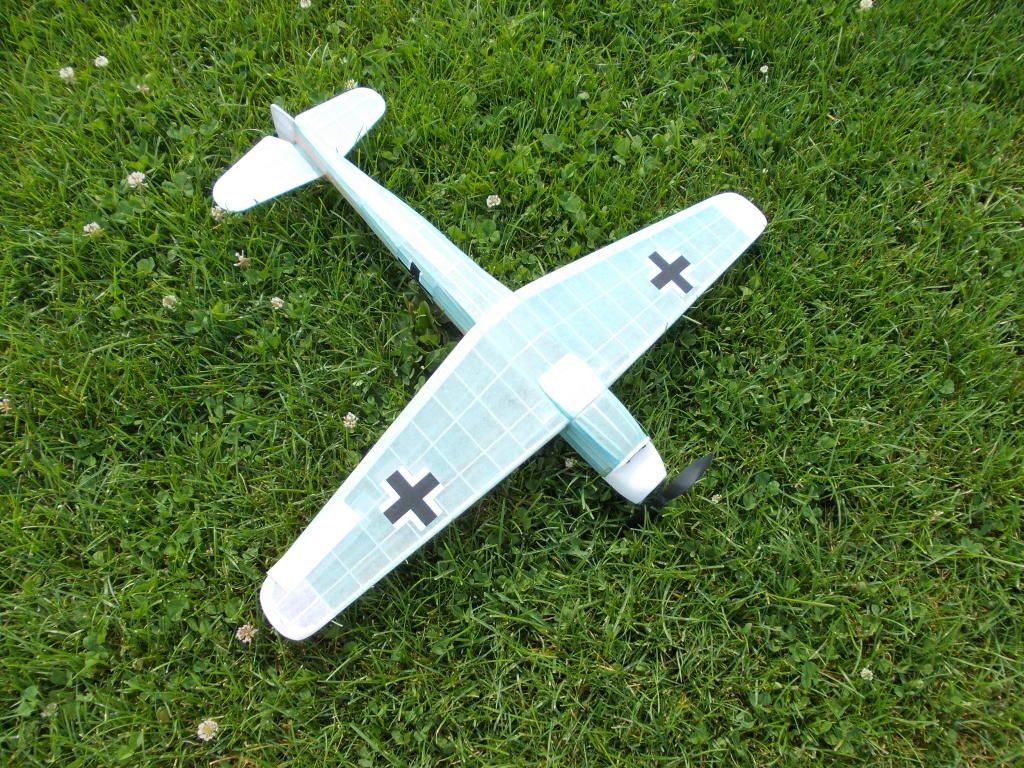
There was a dry patch of grass that I thought looked like what North Africa would be like. So I took a picture of Fredrich on the ground.
Image
I think if I thew some camo netting over the crosses Miss Fredrich would be hard to spot from the sky.

After several low powered flights and continually adjustment of left aileron, with numberous ground loops, the trim tab was cut back more.
Image
Even with these ground loops I see no damage to Fredrich.

With a 1/16 inch down thurst and the trim tab cut back more I decided to go with about 30% power.
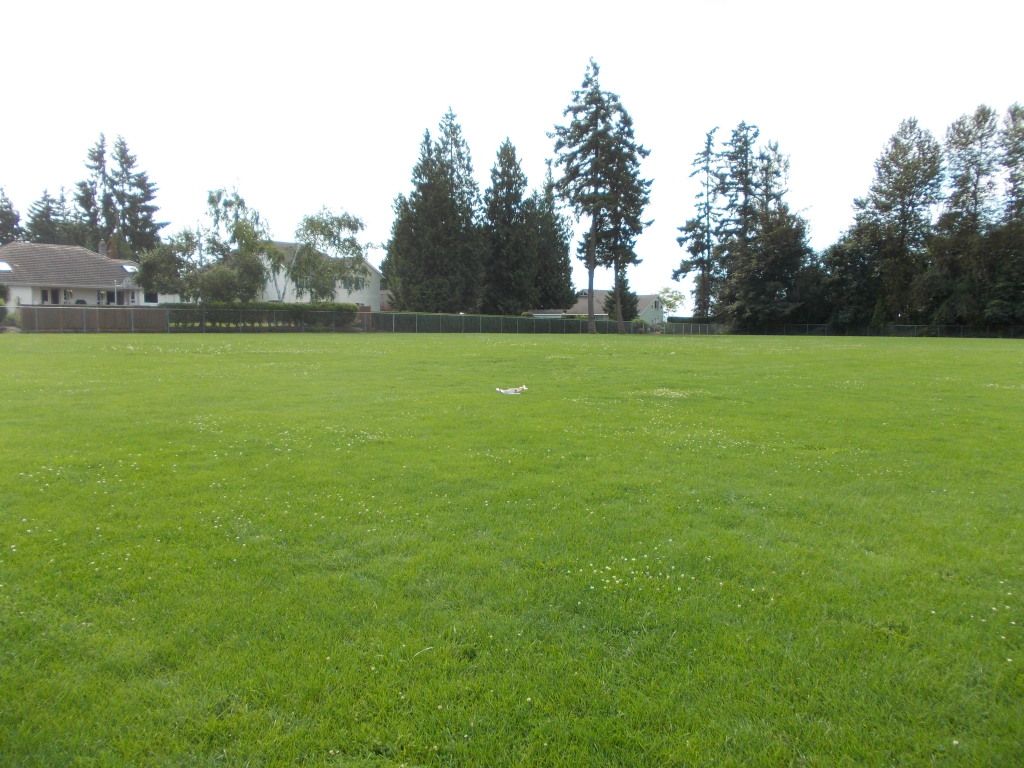
Image
Fredrich Flew about 20 paces... 60 feet

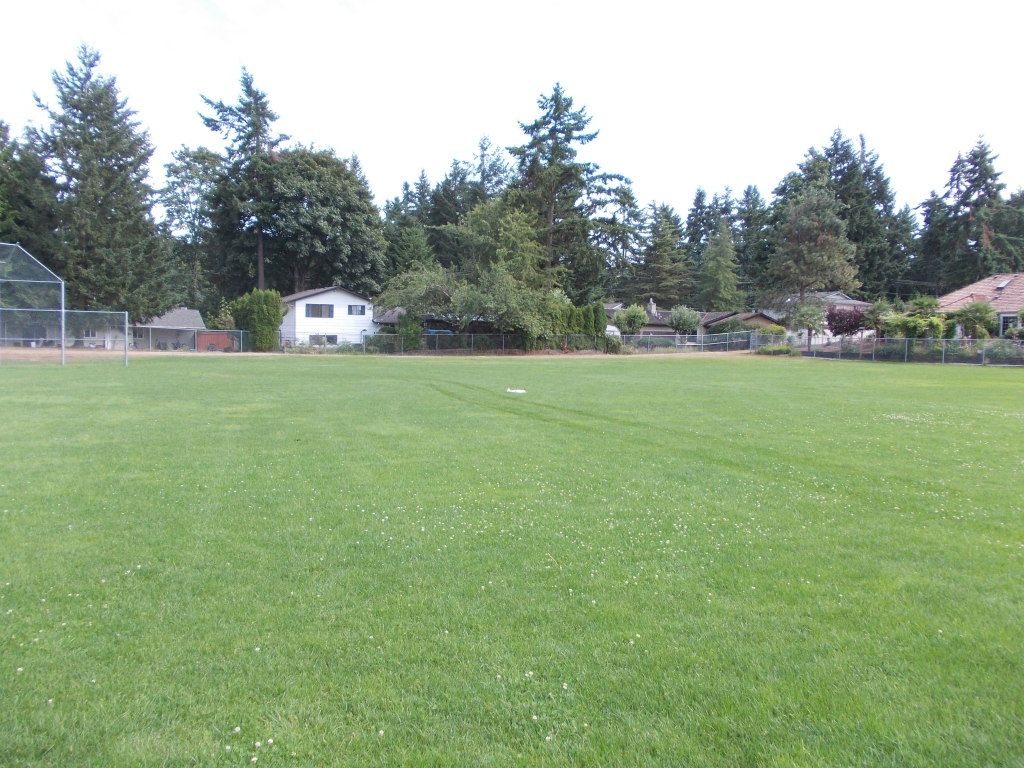
With power added Miss Fredrich is starting to get her feathers... I decide to add more power... I increase to about 60% and send her off into the BLUE... She makes a slow climing turn to the left, straightens out for her powered cruise mode flight, and as she slows down she comes in for a slow turn to the right for a perfect wheels up landing...
Image
I walk her flight path and estimate 55 paces or 165 feet.

I decide to call it a success and quit while I am ahead.

So there it is for about 20 dollars and 20 hours of work I got my Guillows Messerschmitt Bf109 up in the air and flying! 8)

Mitch, Lead Flight Engineer, Draftsman, Construction Worker and Pilot

I thank all of you for you input and support. I will work on Fredrich's Detail parts and Landing Gear and Post pictures of her standing on her Legs! :D
Mitch
 
Posts: 1347
Joined: Mon Aug 22, 2011 9:16 pm
Location: Kent, WA

PreviousNext

Return to General Building Questions

Who is online

Users browsing this forum: No registered users and 29 guests