Aeronca Build

Ask other modelers for a little help / knowledge ?

Aeronca Build

Postby scigs30 » Fri Oct 30, 2009 12:14 am

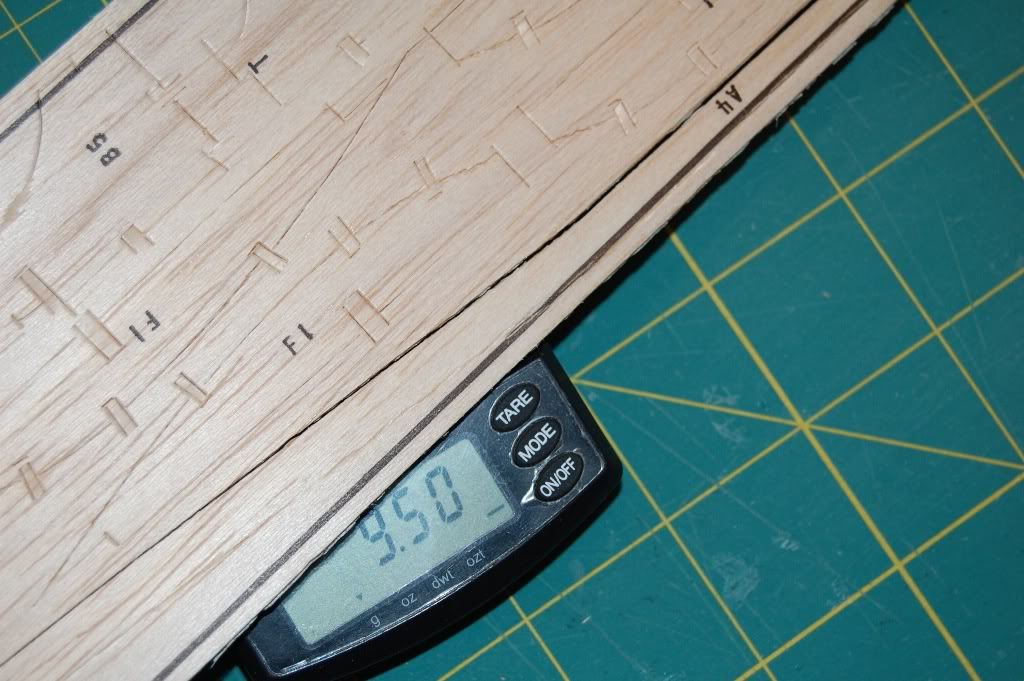
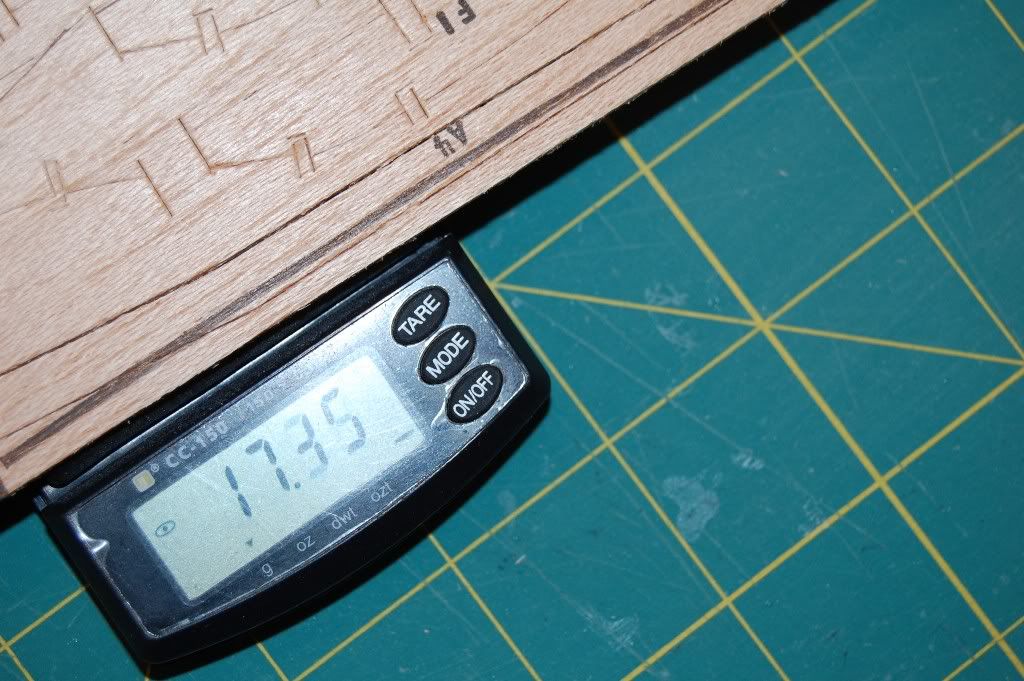
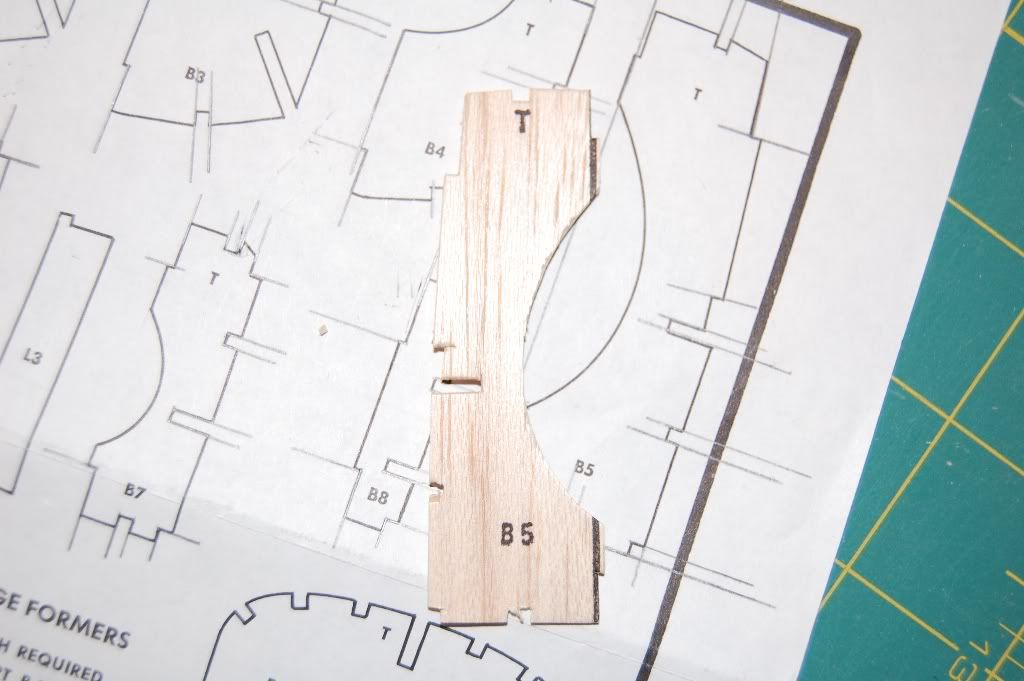
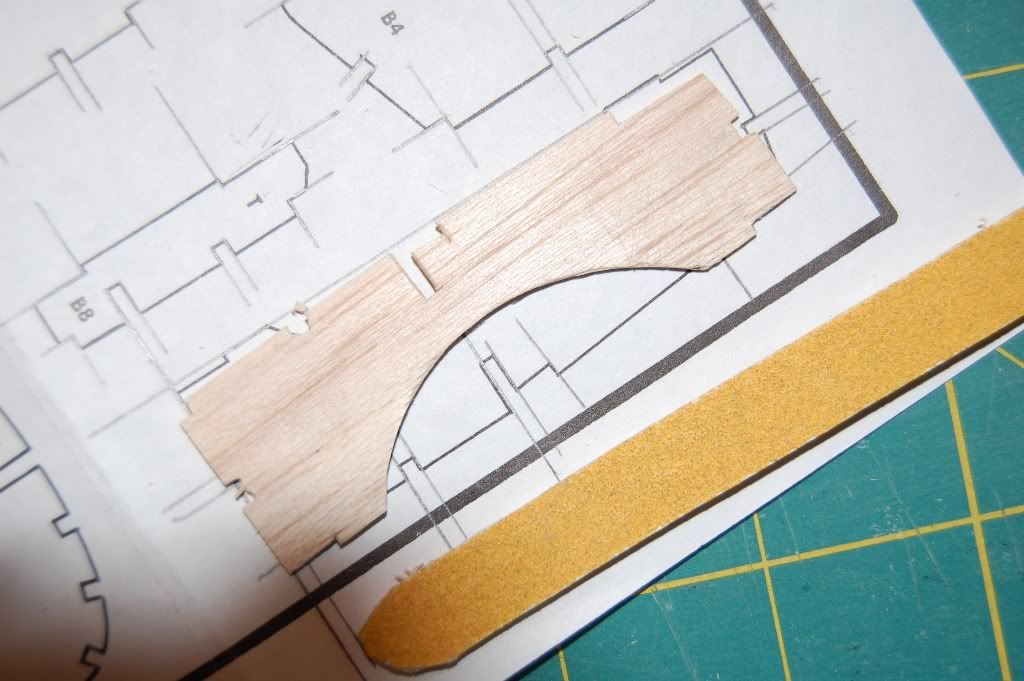
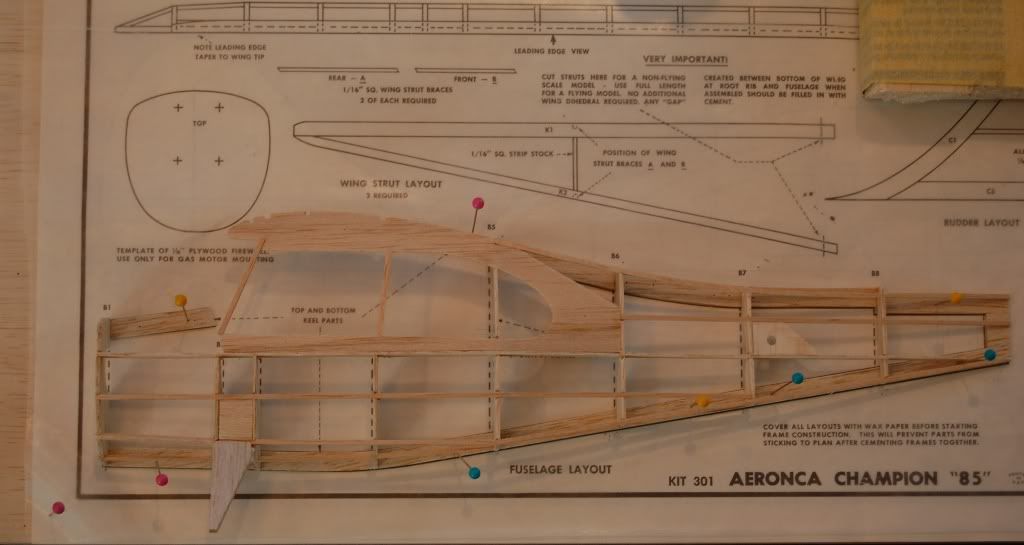
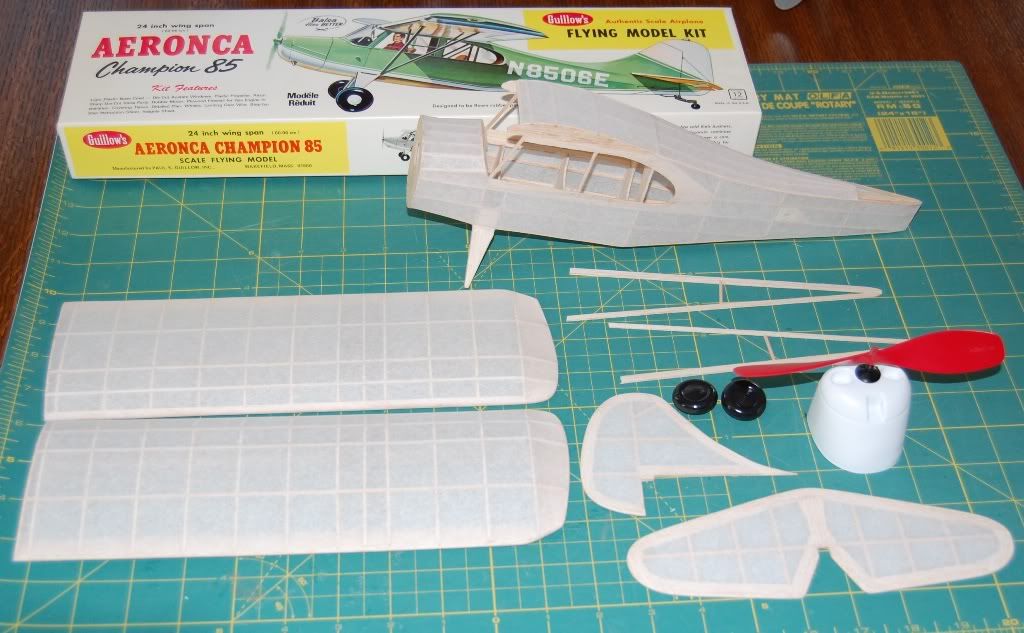
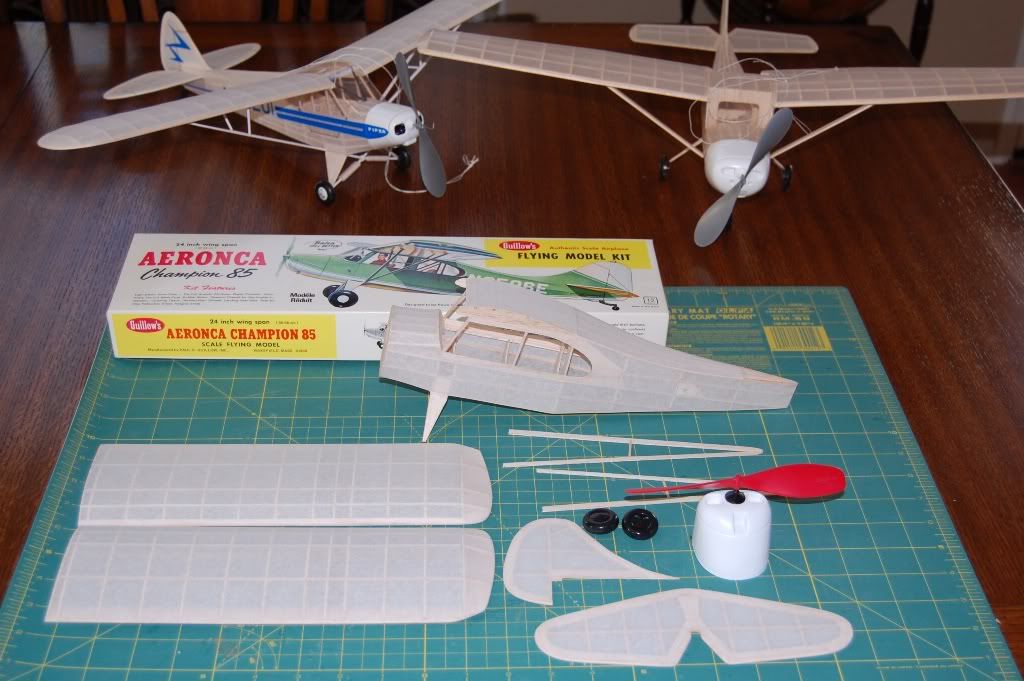
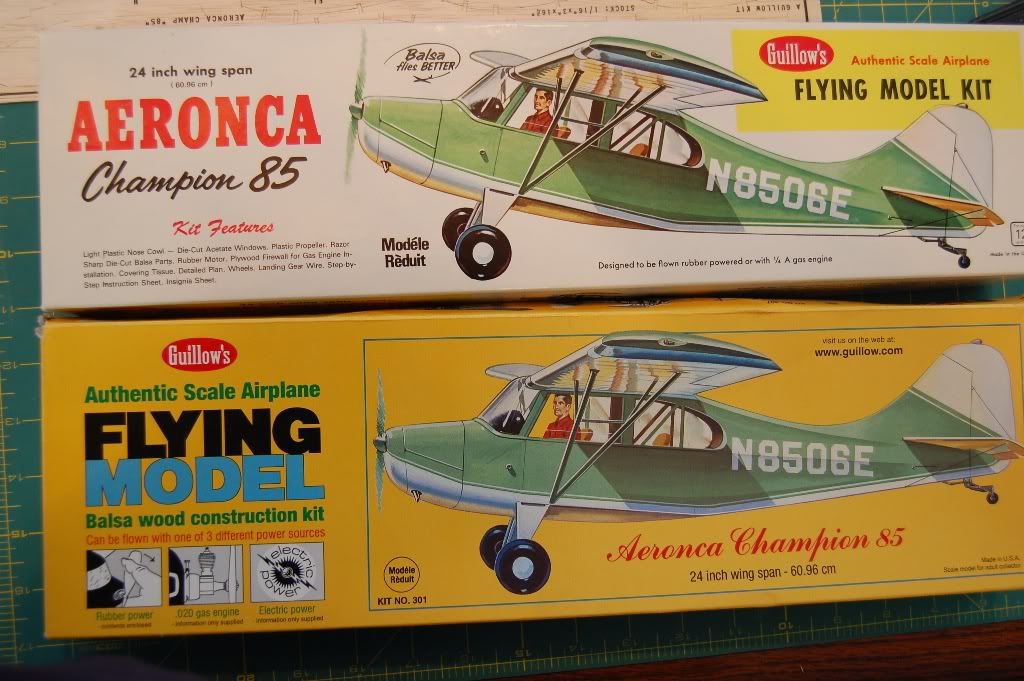
I don't have too many Guillows kits that I can build straight from the box because of the weight of the wood. I did find this older Aeronca kit that has light balsa, but it is also has die crunched pretty bad. I decided to build it anyway thinking I might be able to get this to fly. I normally use Elmers glue but since the wood is crushed and porous, I am using Testors wood cement. I compared the wood from the new kit vs the old and you can see the difference. The newer kit has wood that is almost twice as heavy. The newer kit would never fly if I used the kit wood. Any way I started punching out the parts and matching them up to the plans. As you can see the notches are way too big for 1/16 stringers so I will have to fill with balsa later. I also sand off the print so it does not show through the kit tissue. So far all the balsa structures weigh in at 20.2 grams, that is pretty good for no weight reduction. I will cover with kit tissue, use a Guillows 6 inch prop and the guillows button and shaft. When all done I am going to fly her and see how well she does. If she is too heavy I will build another using lighter wood. I can tell you that cutting out my own parts is much easier than fixing the die crushed parts.
Old kit vs new kit wood
Image
Weight of the kit I am building from
Image
The newer version has heavy wood
Image
Matching up the parts
Image
Sanding the parts
Image
First side built
Image
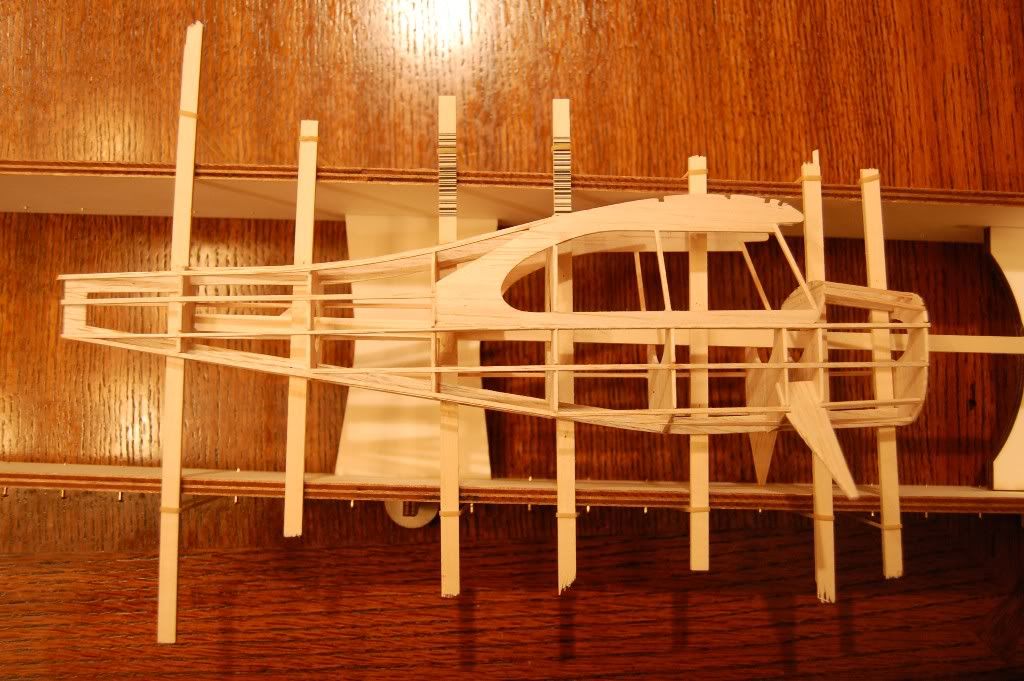
Using the Rocky top jig for the second side
Image
scigs30
 
Posts: 844
Joined: Mon Nov 06, 2006 11:31 am

Postby scigs30 » Fri Oct 30, 2009 12:18 am

All the parts are built, and will begin covering next week.
Image
Image
Image
Image
Image
Image
Image
scigs30
 
Posts: 844
Joined: Mon Nov 06, 2006 11:31 am

Postby scigs30 » Sat Oct 31, 2009 6:30 pm

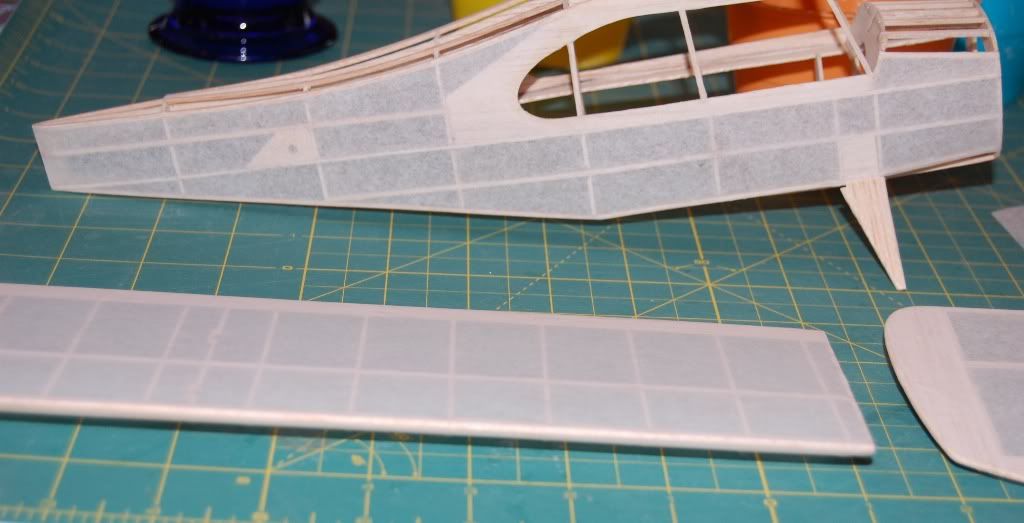
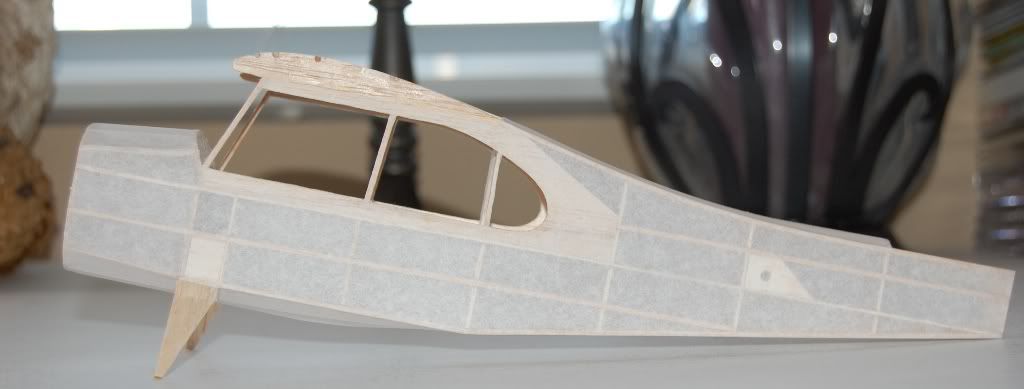
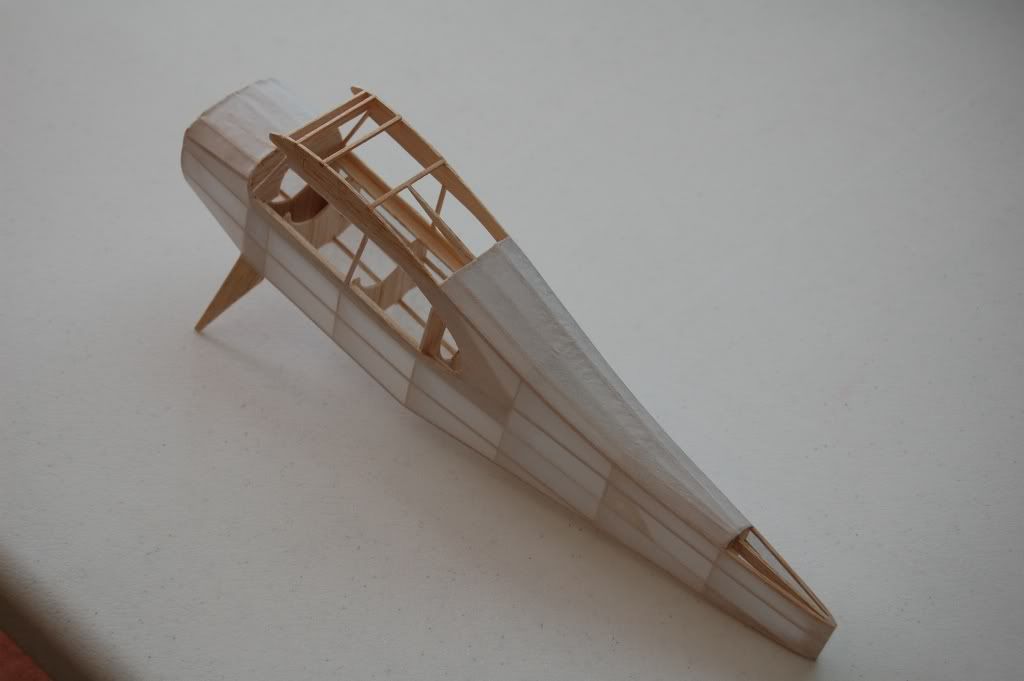
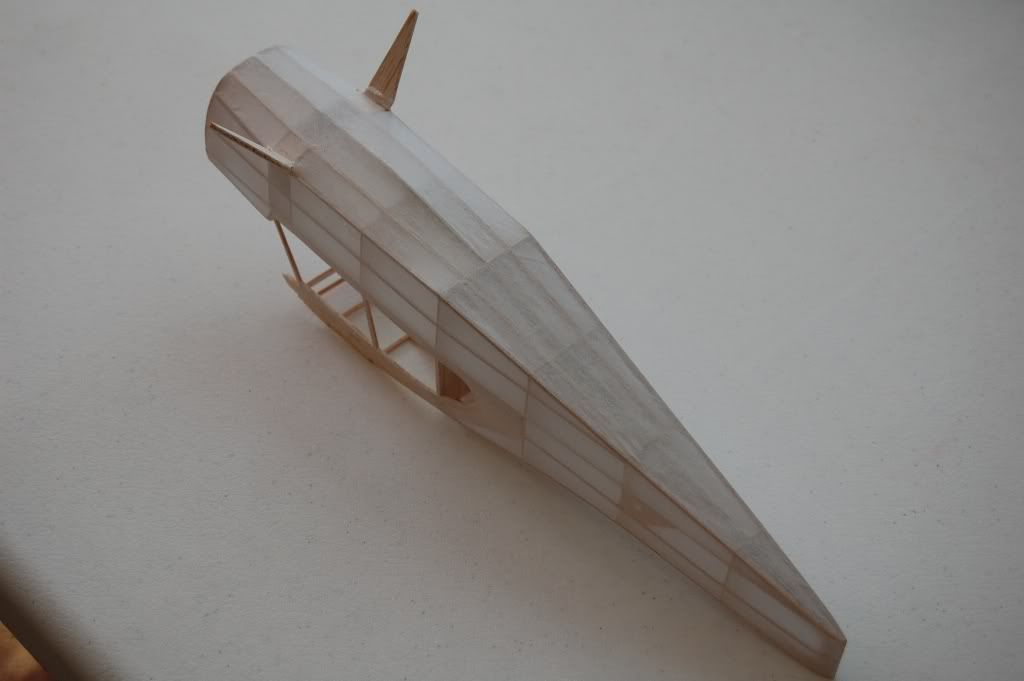
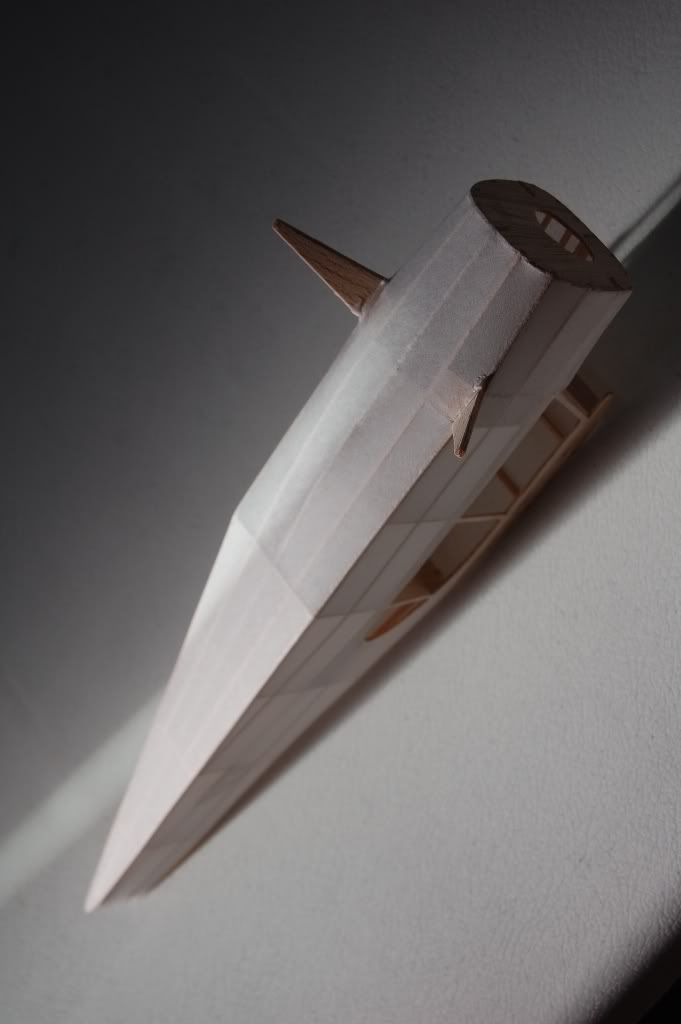
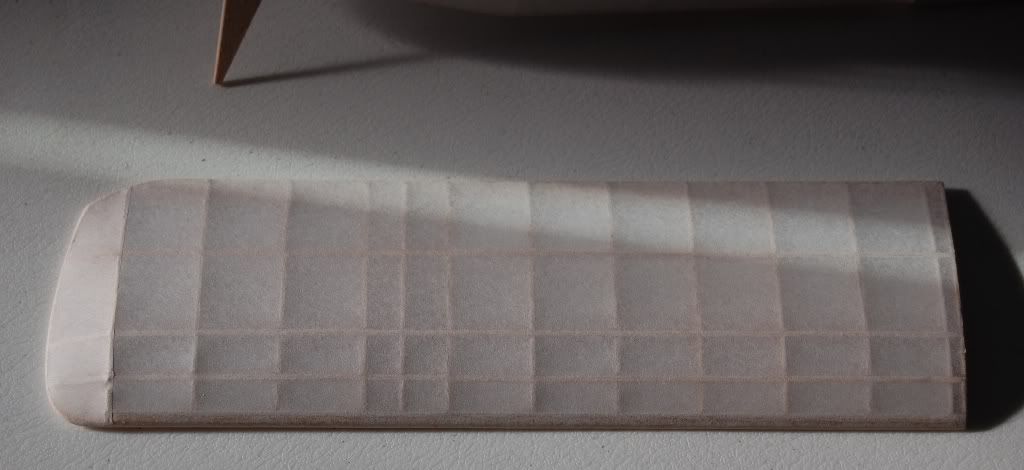
Started covering the plane this morning and had to stop since family came over. I am using the domestic tissue that came with the kit. I apply it with 50/50 water/Elmers glue. Since the tissue is stiff I dampen it first then put it on. This allows for a wrinkle free finish. I don't know what that white stuff is on the root rib, something with the camera. Any way you can see how tight the tissue is and I still have not applied the water to shrink it. Who says domestic tissue is cra*?
Image
Image
scigs30
 
Posts: 844
Joined: Mon Nov 06, 2006 11:31 am

Postby scigs30 » Sun Nov 01, 2009 6:17 pm

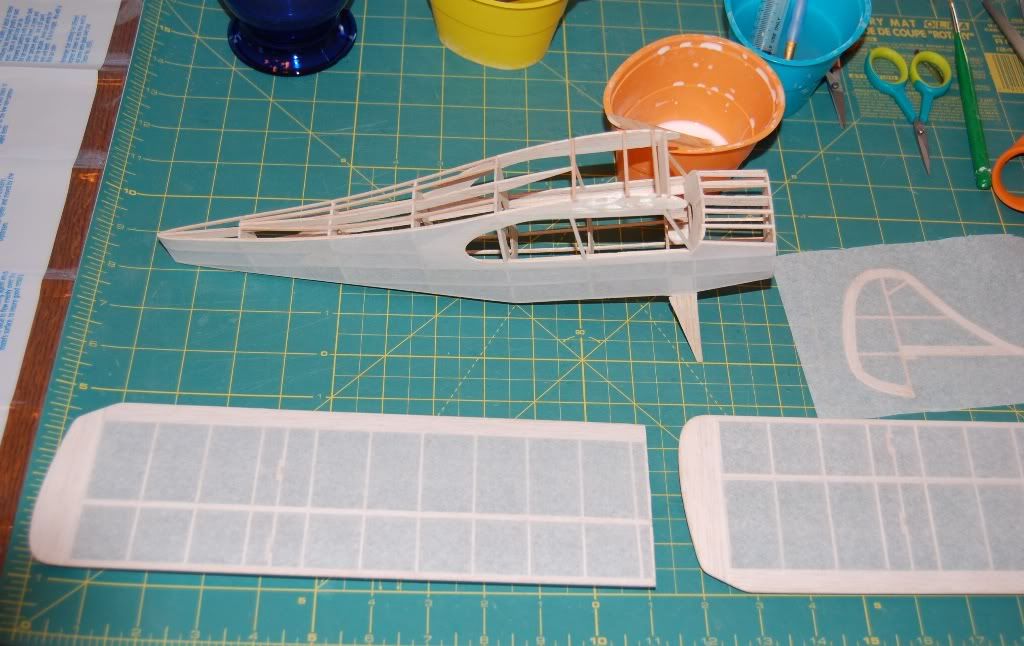
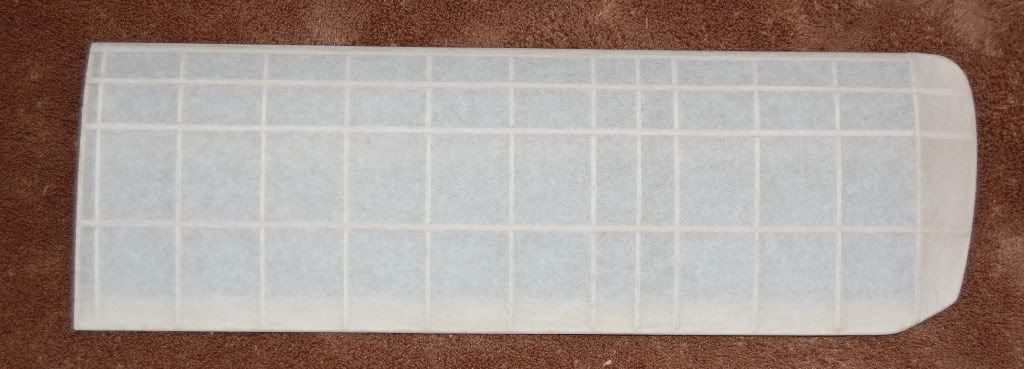
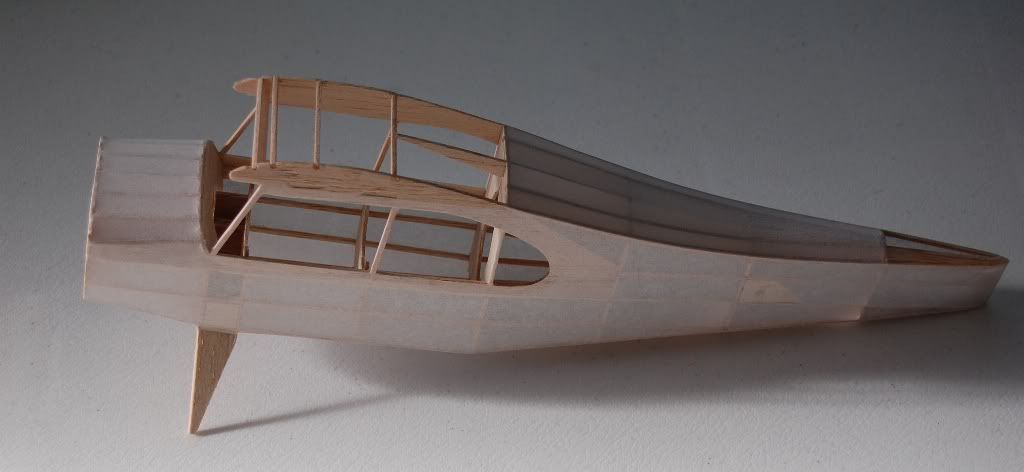
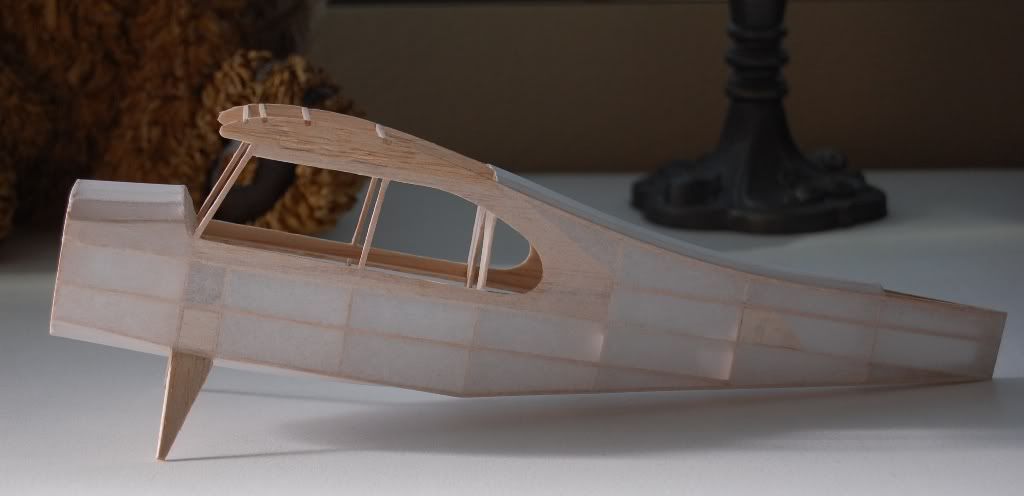
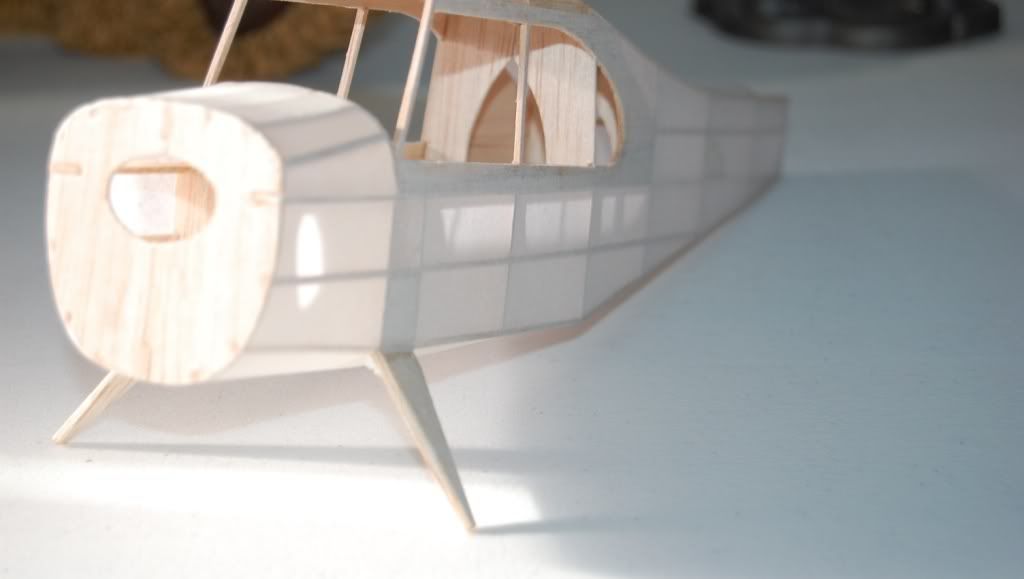
I have not covered the cabin area yet, will wait until after the wings are glued on. Doing this prevents the cabin root rib from warping in causing a gap between the fuselage and wing. I have one wing covered and shrunk and same as the fuselage.
Wing before shrinking.
Image
Fuselage before shrinking
Image
Image
Image
Wing and fuselage after shrinking, still have to brush on dope.
Image
Image
Image
Image
Image
scigs30
 
Posts: 844
Joined: Mon Nov 06, 2006 11:31 am

Postby Xanadu » Sun Nov 01, 2009 9:20 pm

Beautiful job of covering....... :D
Xanadu
 
Posts: 497
Joined: Wed Sep 27, 2006 9:48 pm
Location: Anola, MB, Canada

Postby groundlooped » Sun Nov 01, 2009 9:51 pm

coming along quite nicely Scigs,I have the newer version,the wood is very heavy so will be replaced as usual with contest grade,I'm watching with great interest to see how this one performs.
Cheers Col
groundlooped
 
Posts: 9
Joined: Fri Oct 16, 2009 4:46 am
Location: SYDNEY AUSTRALIA

Postby scigs30 » Mon Nov 02, 2009 1:37 am

I already have the parts cut out of quality balsa and will build another Aeronca after this one. I don't expect much from this one.
scigs30
 
Posts: 844
Joined: Mon Nov 06, 2006 11:31 am

Postby scigs30 » Mon Nov 02, 2009 1:53 pm

Everything is covered and has been shrunk with water except the top of the cabin area. Not one wrinkle with the Guillows tissue. The weight is adding up and I still have to add 2 coats of dope. The weight of everything is 40 grams. The Guillow Piper Cub with replacement is at 34 grams and that includes the chunk of clay in the nose. The Cessna is at 40grams with the clay also. I will finish the Aeronca today and hope to have it out flying in the next day or so. Also my green Esaki tissue came in the mail so I can finish covering my Comet P-40.
Image
Image
scigs30
 
Posts: 844
Joined: Mon Nov 06, 2006 11:31 am

Postby scigs30 » Mon Nov 02, 2009 9:03 pm

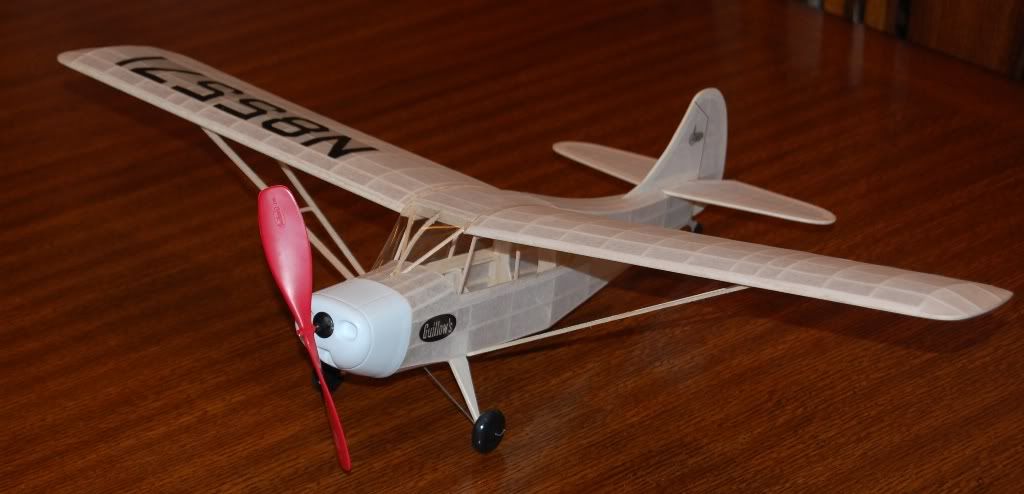
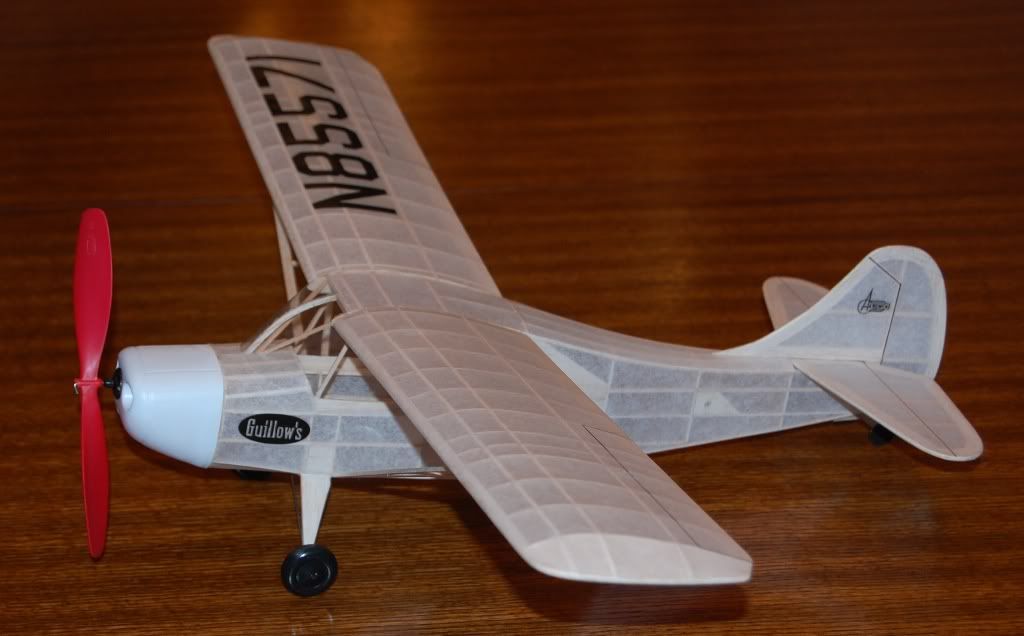
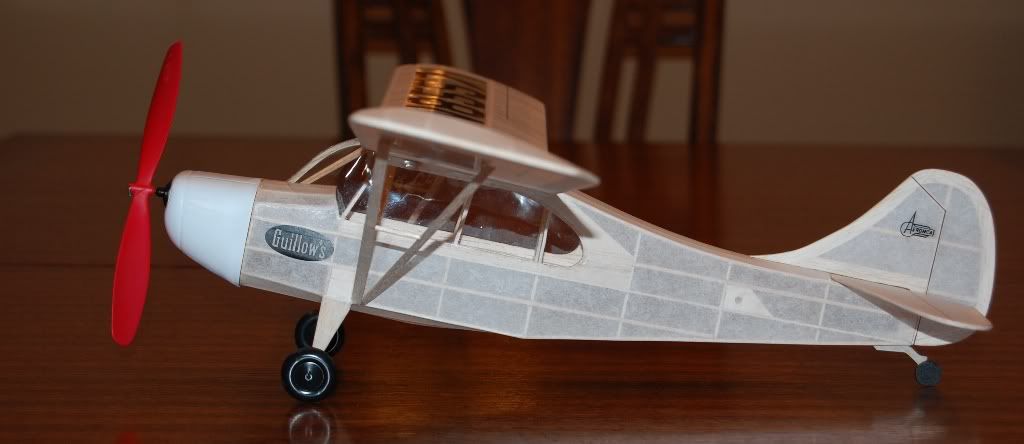
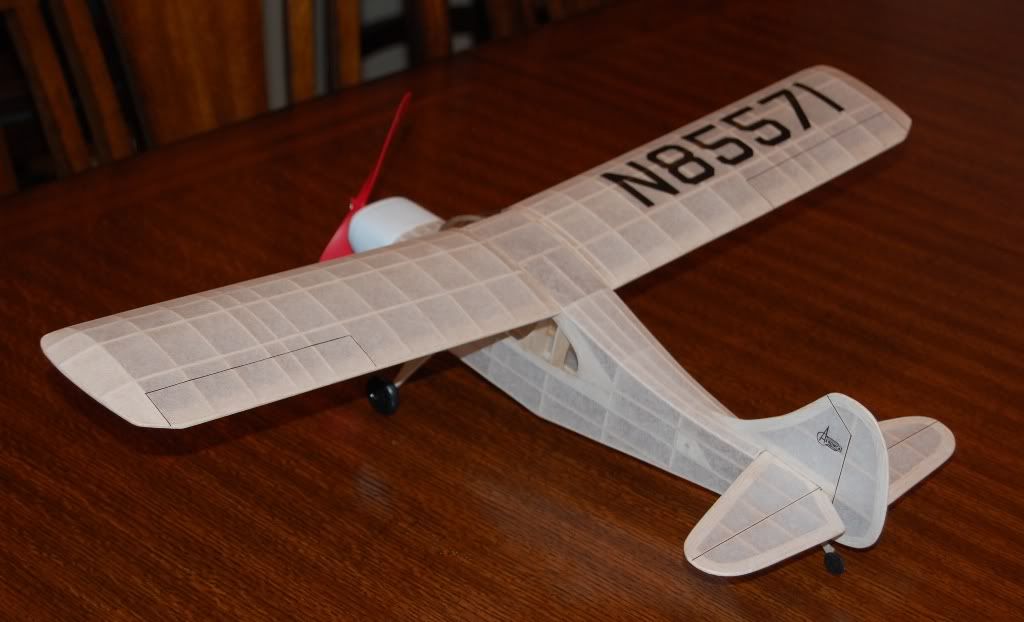
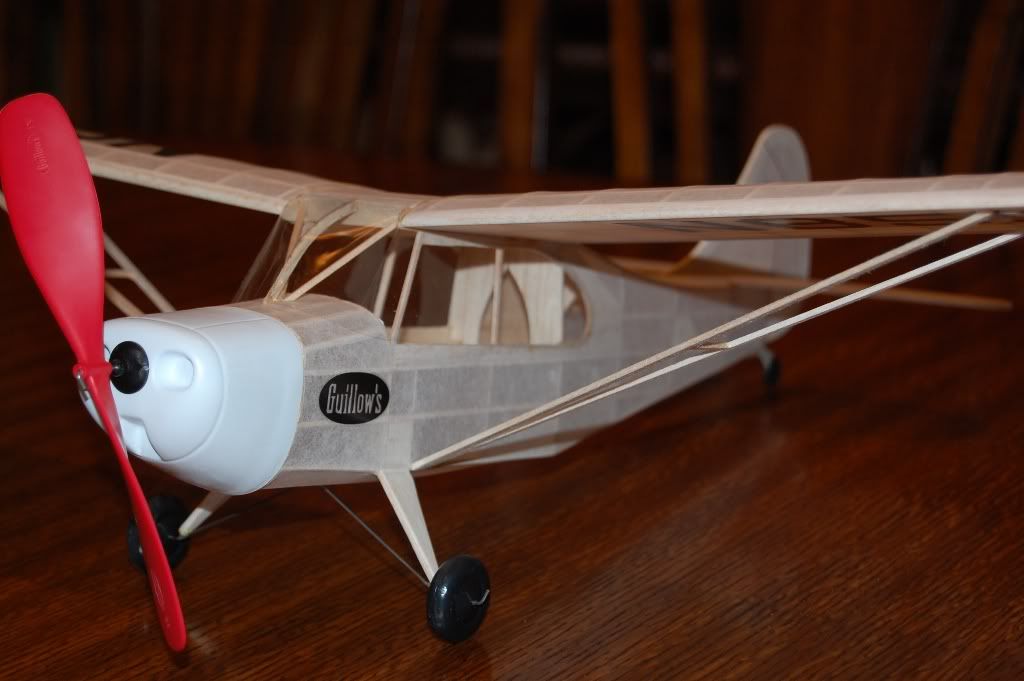
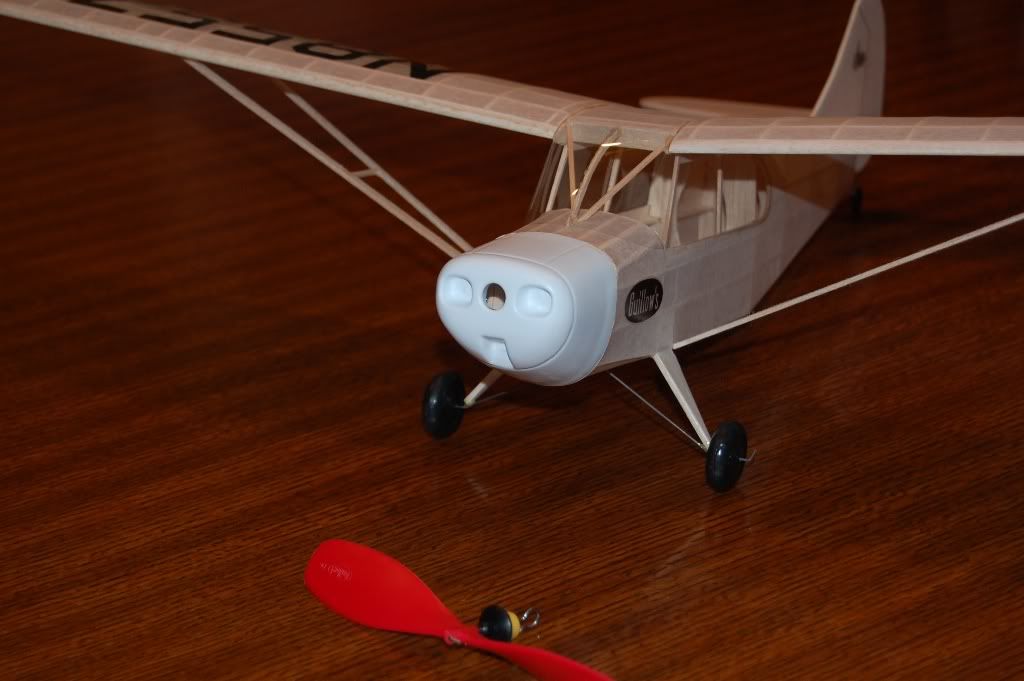
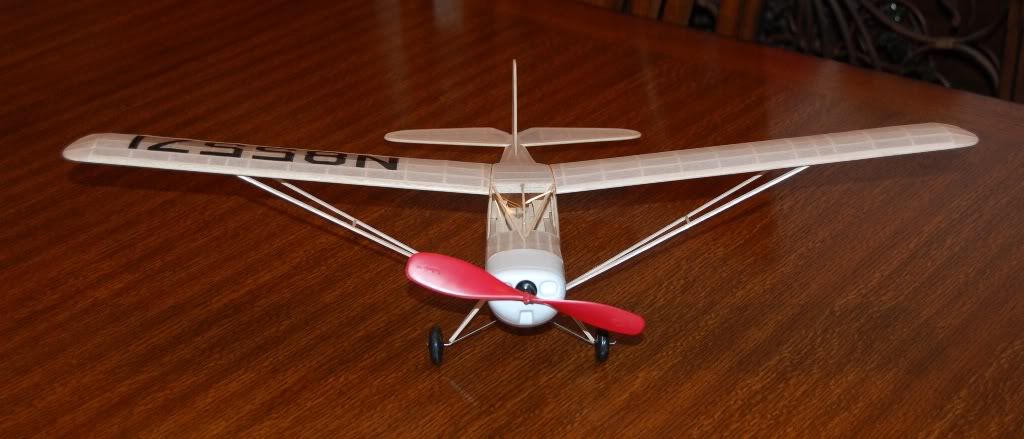
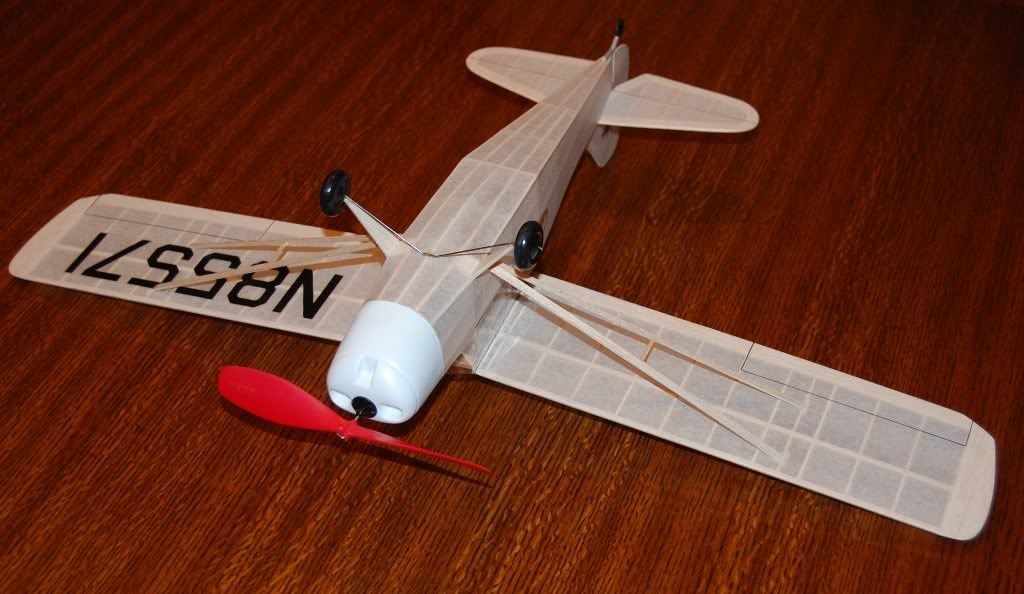
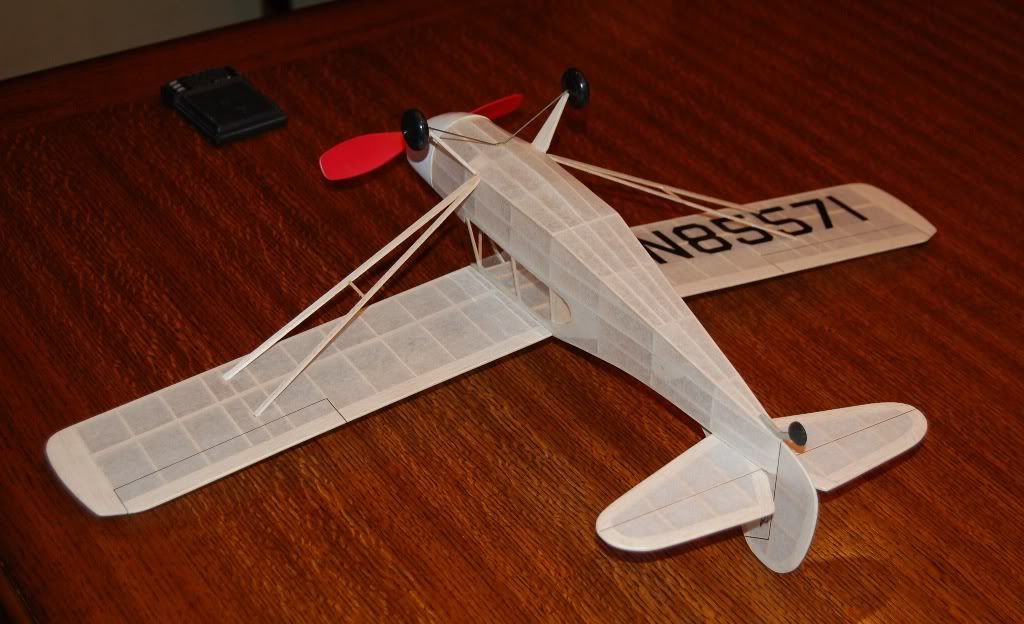
This was a fast build, now I will start covering my Comet P40 since the tissue came in the mail today.....Thanks Easybuilt. This is what a Guillows kit looks like built right out of the box with no modifications. Overall a fun build and the final weight with clay in the nose is 48 grams. If the wood was any heavier I don't think this plane would have a shot at flying. I am hoping to get a chance at flying her tomorrow.
Image
Image
Image
Image
Image
Image
Image
Image
Image
scigs30
 
Posts: 844
Joined: Mon Nov 06, 2006 11:31 am

Postby Xanadu » Mon Nov 02, 2009 11:37 pm

Extremely nice workmanship!
Xanadu
 
Posts: 497
Joined: Wed Sep 27, 2006 9:48 pm
Location: Anola, MB, Canada

Postby scigs30 » Tue Nov 03, 2009 12:50 pm

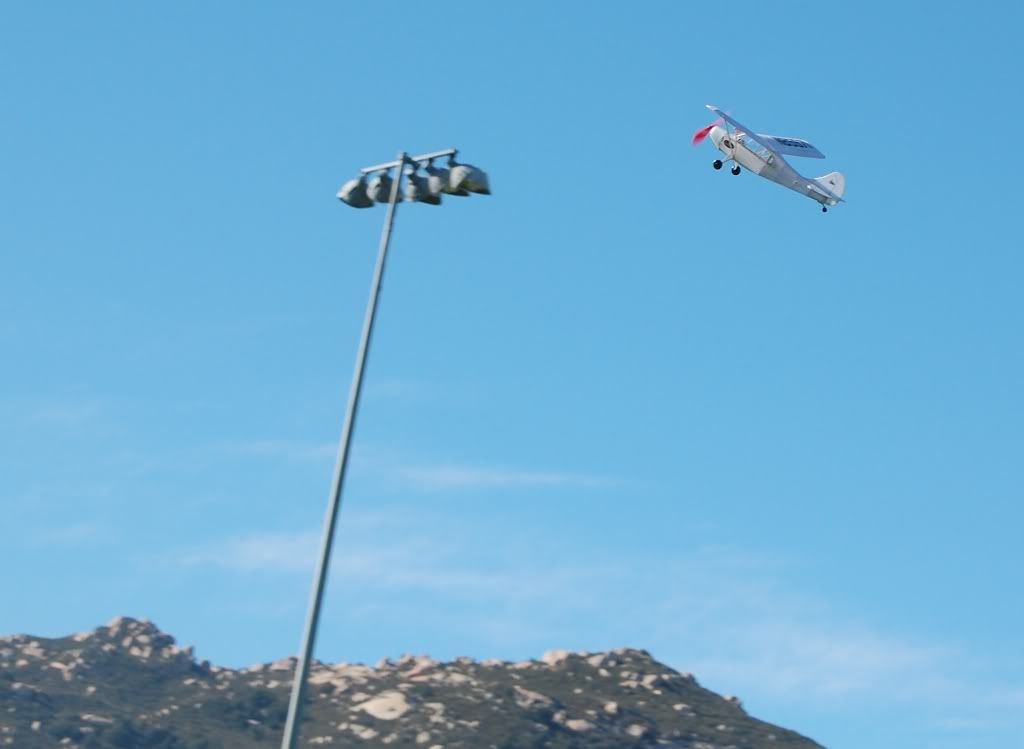
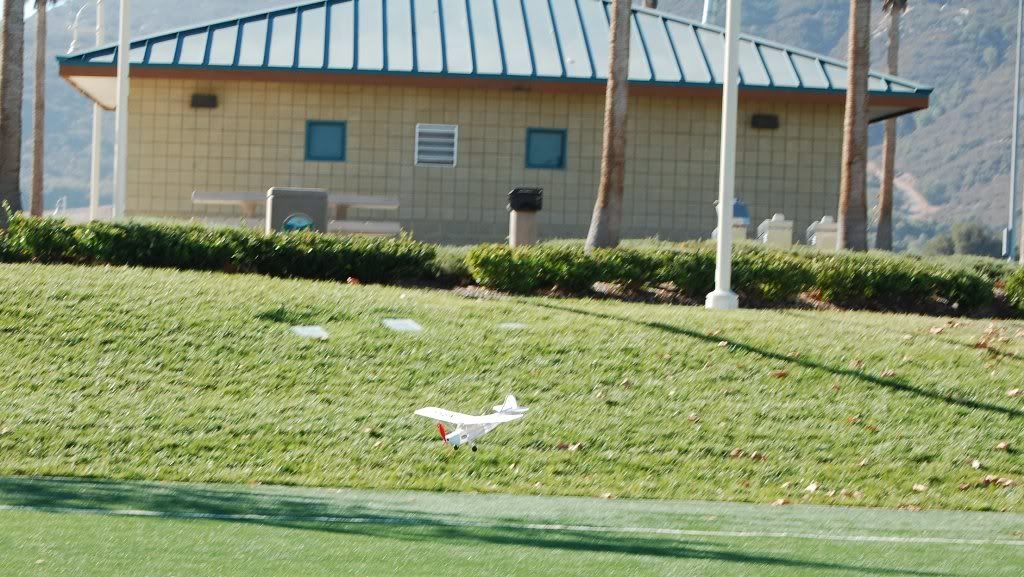
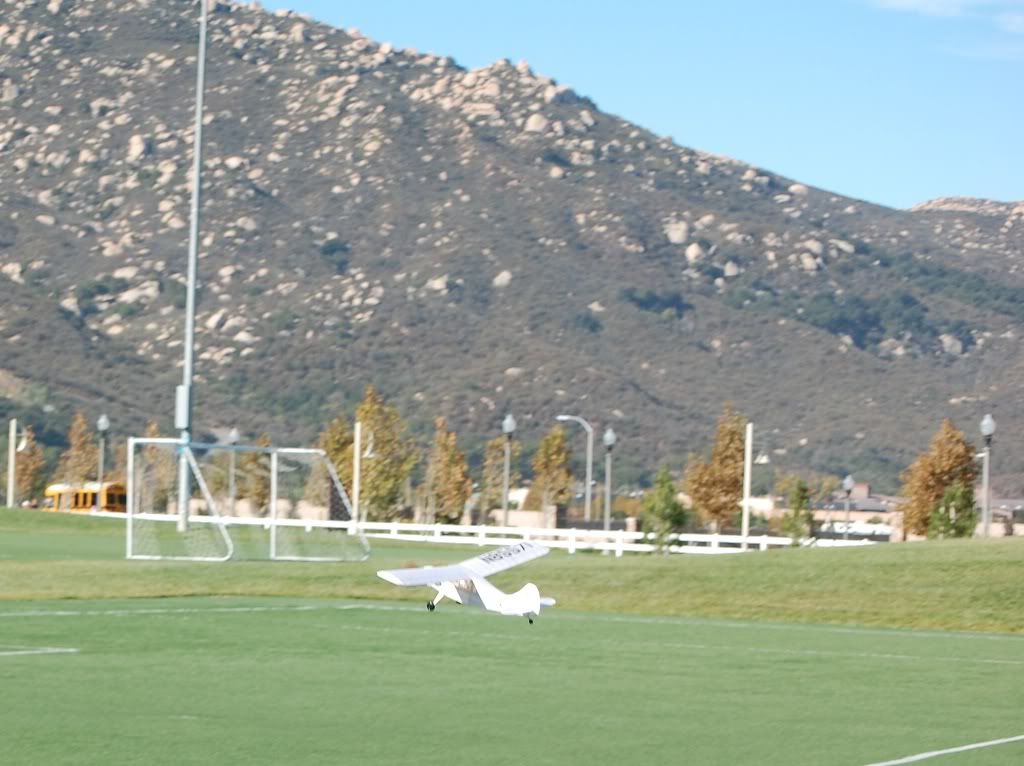
I took the Aeronca out flying today, and it did better than I thought. I did have to add some down thrust and some more clay. I took a bunch of pictures but these are the only ones that came out. Normally the little lady takes the pictures and that is why they come out so nice.

Image
Image
Image
scigs30
 
Posts: 844
Joined: Mon Nov 06, 2006 11:31 am

Postby scigs30 » Tue Nov 03, 2009 2:53 pm

30 or so more Guillows kits and I am done :lol:
Image
Image
Image
scigs30
 
Posts: 844
Joined: Mon Nov 06, 2006 11:31 am


Return to General Building Questions

Who is online

Users browsing this forum: No registered users and 24 guests