The Butcher Bird... the FW 190

Ask other modelers for a little help / knowledge ?

The Butcher Bird... the FW 190

Postby Mitch » Mon May 13, 2013 11:03 am

Good morning everyone...

With my experience from WESTFAC and your advice... I see I need to make changes in my tame FW190 to make it a "Butcher Bird"... I will need to rebuild this kit as there are some things that need to be built into the model... But I plan to work with what I have to make this plane better.

First a few things I learned at WESTFAC... for competition...

1. Wing construction: USE LESS RIBS... I know you all told me this... Now that I have seen other models, I know what I need to do.
2. Dihedral: Wingtip can come up to bottom of cockpit. That means I can increase about 1 INCH! That is huge!
3. Motor mount: Move forward from what is shown on plans.
4. Compound Interest: The more you save in the tail construction will be compounded for ballast savings!
5. Thrust Bearing: I am reworking the front end to have the motor mount adjustable.

There is a whole lot more, but those are a few basics...

1 and 2 will go into my next FW 190 along with hand cut 1/32 ribs!
3. I removed the paper and motor mount and moved it up 2 bays.
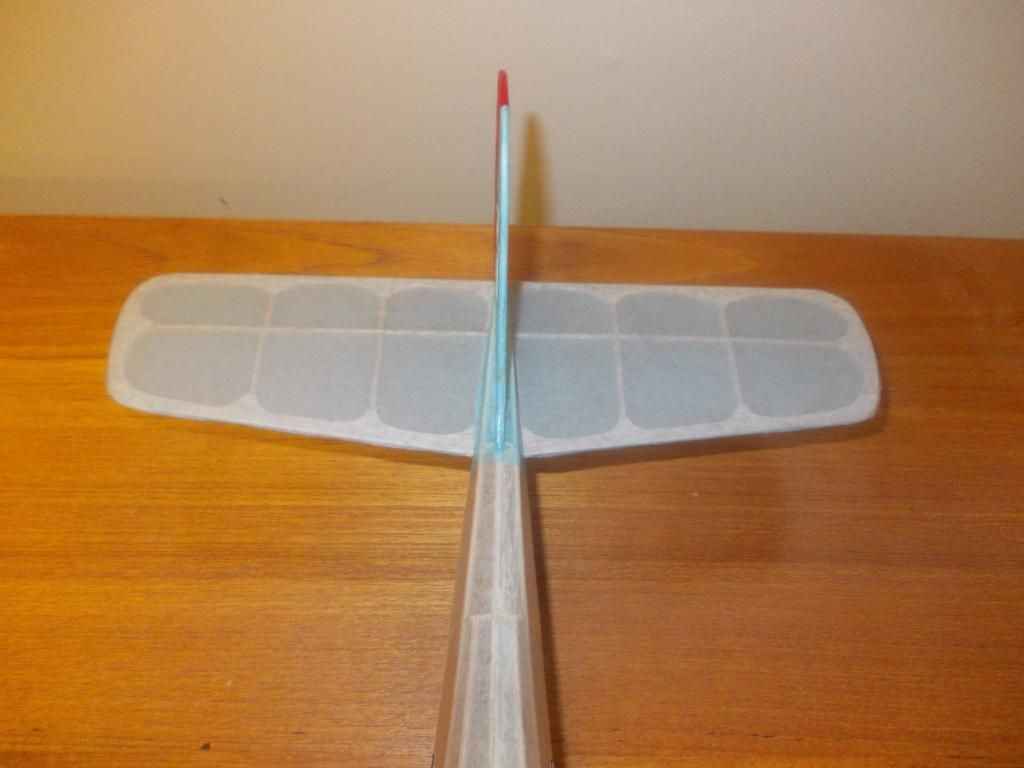
4. I rebuilt the tail. In the past, I tried to save weight by sanding the parts thinner, this resulted in potato chips for tail... Now, I made my own parts as per Guillows plans and removed excess material, and kept the thickness.
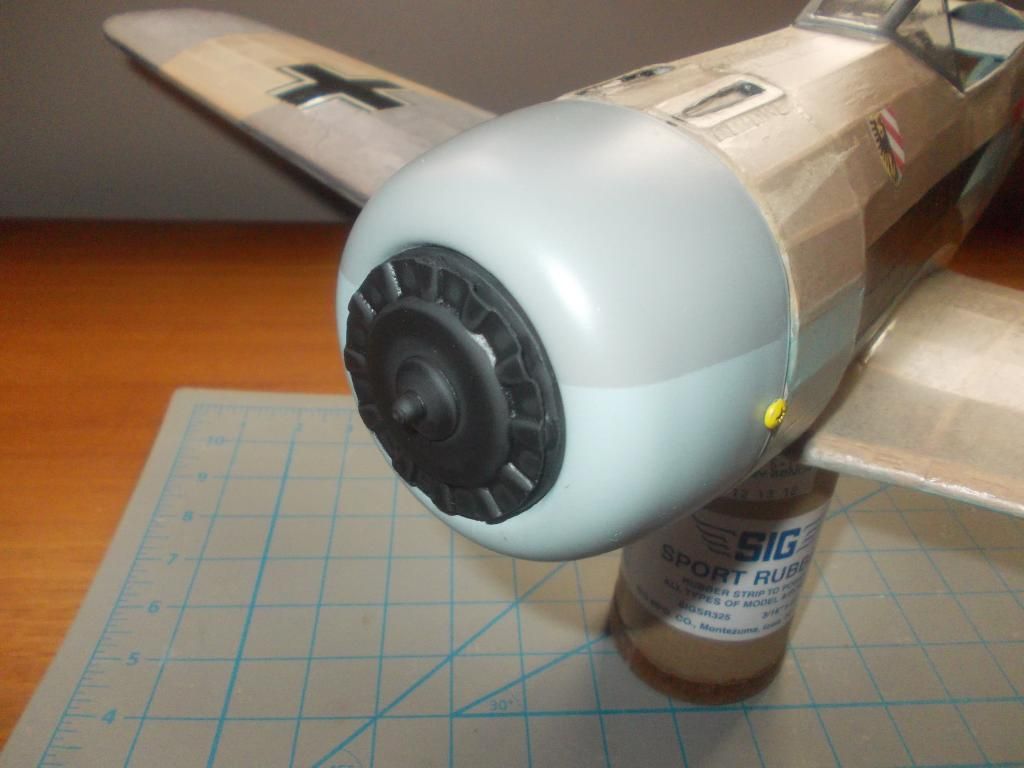
5. I opened up the cowling. I removed the cooling fan and will make a backup plate and then have 4 screws in that for thrust adjustment. I am working on this today.

Staring Point:
Image

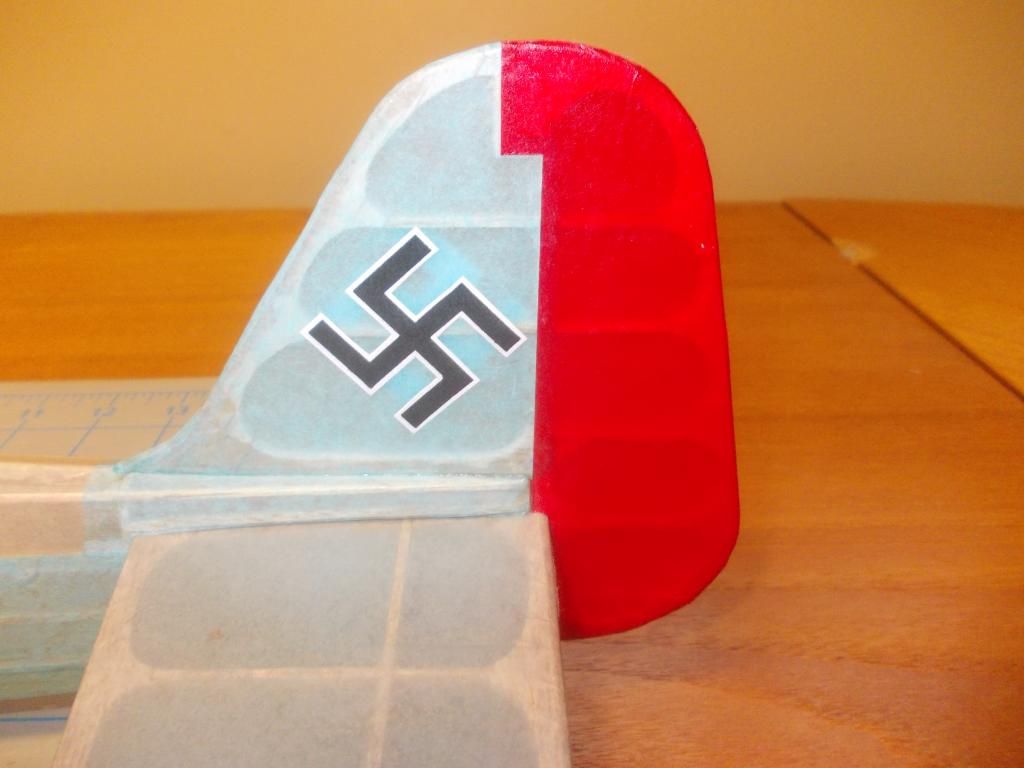
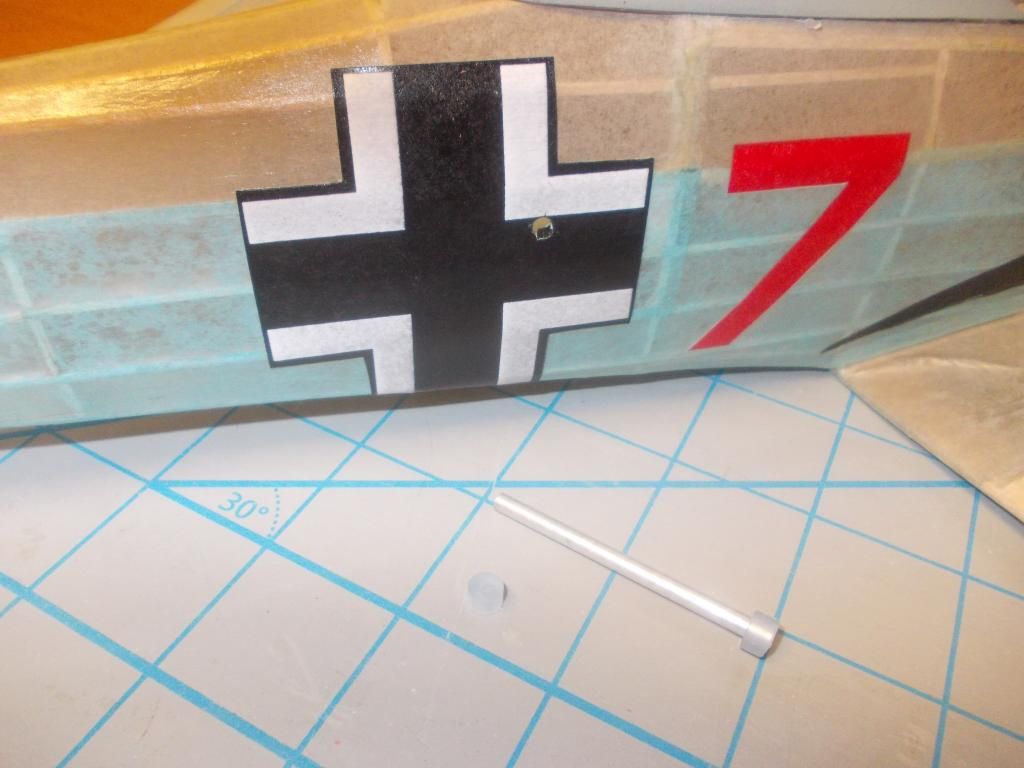
Here is what I have now... I turned "White" 7 into "Red" 7:
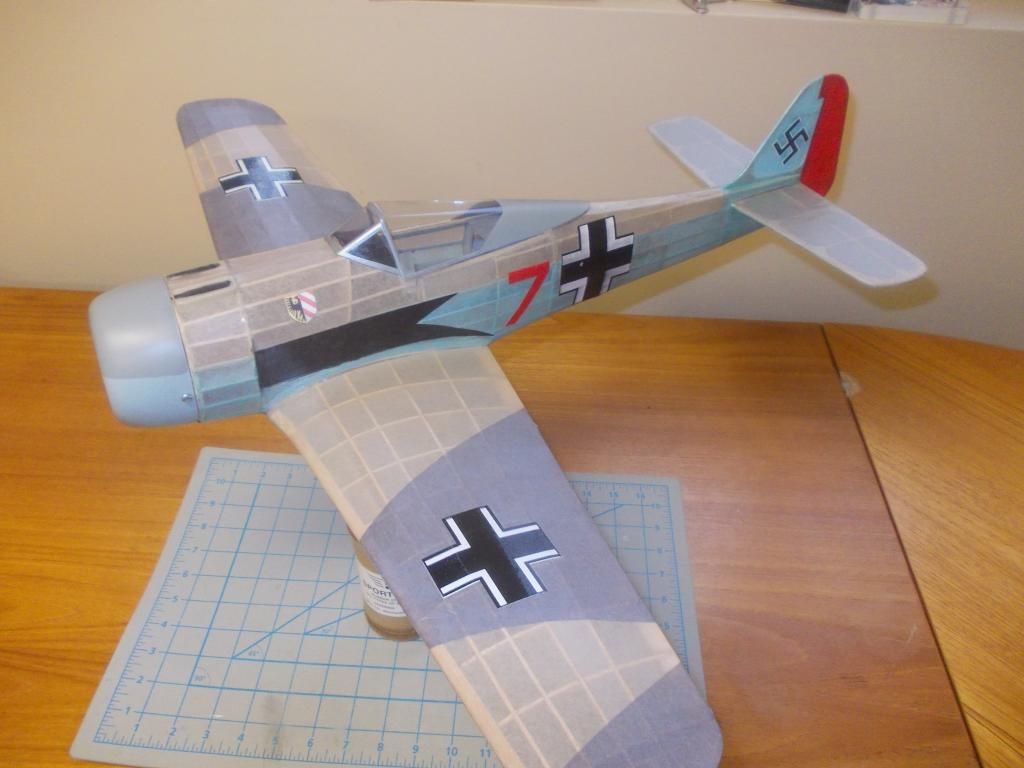
Image

Here is the close up of the tail...
Image
...and...
Image

The motor Mount:
Image
the peg is now 1/8 inch aluminum tube, with medium fuel hose on ends to hold in place.

And the work for today is re-working the front end...
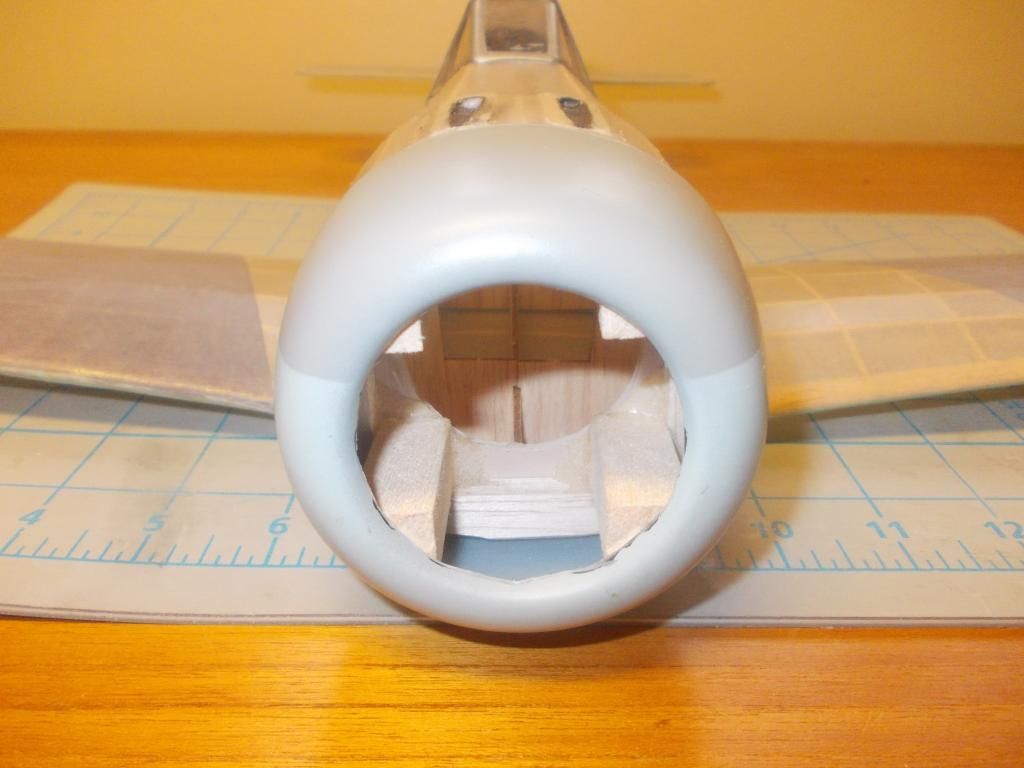
Image

:?: Here is my Question for the day...

To avoid my new tail from becoming a potato chip I decided NOT to wet and shrink the paper. I put it on dry and got it as tight as I could. Now it has one coat of dope but it is not as tight as I like... Is there a better way to do this? I remember some of you said DO NOT wet the tail, only dope.

The tail is not too bad, but it is not as "tight as a drum" :?

The swastika is bond paper...so I can put on another coat of dope. Will that help?

Mitch
Mitch
 
Posts: 1347
Joined: Mon Aug 22, 2011 9:16 pm
Location: Kent, WA

Re: The Butcher Bird... the FW 190

Postby Mitch » Mon May 13, 2013 2:18 pm

UPDATE:

Here is the work so far...
Image

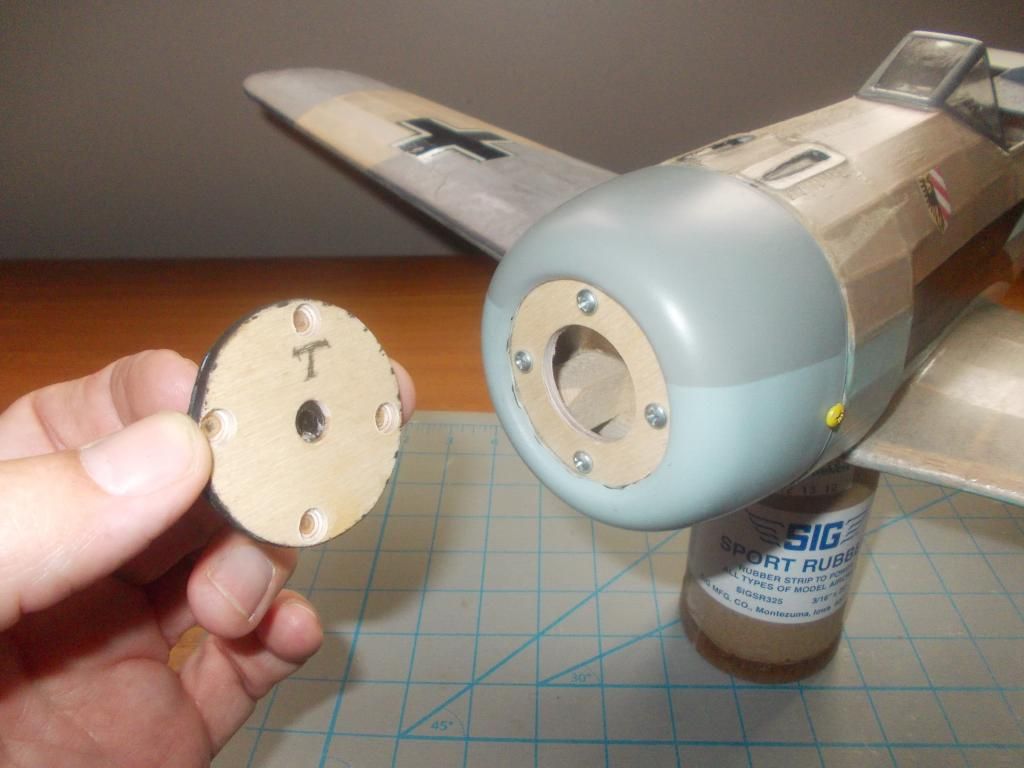
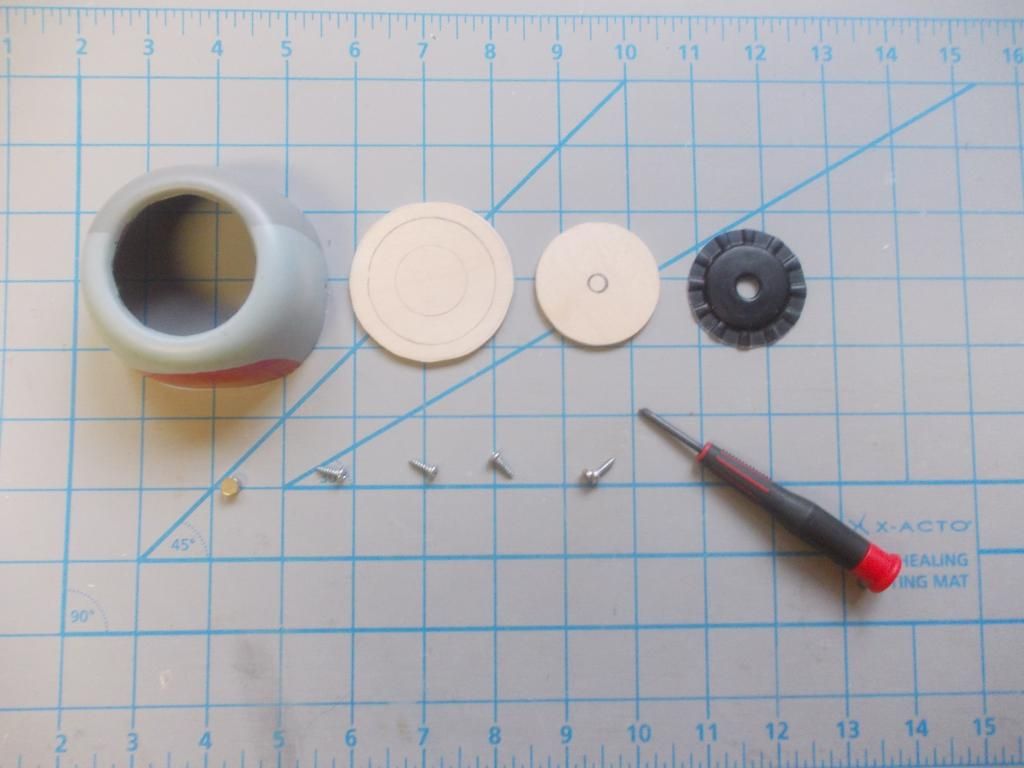
I cut out 2 disks from 1/8 ply.
The larger disk will have a 1 inch hole cut out. This will still leave me 1/2 inch material to place my "set" screws. This disk will be glued to the support posts in the model. They are being trimmed down.
The smaller disk will have the thrust hole removed and have the "fan" glued in front. I will also glue 4 magnets to the back so they will "hold on" to the set screws. That way when the motor is slack, the prop will not fall off. I plan to use 4 strands of 3/16 tan rubber 2x hook to peg (20 inches) with an 8 inch prop. 1200 winds will be "SAFE".

Back to work...Mitch :D

PS For those of you that are "NEW" to building Guillow models... welcome, that's just the "INVITE" to the "PARTY"... there is so much more to do...
Mitch
 
Posts: 1347
Joined: Mon Aug 22, 2011 9:16 pm
Location: Kent, WA

Re: The Butcher Bird... the FW 190

Postby Charles_c » Mon May 13, 2013 4:56 pm

Mitch:

Sounds like you have your work cut out for you, good luck. What is the benefit of less wing ribs ?
Didja get the celluloid ?

I like the way you did the tail feathers !

Charles
Real Airplanes Have Round Engines and Two Wings !
Charles_c
 
Posts: 59
Joined: Sat Jul 28, 2012 2:05 pm
Location: Virginia Beach, Va.

Re: The Butcher Bird... the FW 190

Postby Wildpig » Mon May 13, 2013 5:26 pm

Mitch wrote: :?: Here is my Question for the day...

To avoid my new tail from becoming a potato chip I decided NOT to wet and shrink the paper. I put it on dry and got it as tight as I could. Now it has one coat of dope but it is not as tight as I like... Is there a better way to do this? I remember some of you said DO NOT wet the tail, only dope.

The tail is not too bad, but it is not as "tight as a drum" :?

The swastika is bond paper...so I can put on another coat of dope. Will that help?

Mitch

I don't know if there is a better way. I have heard, somewhere, that too avoid a "potato chip" tail but, still get a smooth finish, that you pre-shrink the tissue with water or alcohol. with the tissue sheet attached to a wooden frame. Sort of like a picture frame. Then, apply the tissue to the model in the normal manner and then shrink with water, again. The thinking is: that there is just a little bit of shrink left in the tissue the second time but, not enough to cause a warp. Never tried it, myself. Your mileage may vary.
Wildpig
 
Posts: 529
Joined: Thu Jan 26, 2012 9:41 am

Re: The Butcher Bird... the FW 190

Postby Mitch » Tue May 14, 2013 10:28 am

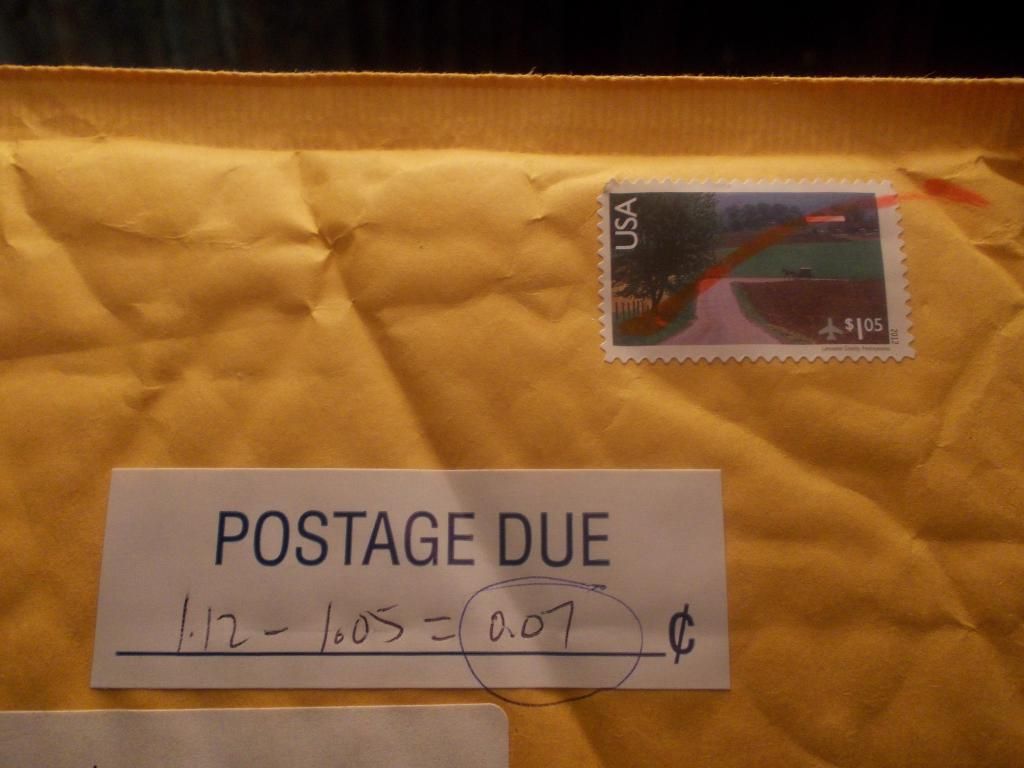
Thanks and Yes I did...even though the Government says we owe them 7 cents... :D
Image
I do not know when I will use it, as I have many projects to work on... :?

Less ribs for a lighter model... Generally these Guillow kits are built like a brick...
A rule of thumb for spacing would be the same spacing as the fuselage frames. My next 400 models will all have half the ribs and also made from 1/32.
I will use only the lazer cut fuselage frames and SOME of the plastic... Basically making the model from a Guillow "short kit"

The nose went together well... I think next time I will use 3 screws instead of 4, as 3 points would be enough.

With cooling fan ON:
Image

And now OFF:
Image
I labeled "T" for top as the screw placement is not perfect and it fits perfect one way only.

For completion flying I use props 40 percent ws...that's 9-1/2 for this model :shock: , but for trimming and fling in my schoolyard I will use 8 inch!

:idea: As for the tail... I will add one more coat of dope. It's not too bad and you cannot see the wrinkles in the photos, but next time I will pre-shrink the paper... I think that is a good idea!

This is my test version 190, and I plan to build another for the next completion! I am planning on that to be Labor Day w/e in Denver!

Mitch
Mitch
 
Posts: 1347
Joined: Mon Aug 22, 2011 9:16 pm
Location: Kent, WA

Re: The Butcher Bird... the FW 190

Postby Steve Blanchard » Tue May 14, 2013 11:04 am

Mitch, Once again great job. If you preshrink your tail tissue then try this. First create a small frame that is larger than your biggest tail structure. glue stick a sheet of the tissue you want to cover the tail with to the frame all around the frame. When the glue is dry spray it with water or alcohol or whatever you use to shrink your tissue. after it has dried and shrunk drum tight leave it on the frame. Spread glue stick or dope or white glue or whatever you use to apply tissue to structures onto the tail piece you want to cover. Then just press the piece to the tissue in the frame. When it is dry, cut it out of the frame. Repeat for the next side. You will have a very tight clean covering job ready to be doped or sprayed with Krylon Crystal Clear. Do not reshrink it. By the way Krylon does not shrink the tissue at all like dope does. Just use several (I use 3) very light coats.

I hope this helps.

Steve
Steve Blanchard
 
Posts: 343
Joined: Tue Jun 14, 2011 10:08 am

Re: The Butcher Bird... the FW 190

Postby Bill Gaylord » Tue May 14, 2013 4:14 pm

One detail about the Guillows FW190 that is not often discussed, is that it is an A3 model, which is White 17 of Heinz Orlowski. It may only marked on the plan in a single location. Since the A5-A8 FW190 has a slightly longer nose (I believe around 6" in full scale), it allows the model to be slightly lengthened and still be scale if building an A5-A8 model. I've done the nose lengthening mod for my Guillows FW190 builds by slightly extending the fuse keels, since it allows for reduced nose ballast. Of course they are then technically an A5-A8 model, although I built 2 of them as White 17. Oh well, I'll chose a proper scheme next time. :D
Bill Gaylord
 
Posts: 904
Joined: Sun Nov 09, 2008 1:29 pm
Location: Grove City PA

Re: The Butcher Bird... the FW 190

Postby Charles_c » Tue May 14, 2013 4:31 pm

Mitch wrote:Thanks and Yes I did...even though the Government says we owe them 7 cents... :D
Mitch


Don't understand that, Mitch. I took the package to the post office, they weighed it and said $1.05.
Inflation while enroute ?

Charles
Real Airplanes Have Round Engines and Two Wings !
Charles_c
 
Posts: 59
Joined: Sat Jul 28, 2012 2:05 pm
Location: Virginia Beach, Va.

Re: The Butcher Bird... the FW 190

Postby Mitch » Tue May 14, 2013 7:59 pm

Charles...BUT they still delivered it! It's not like I got a note to come to the P.O. I just think it was very funny! :lol:

Okay back at the factory, and test field...
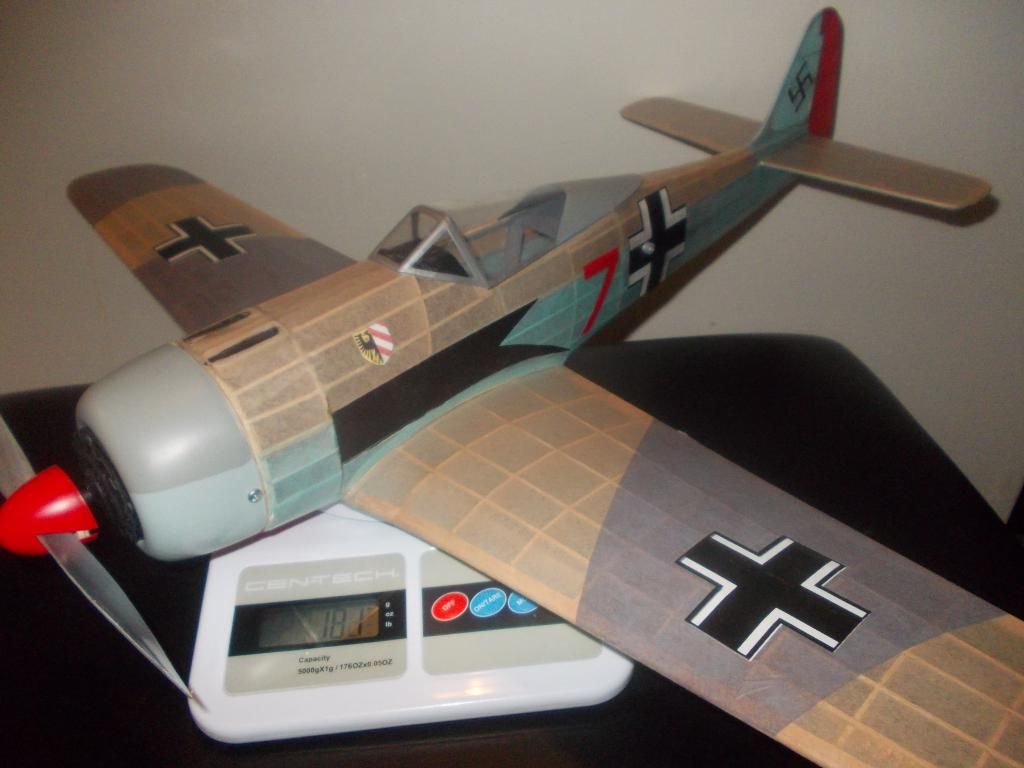
Image
at 101g this plane will NOT win any contests... One reason for less wing ribs...

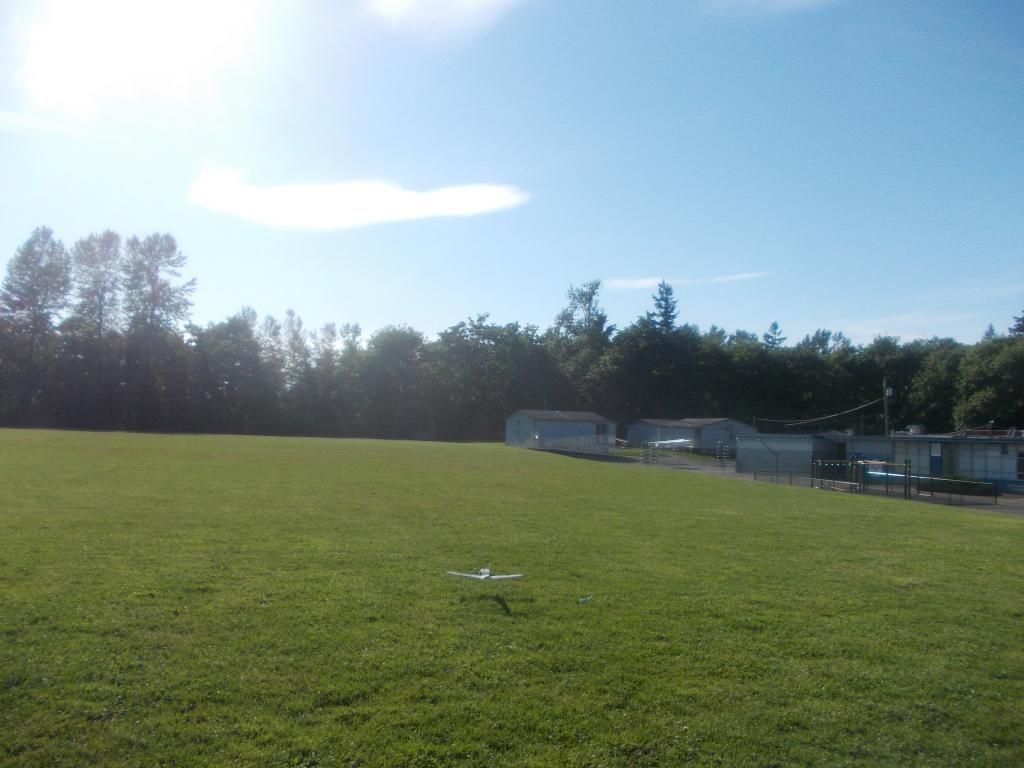
Image
Not a spectacular flight, but straight and level and NOT TOO many winds, with a short rubber.

It REALLY HELPED to be able to "dial in" the trust angle! :D

Mitch

PS Thanks to Bill about the A3 clarification... I thought this bird looked a bit short. That's because it is! My "Red 7" is just a fantasy scheme although I have seen a few pictures of FW with "Red Tails"... I think my next FW will be the A5-8 model and I will pick a specific pilot's plane to model!

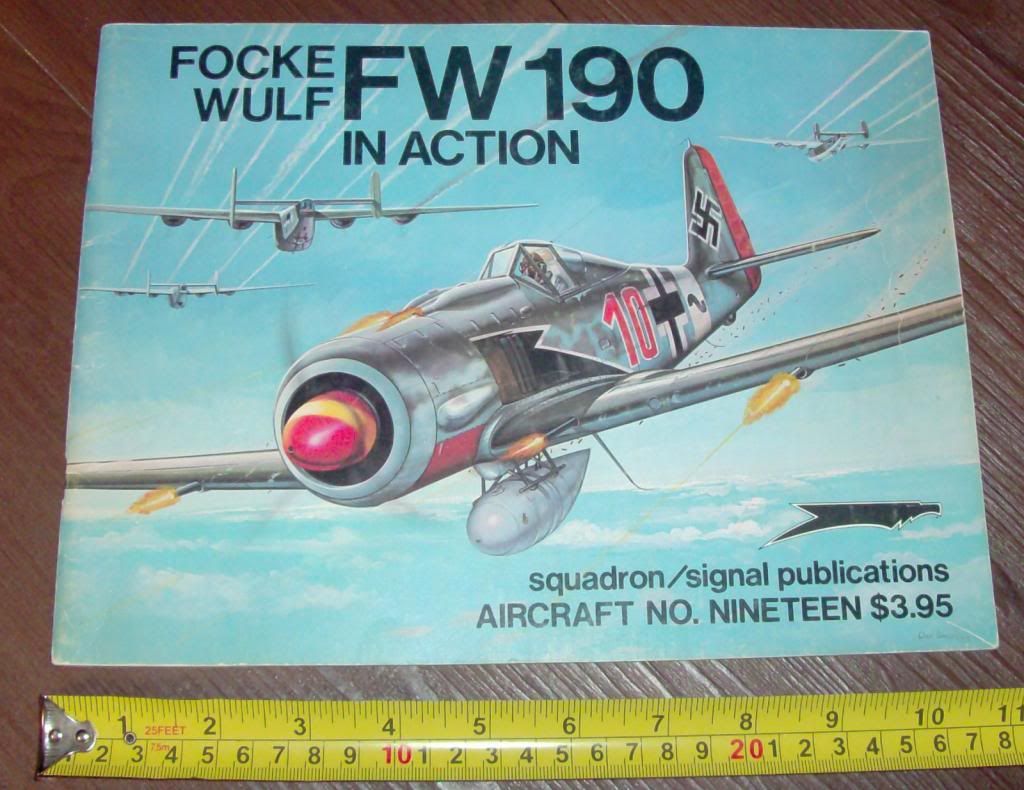
UPDATE: Just found this picture on the 'net'...
Image
Looks like this cover photo is a A5 or latter version,,, I like the nose a little longer and my next FW, I will move B1 forward about 1/2 inch!
Mitch
 
Posts: 1347
Joined: Mon Aug 22, 2011 9:16 pm
Location: Kent, WA

Re: The Butcher Bird... the FW 190

Postby Bill Gaylord » Sun May 19, 2013 10:01 pm

The slight nose elongation for the A5-A8 will help a lot, with reducing ballasting. Good thought.
The other thing I forgot to add, is that I've reworked the "stand-off-scale" scheme that Guillows does for the side vents behind the cowl. The simply recess the entire fuse side, versus framing in the vents for scale looks. I can understand why they did it, as it simplifies the framing, but a bit of weight won't hurt much, as it's likely needed anyway in the forward fuse area. For the last few 190 builds I've done, the fuse side keel and second fuse former recesses were filled, to create a smooth curved fuse profile. The vents were then framed in afterward, by simply adding a few stringer sections around the vent perimeter. Shouldn't be too much additional work, whether sheeted or covered. To each their own, but I like the look of the 190 side vents.
You do not have the required permissions to view the files attached to this post.
Bill Gaylord
 
Posts: 904
Joined: Sun Nov 09, 2008 1:29 pm
Location: Grove City PA

Re: The Butcher Bird... the FW 190

Postby Mitch » Mon May 20, 2013 11:45 am

Thanks again Bill... I think I will add the exhaust pipes that come out though that area next build...

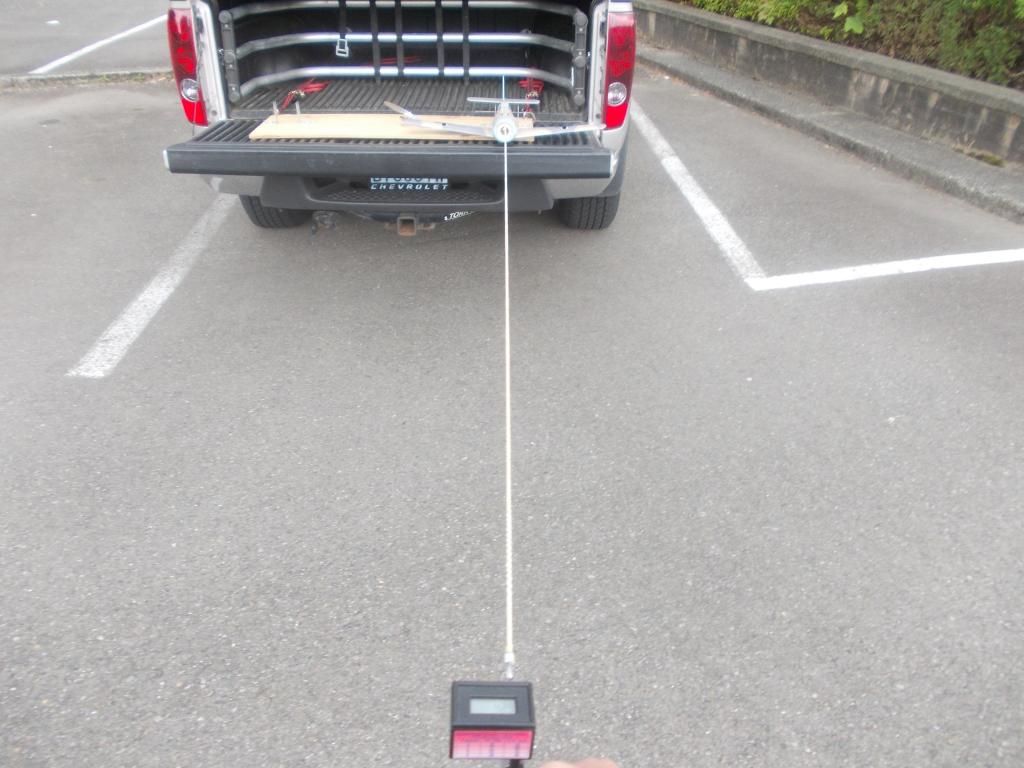
Was flying (still trimming) my 190 on Sunday...at the parking lot getting ready to wind:
Image

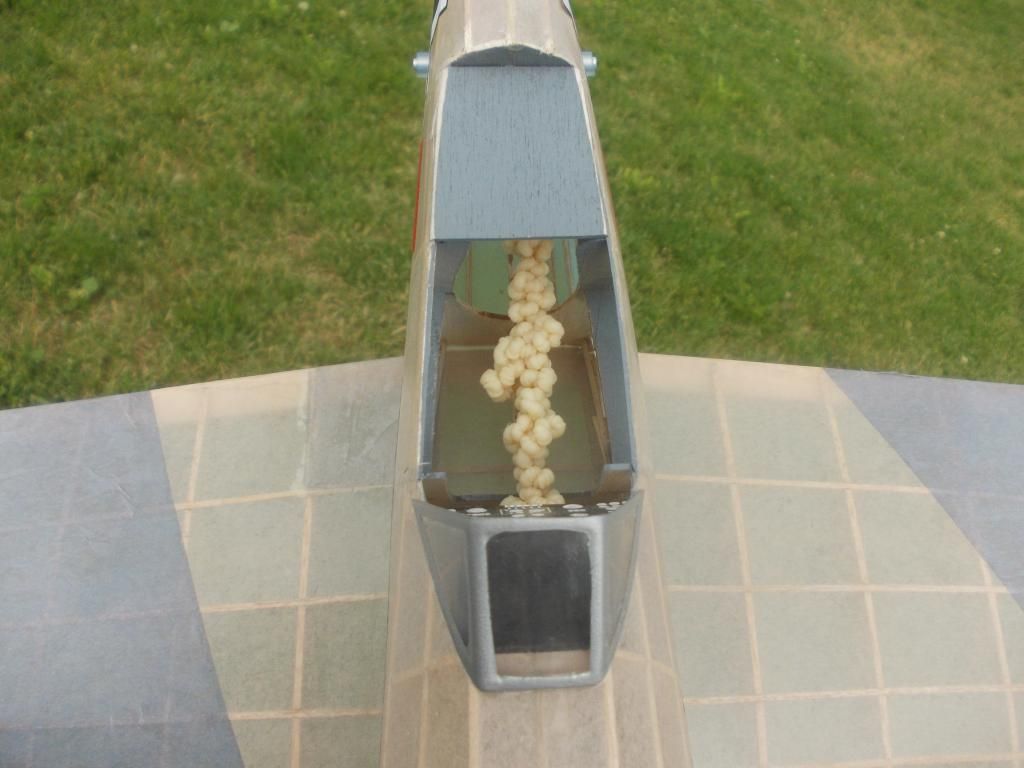
All wound up, 4 strands of 30 inches, wound 1000 turns:
Image

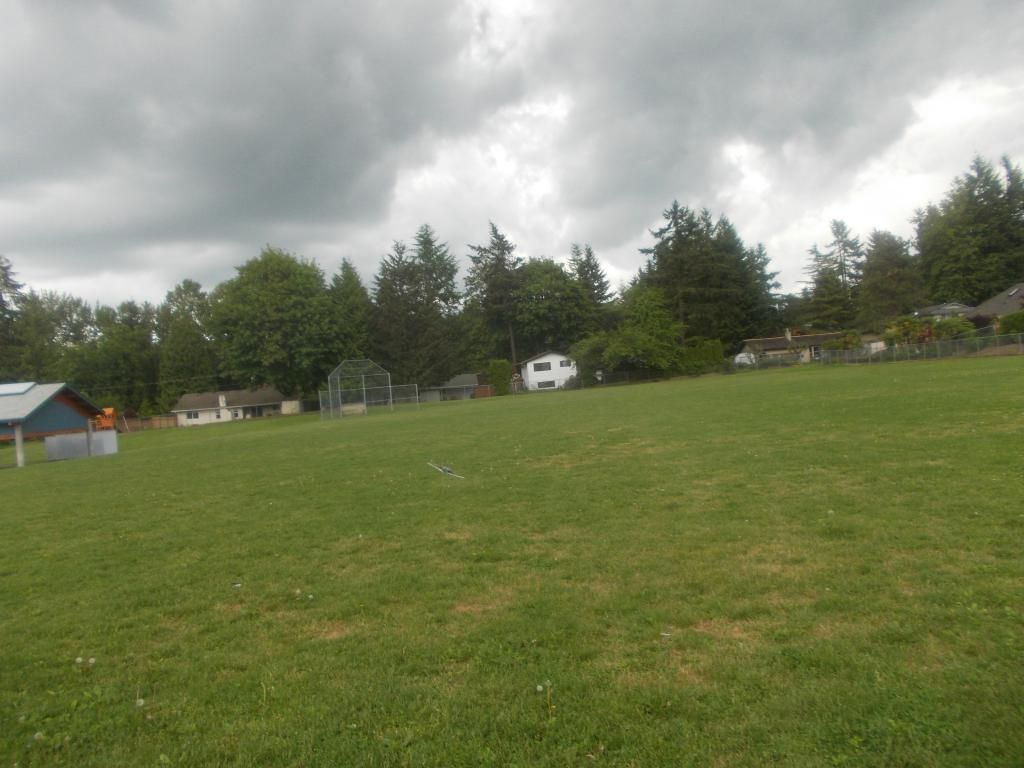
I was not satisfied with the flights... I believe the model is too heavy and the torque is not quite enough to get higher flights:
Image

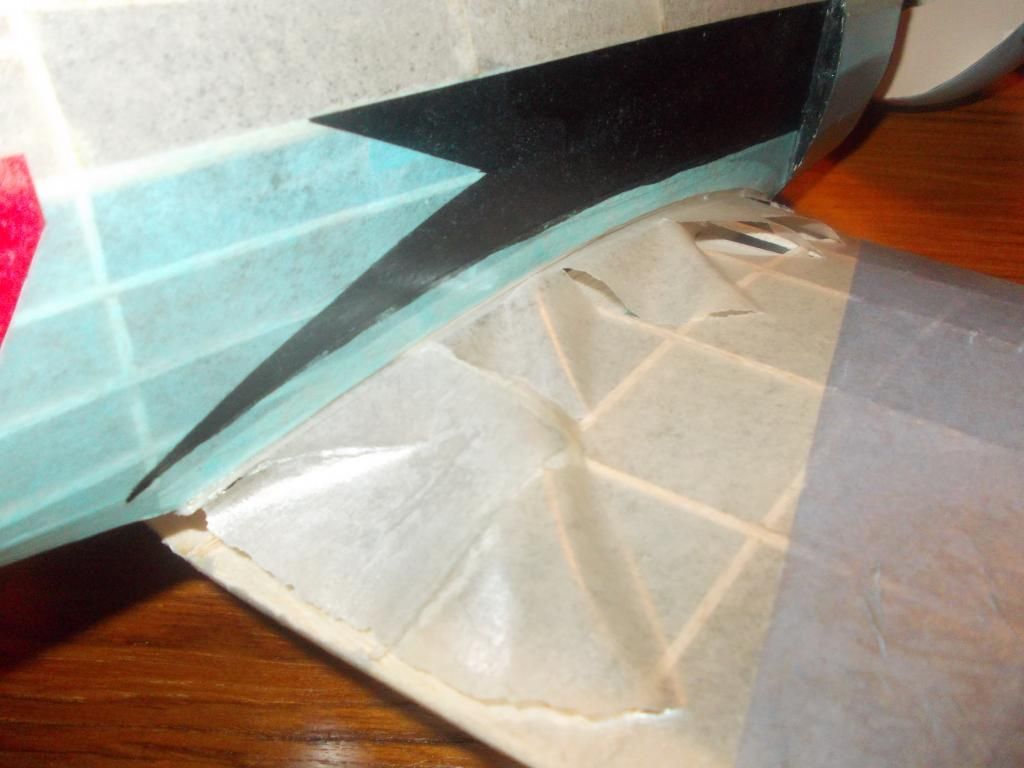
I doubled over the rubber... 8 strands of 15 inches, wound up to 200 turns! Now I'm getting some torque! I made a few flights and then made a mistake... Trying to get the model higher I tossed it skyward, rather than level... It did climb about 20 feet until it ran out of power, then stalled. Coming straight down, and no time to come out of the dive. Hit the ground nose first... The energy was transferred to the wing and broke it loose:
Image

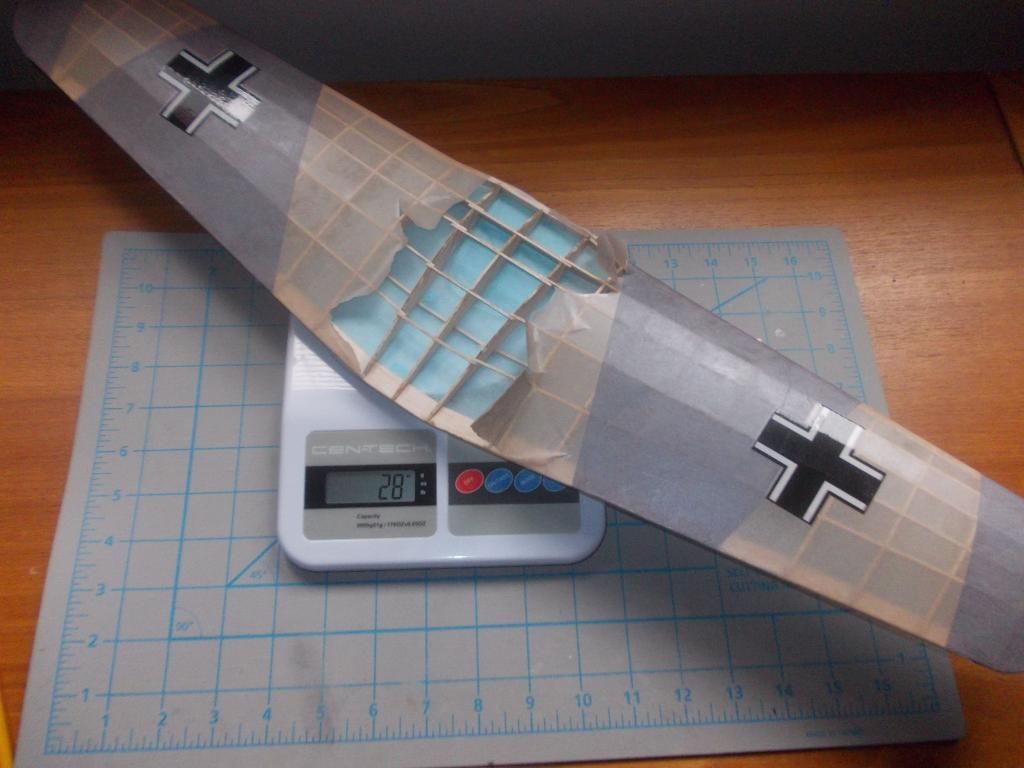
So... back to the repair shop. I lightened the fuselage frames removing as much wood as I dare...Some was knocked off by the unwinding rubber motor also. I removed the wing and although there is no damage I will take this opportunity to build another (lighter, more dihedral, one color) and re-install.
Image

This wing weighs 28 grams... I know I can make one much lighter...

1. Use half the ribs
2. Made from 1/32
3. Less spars
4. Scallop the trailing edge
5. One color paper = Less Dope

I should be able to make the wing this week... Mitch
Mitch
 
Posts: 1347
Joined: Mon Aug 22, 2011 9:16 pm
Location: Kent, WA

Re: The Butcher Bird... the FW 190

Postby Steve Blanchard » Mon May 20, 2013 1:24 pm

Boy do I know those days. Still have them often. I have a suggestion with regard to the rubber motor. Instead of doubling it over, try adding just one more loop. Even a loop of a smaller cross section may be just enough poop to get it to go. You need to strike a balance between initial power and cruise before you get to the glide. The initial power should get you aloft, the cruise should be an extended transition of the power phase into the glide. It will be more stable if you can get the motor to run longer with slightly greater power and then have a very smooth, almost unnoticeable transition into the glide. A lot of guys time their motor runs and have had some motor runs in upwards of 90 seconds. If you get that kind of run and you are still way in the air, even if it glides like a brick you still flew for a minute and a half. Not every model is going to get a 90 second motor run but the longer it is the better.

Steve
Steve Blanchard
 
Posts: 343
Joined: Tue Jun 14, 2011 10:08 am

Re: The Butcher Bird... the FW 190

Postby Mitch » Mon May 20, 2013 3:52 pm

I know... I should know... I was just impatient and it was quick and dirty way for more power to loop over what I had... 8 strands though... A few of those knots unwinding trimmed the inside of my fuselage a bit...

I think it is also important to have the model at a reasonable weight... The guys at WESTFAC said they strive for a Wing Load of .5 g / sq. inch. Mine are in the .85 to .95g range... I would like to get down to .65 to .75

:!: Here is a clever idea to compute wing area. Make a rectangular cut out that covers the wing. (Easy to compute that area) Weigh it, then cut out your wing shape from that paper. Weigh it again and that will be the percent of the rectangle. Another trick I learned at WESTFAC.

I will do that for my FW and get a before and after weight and wing load.

I also decided to fly with just the 8 inch prop, because if I get this bird to fly I don't want to have it fly out of the school yard with a 9-1/2 inch prop. I will save those for a proper flying field, and contests.

Mitch
Mitch
 
Posts: 1347
Joined: Mon Aug 22, 2011 9:16 pm
Location: Kent, WA

Re: The Butcher Bird... the FW 190

Postby jpuke » Tue May 21, 2013 8:59 am

What did you seal your tissue with? Did you use the silkspan provided in the kit? Your 101g is scaring me as I'm building a 400 series P-51 right now and my plan is to use silkspan and dope for the covering. Not meant to be a criticism at all, very few of my models have come in "light", I'm trying to figure out if I should have put some more effort into weight saving.
jpuke
 
Posts: 75
Joined: Wed May 04, 2011 8:03 am
Location: Lincoln, NE

Re: The Butcher Bird... the FW 190

Postby Steve Blanchard » Tue May 21, 2013 9:33 am

Jpuke,

I'd like to offer a suggestion on weight saving. The best place to start weight saving is in the tail surfaces. A general statement used in balancing a free flight rubber model is "Every gram in the tail means 4 grams of ballast in the nose". I'm sure this varies based on nose moment and tail moment and other factors but it is generally very close. So, If you can build the back end and the tail as light as possible you will not be using as much ballast on the nose. You can sand down the formers aft of the CG for the fuselage. You can use lighter wood for the tail and pre-shrink the tissue to avoid warps. The tail can be made of laminated outlines instead of the almost solid wood tails that Guillow's plans have. These are all of the changes that can be made to all model plans not just Guillow's. The wings; Mitch is 100% right on using only half the ribs. If you are up for making your own ribs then 1/32 wood for the ribs except for the root ribs is the best way to go. Sliced ribs, Laminated tips for the round tipped wings. So many ways to save that all equal up to easier trimming and better flights.

Steve
Steve Blanchard
 
Posts: 343
Joined: Tue Jun 14, 2011 10:08 am

Next

Return to General Building Questions

Who is online

Users browsing this forum: No registered users and 29 guests