1000 Series Hellcat to Static
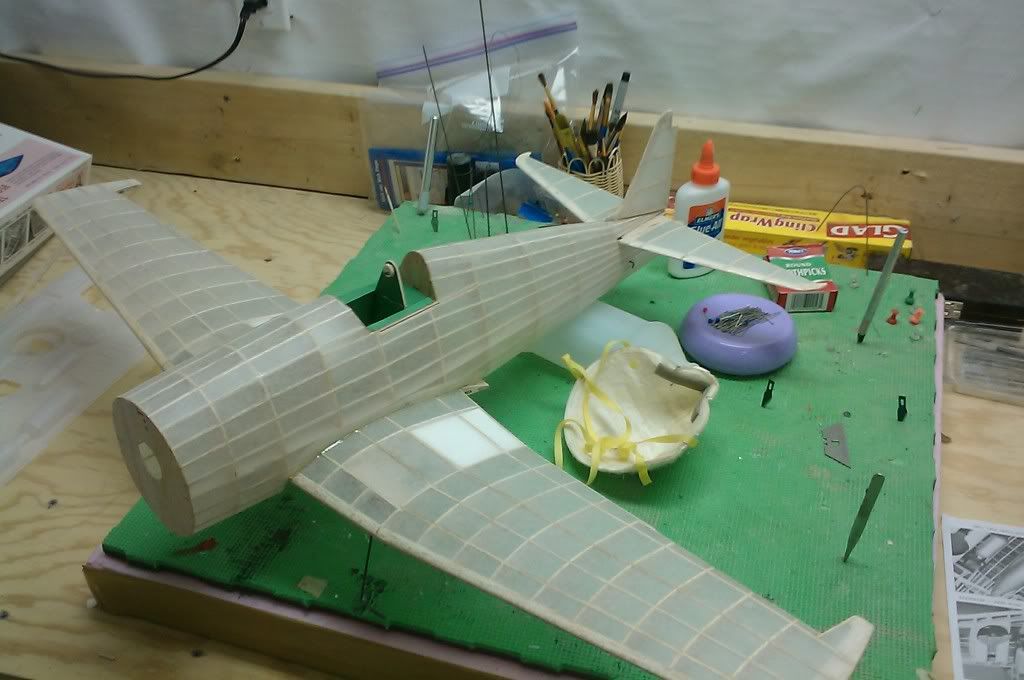
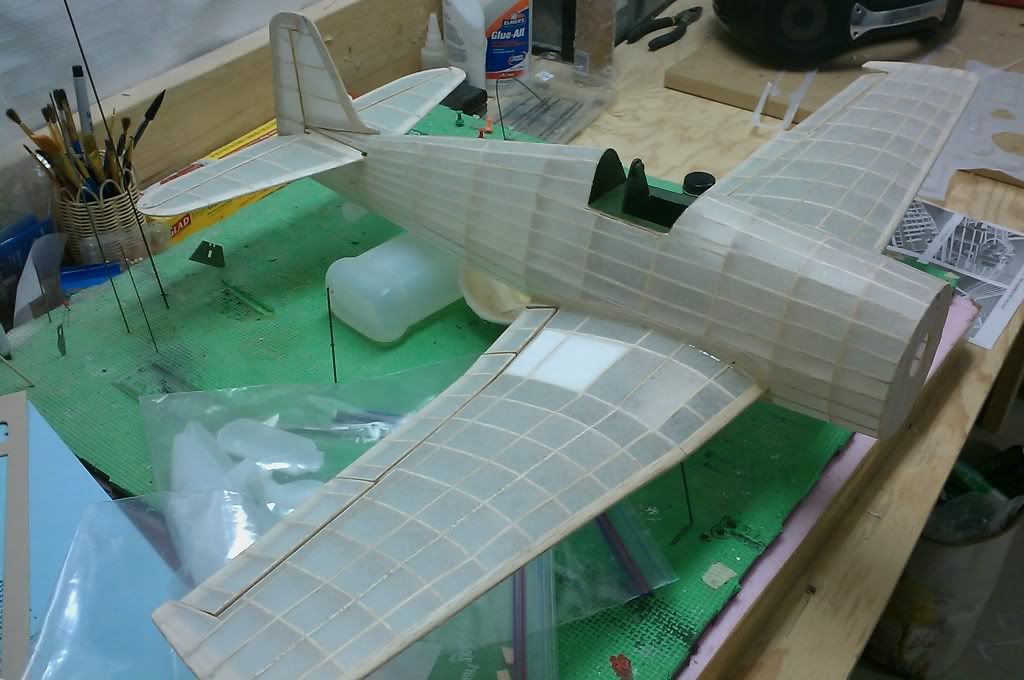
three coats of nitrate dope, and those parts are glued in, w/o moveable flaps. i thing now is an ok time to put those parts on because i have to add the rest of the fuselage under the wing anyway, which requires the wing to be attached. i am thinking of a navy blue color for the top surface, and white or light blue for the undersurface.


- ADW 123
- Posts: 1158
- Joined: Mon Feb 22, 2010 5:22 pm
- Location: Cincinnati, Ohio
how she looks with flaps in.
i also did paint the cockpit dark green. i also painted the wheel wells this color. i have decided on Blue angels blue for the upper surfacees, and clasic white for the bottom.
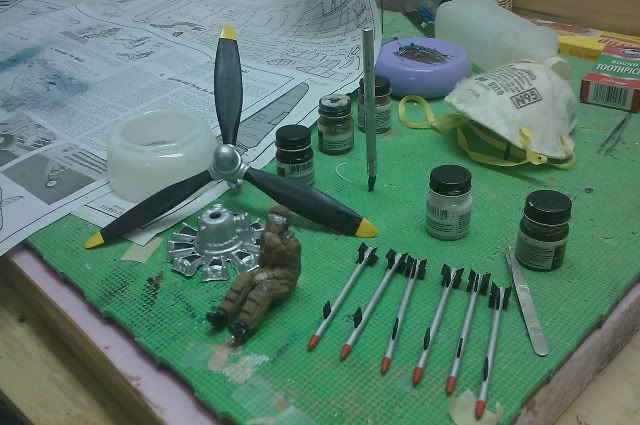
rockets painted, need some touch up. engine/prop assem.
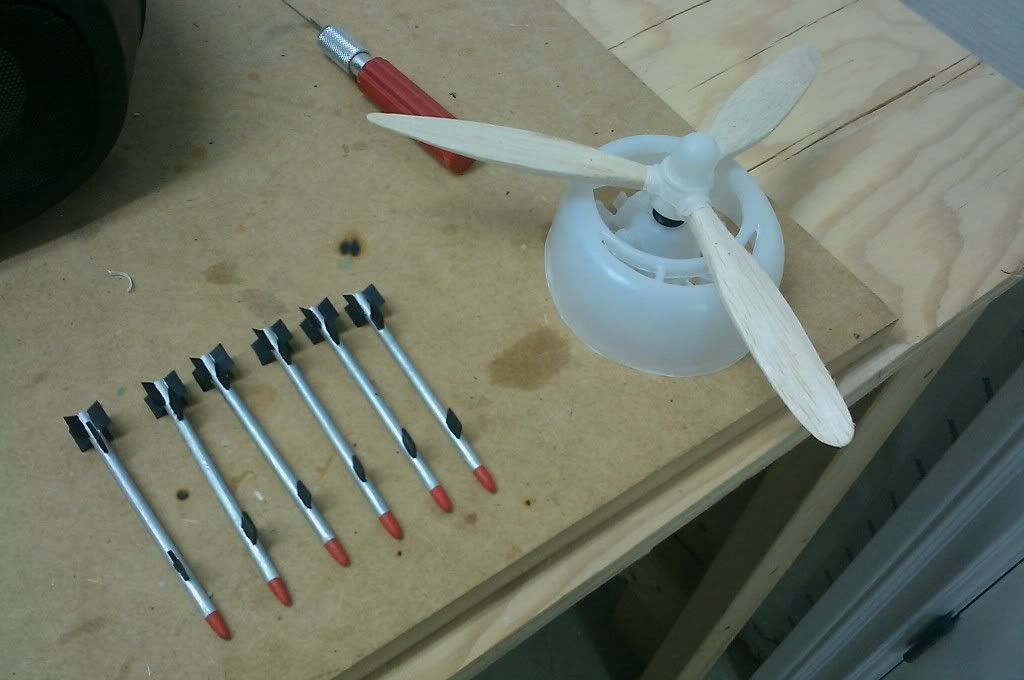
i also did paint the cockpit dark green. i also painted the wheel wells this color. i have decided on Blue angels blue for the upper surfacees, and clasic white for the bottom.

rockets painted, need some touch up. engine/prop assem.

- ADW 123
- Posts: 1158
- Joined: Mon Feb 22, 2010 5:22 pm
- Location: Cincinnati, Ohio
Your Hellcat is looking fantastic. Very nice work. Unfortuneately for me, it's about this phase of the build where I start getting over zealous in my urge to finish and start to mess up the detail work. I was just curious to see when you were going to add the inspection ports and plastic implants or maybe paint or pen them on. On some of my models I've put them on before covering and seems that they blend in much better. I've already covered my lightning and it looks like I will need some filler to blend some of the plastic to make it look clean. Later.
- cliffm
- Posts: 370
- Joined: Fri Feb 27, 2009 11:08 am
- Location: fairdale N D
thank you cliffm. i think everyone gets to that point, just as you do. i have to force myself to continue on and not miss detail. i feel its really easy to miss detail even if you are trying to add as much as possible.
now, i start to add access ports and plastic bits. i have nearly all the paper paterns on now. i think that i will add some white glue around the edges and tape down some of the loose ends, in case there is a crack that needs to be filled. i used CA to glue them down. i believe that it will make for a smoother finish if i spray paint everything while it is on the aircraft. i test sprayed my blue angels blue and i am happy with it. im not sure what i am going to do with the external fuel tank halfs. those stupid plastic halfs never fit together right.
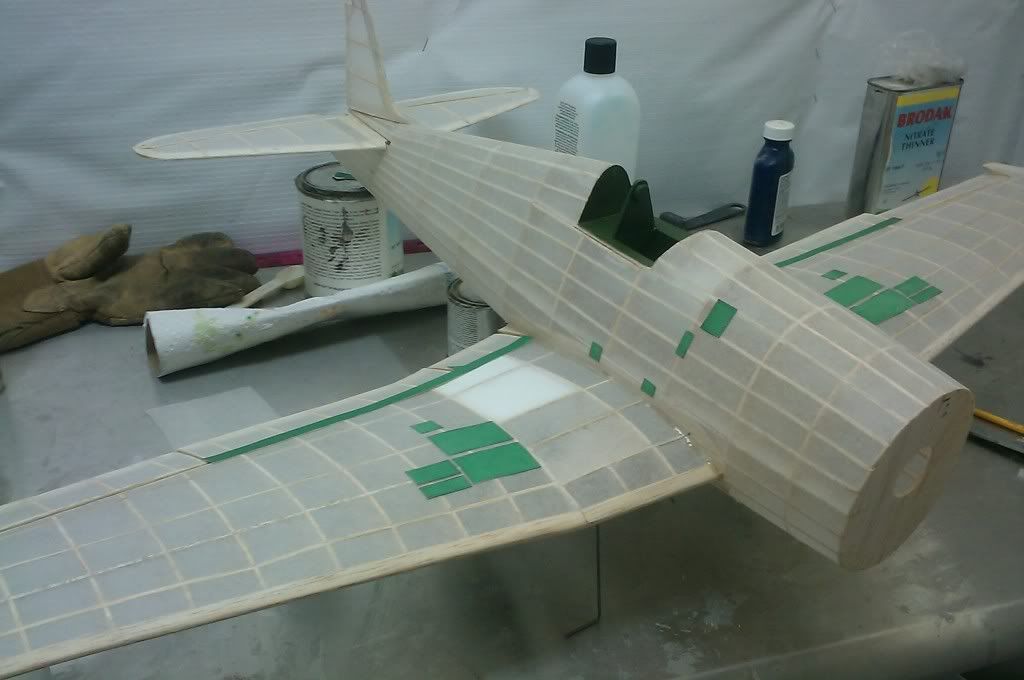
now, i start to add access ports and plastic bits. i have nearly all the paper paterns on now. i think that i will add some white glue around the edges and tape down some of the loose ends, in case there is a crack that needs to be filled. i used CA to glue them down. i believe that it will make for a smoother finish if i spray paint everything while it is on the aircraft. i test sprayed my blue angels blue and i am happy with it. im not sure what i am going to do with the external fuel tank halfs. those stupid plastic halfs never fit together right.

- ADW 123
- Posts: 1158
- Joined: Mon Feb 22, 2010 5:22 pm
- Location: Cincinnati, Ohio
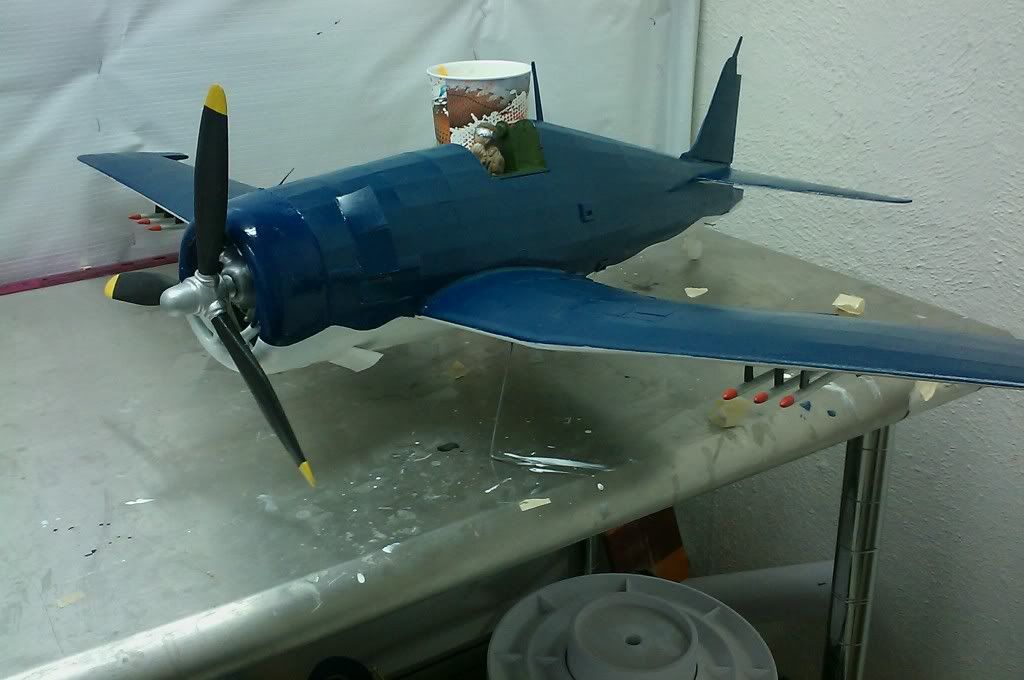
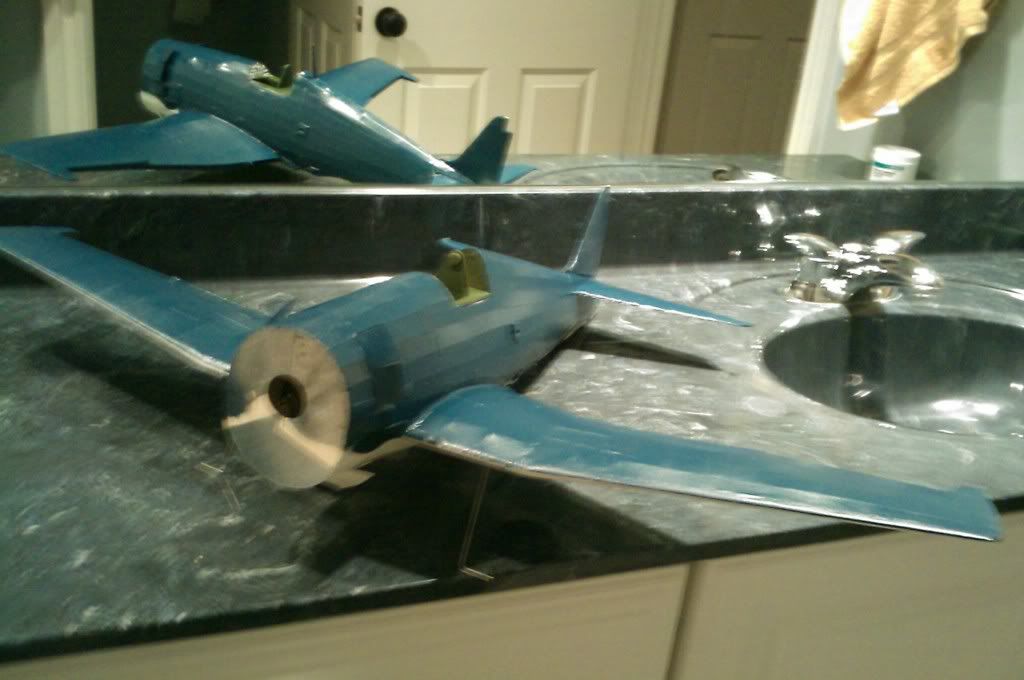
sorry for the poor picture, but this is all for now. paint has been applied to both top and bottom surfaces. i am quite happy with the results. the paint got under the masking tape in some spots, but i bought a little jar of blue angle blue paint just for touchups, so it wont be a problem. the white on the bottom however did not look so good. it kind of went on in some spots and looked porous and in others it kind of stuck up like sandpaper. hmm... i will probably have to do a little sanding and just brush on some more color to even things up.

- ADW 123
- Posts: 1158
- Joined: Mon Feb 22, 2010 5:22 pm
- Location: Cincinnati, Ohio
just to show the color line-
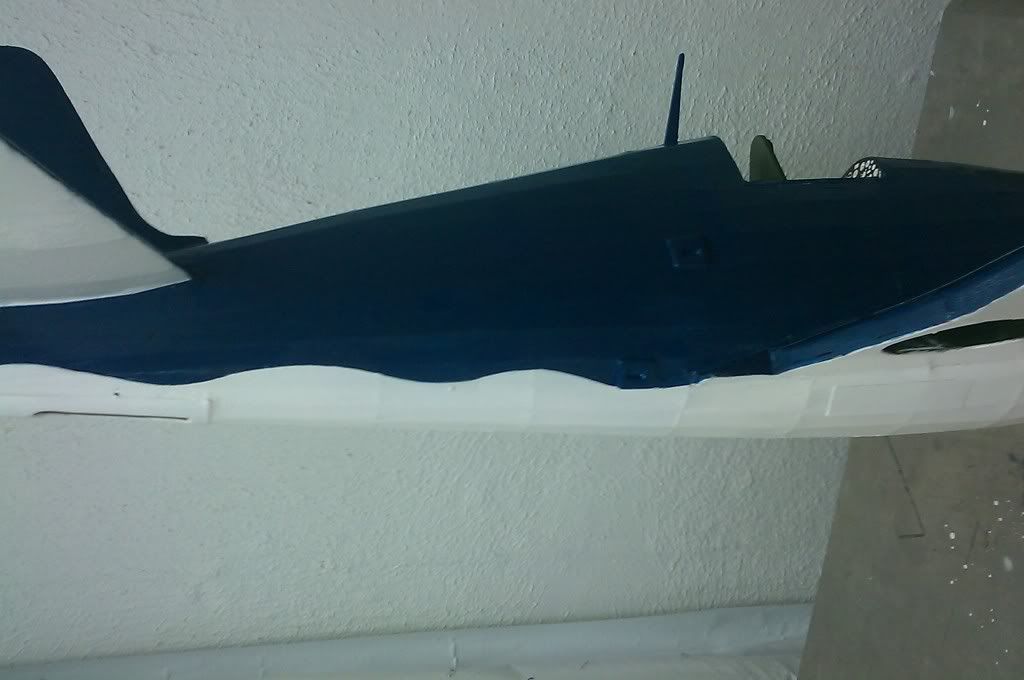
i now have the white all fixed up. i have done some touching up, but i will wait until i have her "finished" until i do final touch ups. she is bound to get a couple of nicks later on down the road.

i now have the white all fixed up. i have done some touching up, but i will wait until i have her "finished" until i do final touch ups. she is bound to get a couple of nicks later on down the road.
- ADW 123
- Posts: 1158
- Joined: Mon Feb 22, 2010 5:22 pm
- Location: Cincinnati, Ohio
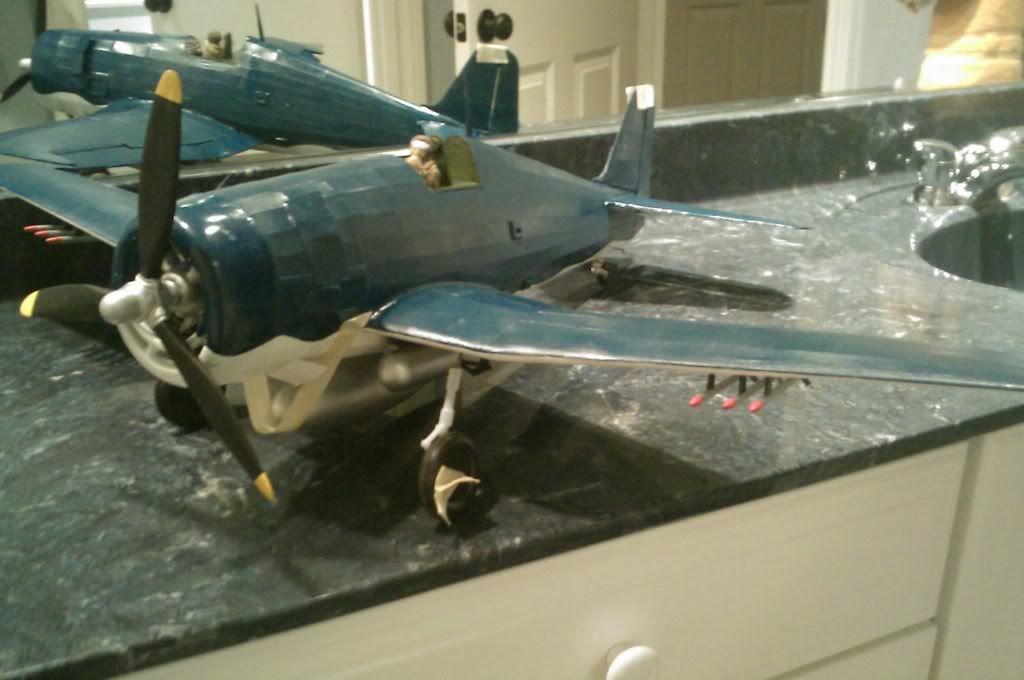
rockets have been touched up. everything else got 3 coats of thinned dope and then painted. i am very pleased with the results. note that the prop/spinner unit has a shaft which will allow it to free wheel when it is mounted all up
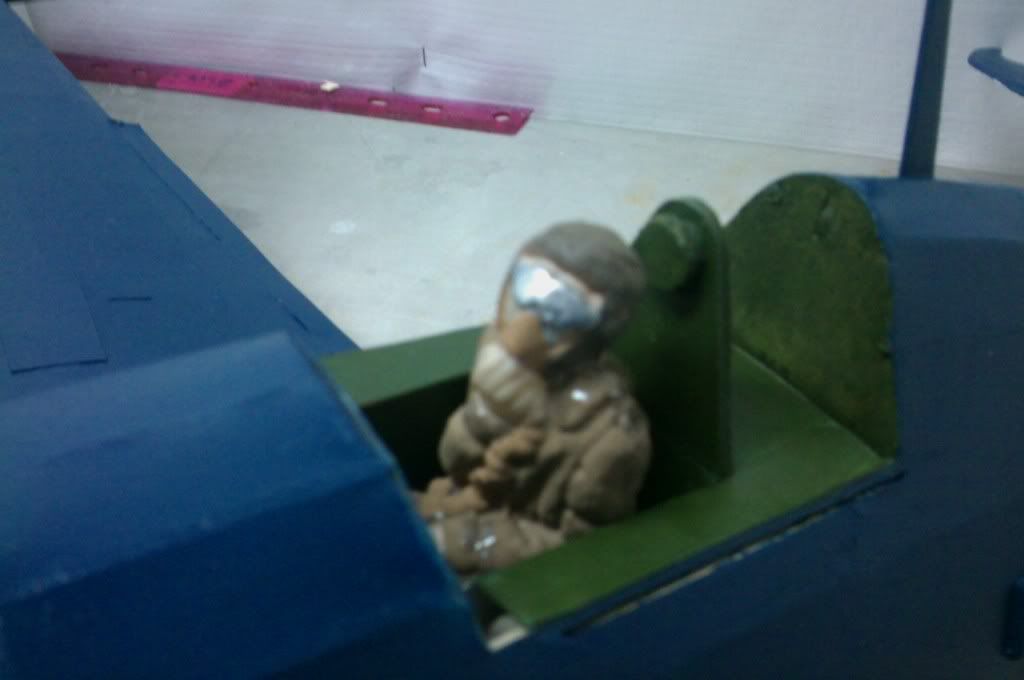
the pilot looks stunning inside of his seat in the cockpit. i think i nailed this one.
more later. going to get rockets on tonight, get started on bombs and fuel tank. maybe the landing gear detail, but i think that is for tomorrow.

the pilot looks stunning inside of his seat in the cockpit. i think i nailed this one.

more later. going to get rockets on tonight, get started on bombs and fuel tank. maybe the landing gear detail, but i think that is for tomorrow.
- ADW 123
- Posts: 1158
- Joined: Mon Feb 22, 2010 5:22 pm
- Location: Cincinnati, Ohio
Got a name for her yet?
The P-38 is arguably the best... Forget that, it is THE BEST fighter of world war two, and is epically AWESOME!
Squishyp38
Squishyp38
- Squishyp38
- Posts: 240
- Joined: Sun Feb 27, 2011 8:08 pm
- Location: Top Secret
Squishy, im open to suggestions
thanks sawingman. i think this is my best work yet. i couldnt resist drawing in panel lines, and adding about a million rivets. i wouldnt feel like i have added all of the detail i can to it if i didnt. in any case, i am going to wait on pictures until she is finished.
thanks sawingman. i think this is my best work yet. i couldnt resist drawing in panel lines, and adding about a million rivets. i wouldnt feel like i have added all of the detail i can to it if i didnt. in any case, i am going to wait on pictures until she is finished.
- ADW 123
- Posts: 1158
- Joined: Mon Feb 22, 2010 5:22 pm
- Location: Cincinnati, Ohio
forgot to mention, i used doubled up masking tape as a "straight edge" for panel lines on the curved portions. i just stuck it on as if it were a ruler and drew the line using the edge as a guide. it took me a couple tries of different methods until i realized i could do it this way. as always, it could be better but this is my first time actually drawing in panel divisions let alone rivets. stand by
- ADW 123
- Posts: 1158
- Joined: Mon Feb 22, 2010 5:22 pm
- Location: Cincinnati, Ohio
Return to General Building Questions
Who is online
Users browsing this forum: No registered users and 39 guests

