500 Series Me Bf-109 Build

Ask other modelers for a little help / knowledge ?

500 Series Me Bf-109 Build

Postby ADW 123 » Sun Aug 14, 2011 9:37 pm

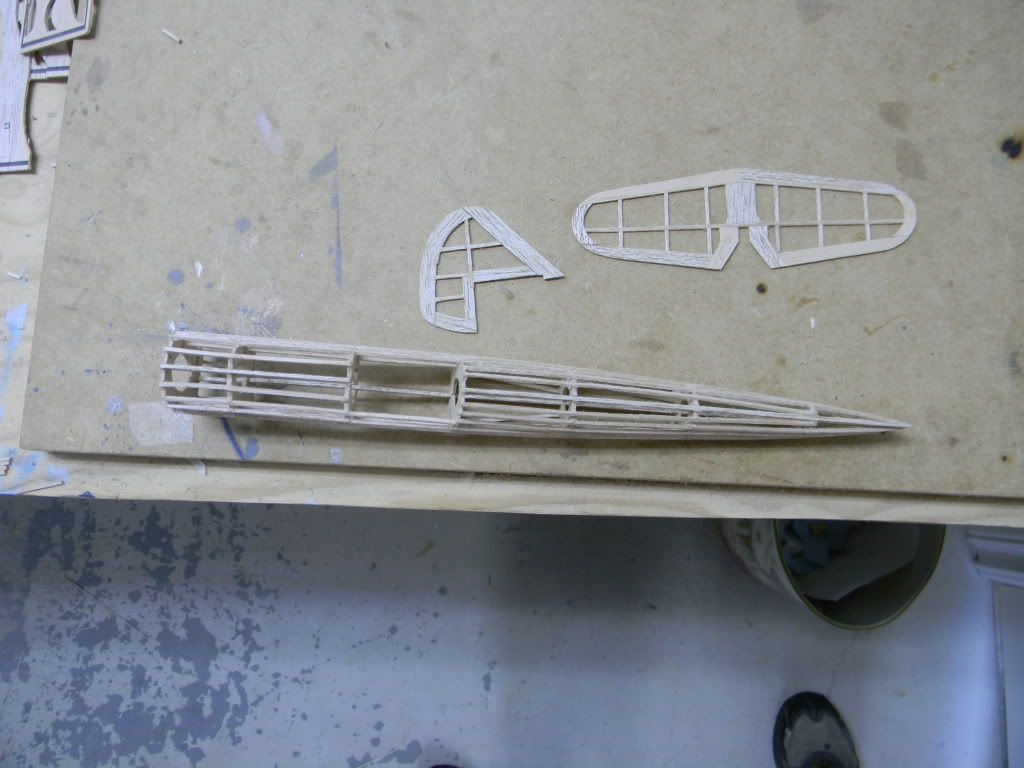
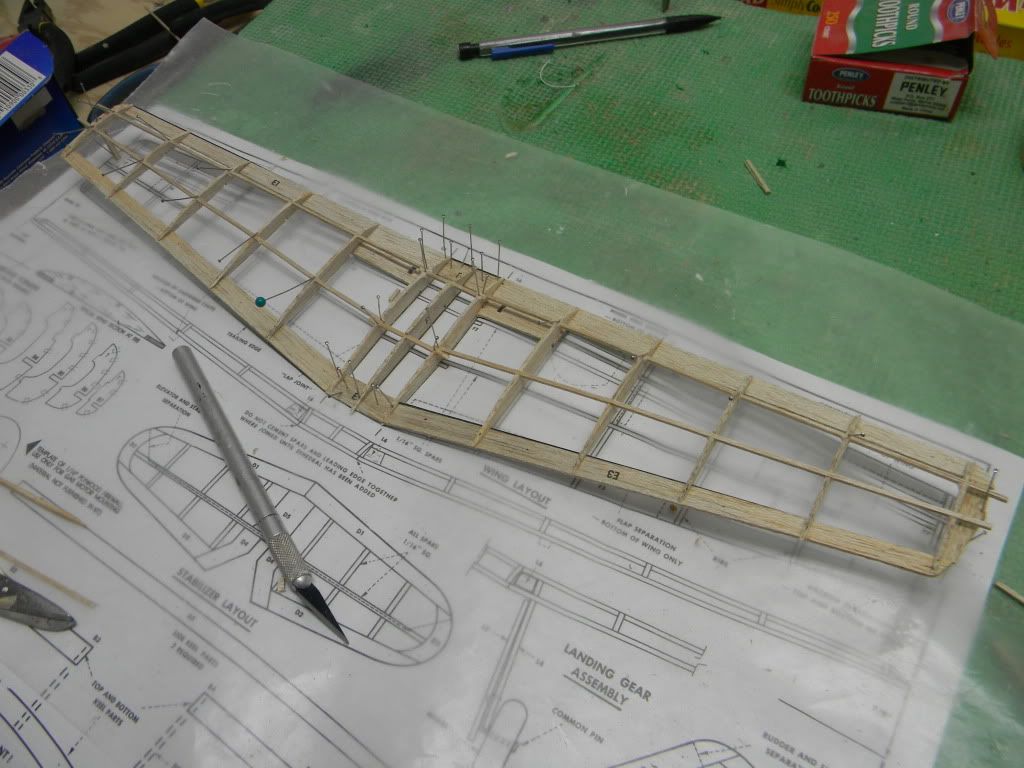
got this at my LHS yesterday. i started construction on it today. i will go for Rubbber powered FF with no mods except for moving up the mount one bay. i have also scalloped my fuselage. i have never tried this before, and i think it turned out alright. i saved .4 grams from it as well. i used a round file. as you can see, i have basically all of my frames built up. just have to add the modified motor mount, and finish up the wing and sand up. ill see what i have in my stock of colored tissue, but i think i might go with a sky blue easy built lite. here are some pics-
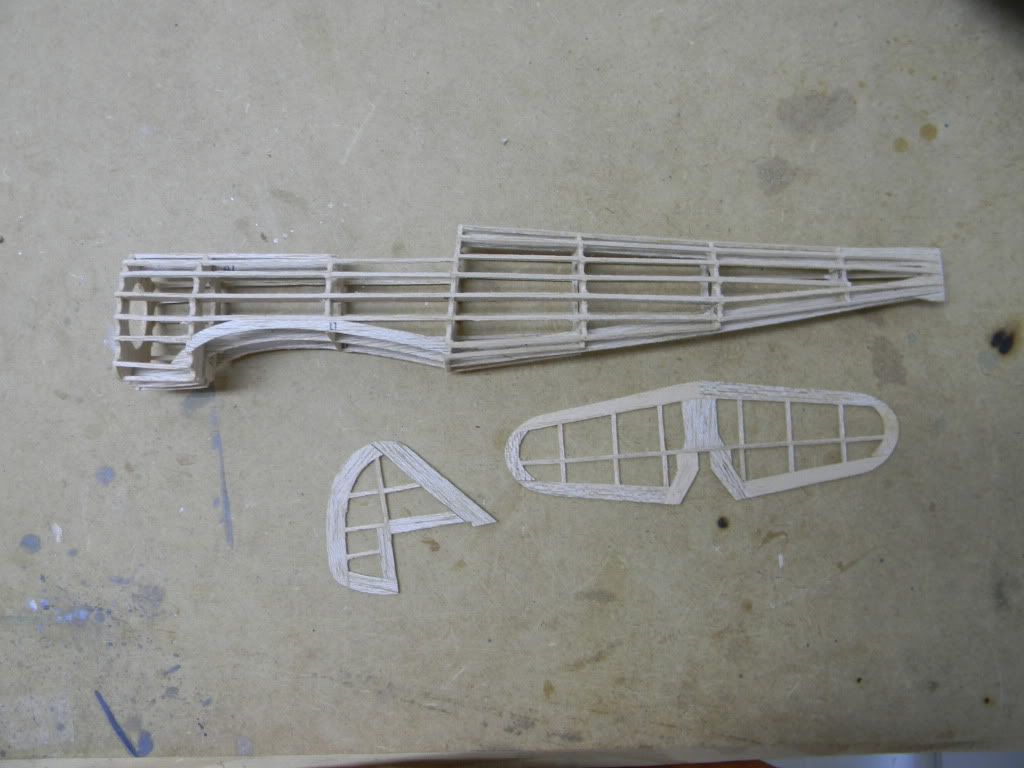
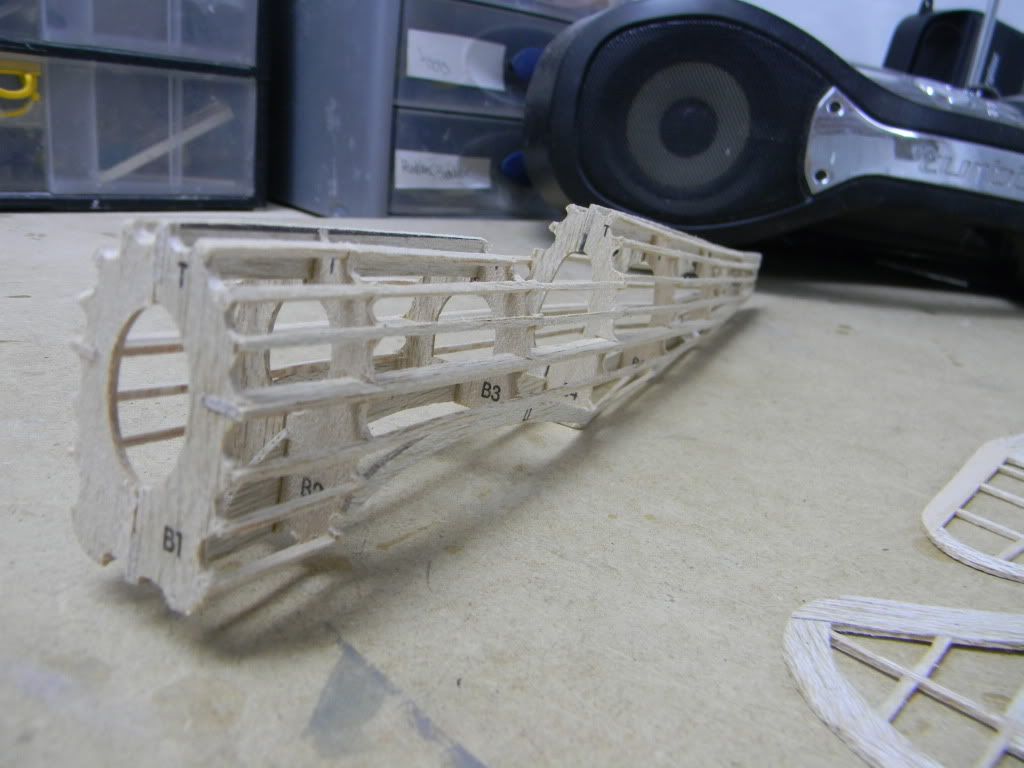
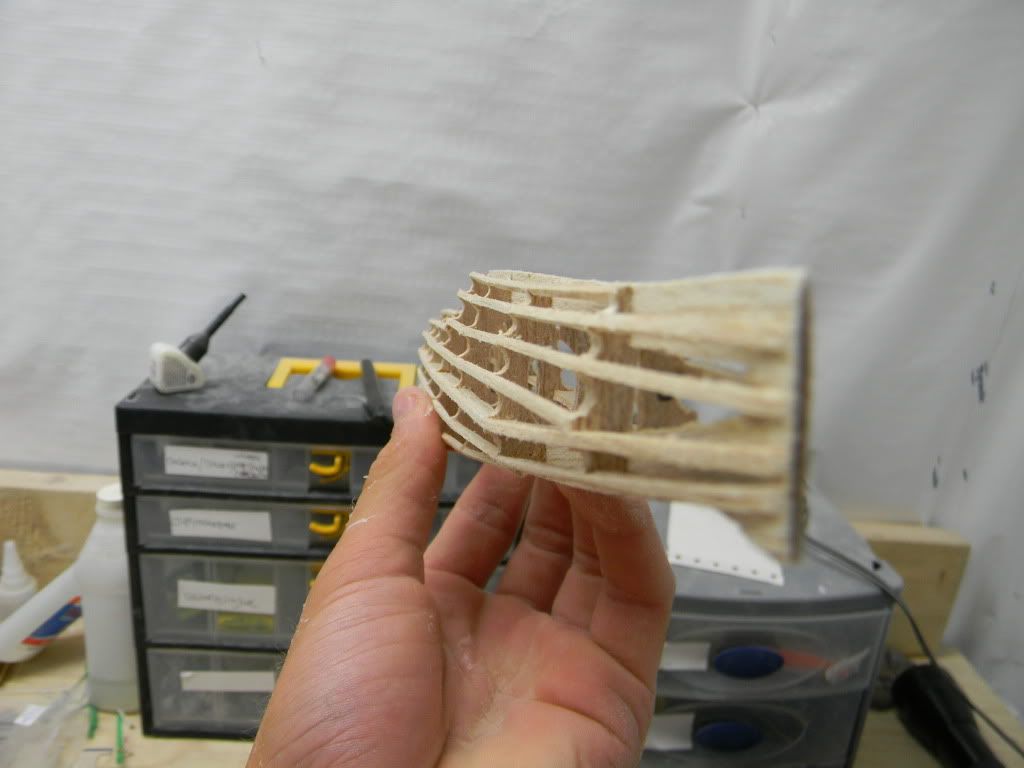
Image

Image

Image

no bannana fuse on this one

Image

Image

the wing getting some dihedral

Image

thats all for now. stand by
ADW 123
 
Posts: 1158
Joined: Mon Feb 22, 2010 5:22 pm
Location: Cincinnati, Ohio

Postby Phugoid » Mon Aug 15, 2011 3:48 pm

Neat work....

Andrew
Phugoid
 
Posts: 952
Joined: Wed Jan 20, 2010 8:17 am

Postby ADW 123 » Mon Aug 15, 2011 4:10 pm

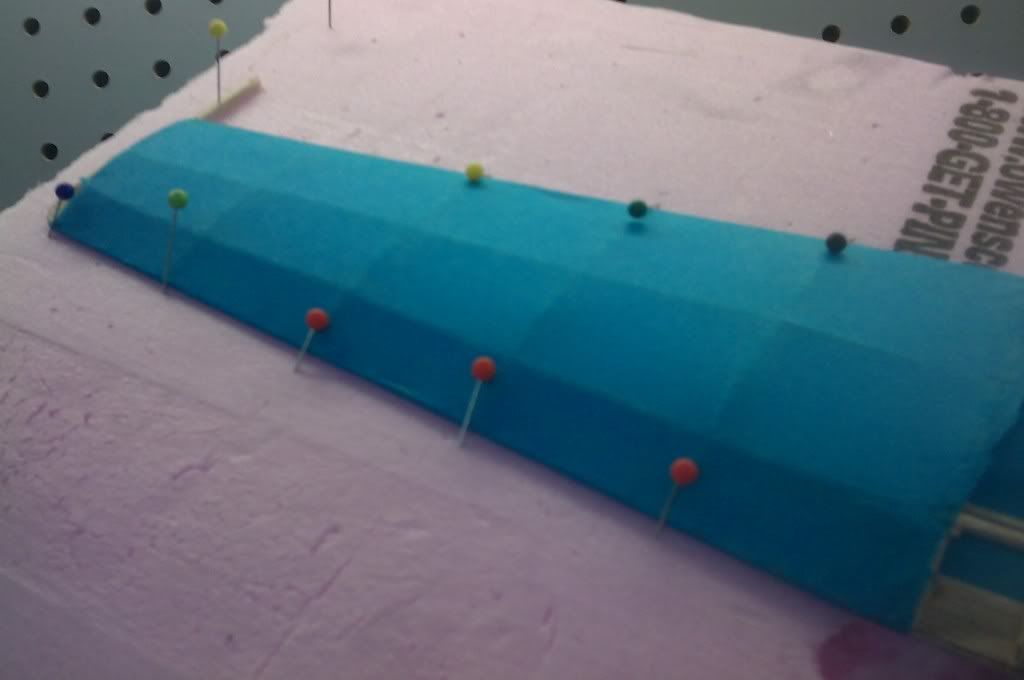
Phugoid, i havent heard from you in a while. i figured you must have been very buisy. anyway, i started covering and i really like the color i used. its a little bit lighter of blue than sky blue, and looks nice on a Me Bf-109.

i invite you to check out another peanut scale rubber powered FF build i have on the SFA.

http://www.smallflyingartsforum.com/YaBB.pl?num=1312839698/0#0
ADW 123
 
Posts: 1158
Joined: Mon Feb 22, 2010 5:22 pm
Location: Cincinnati, Ohio

BF-109

Postby UPLANDBOY » Mon Aug 15, 2011 4:14 pm

Your model looks good. I just finished one and I am having a bear of a time trying to get it to fly. It glides fairly well but the rubber power is from hunger. It will not even pull the model through the air. I switched the kit elastic to a single loop of 1/4" FAI Tan rubber. I am using the kit supplied prop and bearing. i wish you luck on flying and please post inflight photos.

Dave
UPLANDBOY
 
Posts: 23
Joined: Sun Mar 08, 2009 10:08 pm
Location: SOCAL

Postby ADW 123 » Mon Aug 15, 2011 5:09 pm

thanks. i think rubber a little smaller will do alright in mine. the kit rubber isnt worth anything. guillows might as well not even supply it. i wish they would stock all of their kits with FAI. quite a few kits do this and i think it is a good idea. why supply something that is worthless??

more later.
ADW 123
 
Posts: 1158
Joined: Mon Feb 22, 2010 5:22 pm
Location: Cincinnati, Ohio

Postby ADW 123 » Mon Aug 15, 2011 5:13 pm

i forgot to add, but i will also make a nose block so the whole nose cone will come off. ill add some washout to the wings, and a trim tab along with some downthrust and we should be good to go. all of the frames weighed like 13-14 grams (cant remember which) on second thought, maybe 15 :roll:

in any case, i am hopeing i will get some good flights off of it but we wont find out till later
ADW 123
 
Posts: 1158
Joined: Mon Feb 22, 2010 5:22 pm
Location: Cincinnati, Ohio

Postby ADW 123 » Mon Aug 15, 2011 11:13 pm

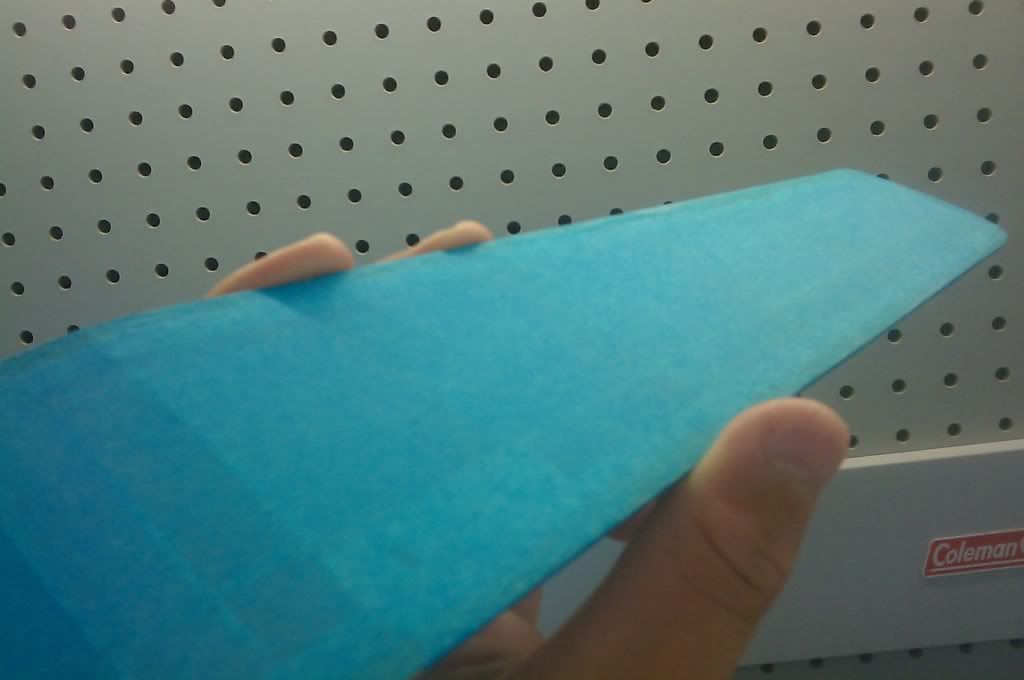
i am sort of trying to make myself like the color. it will have to do. maybe ill get used to it. i think it could have been a little darker but...

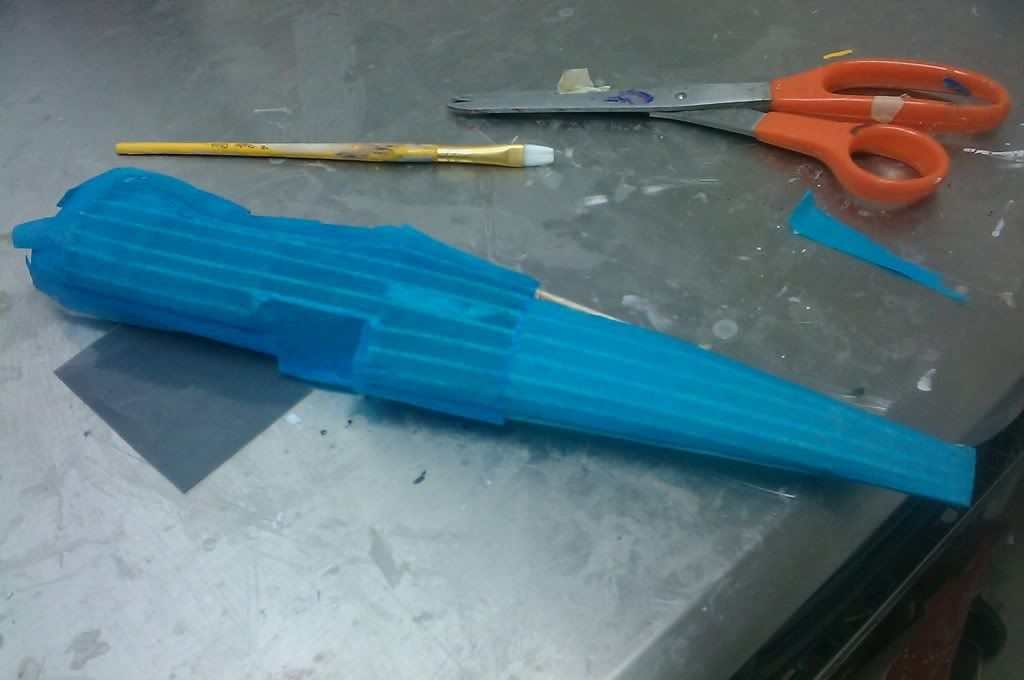
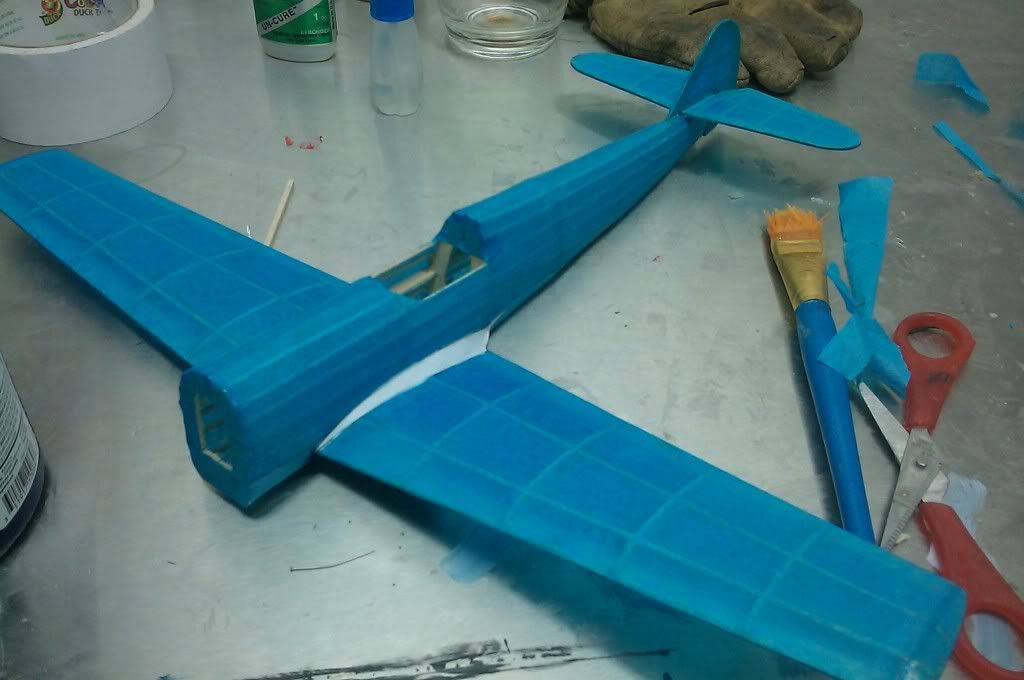
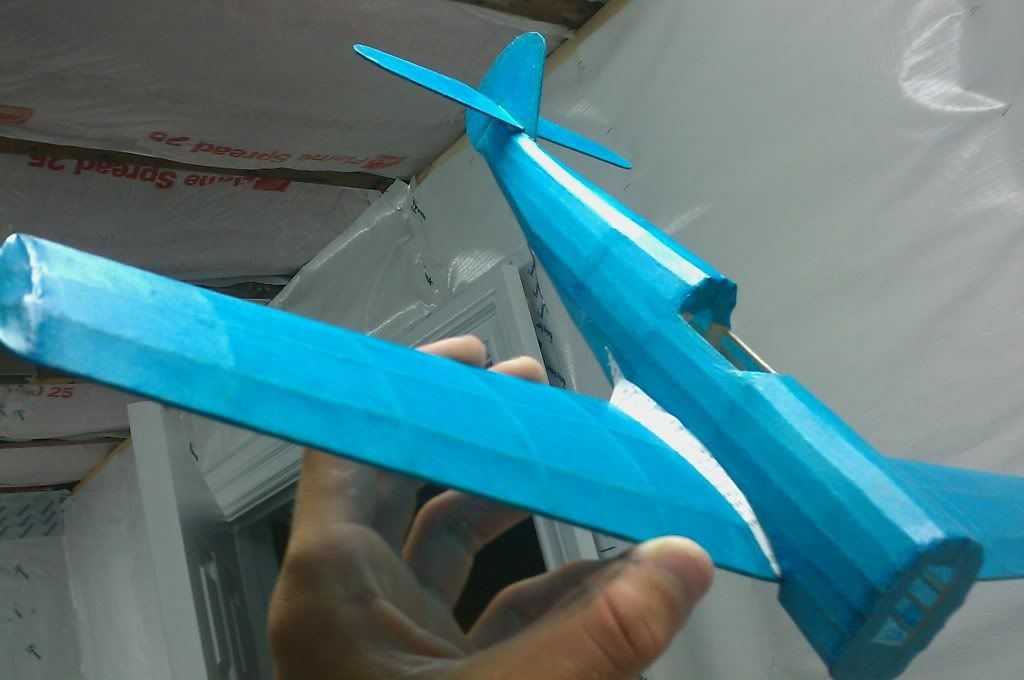
anyways, i am mostly done with covering now. i havent done such a gread job on the fuse, because of little tiney stress wrinkles from the bad scalloping skills. that will improve. had i not scalloped then it would be perfect. i also covered in a couple pieces, although im sure i could do a whole side in one piece pretty easy. im pretty conservative like that...

the wing turned out really great though. 1/8" washout on both tips. i also have the rudder and stab done and they look good too. needless to say im getting better build by build. here are some pics-

Image

Image

Image
ADW 123
 
Posts: 1158
Joined: Mon Feb 22, 2010 5:22 pm
Location: Cincinnati, Ohio

Postby scigs30 » Tue Aug 16, 2011 6:55 am

ADW 123, The build looks good so far. Scalloping the formers is good but there are some formers that need to stay intact so the tissue has something the adhere to or else wrinkles will develop. The front former is one example of a former that should never be scalloped if that is where your tissue is going to adhere to. Before I begin scalloping the formers, I look to see what formers are going to be anchor points or attachment points for the tissue, then I put a small X on them so I don't accidental scallop them.
scigs30
 
Posts: 844
Joined: Mon Nov 06, 2006 11:31 am

Scalloping

Postby granpa » Tue Aug 16, 2011 8:26 am

I'll bite; what is scalloping?
granpa
granpa
 
Posts: 72
Joined: Wed Feb 09, 2011 5:45 pm
Location: Ellsworth WI

Postby jensheydel » Tue Aug 16, 2011 9:39 am

Hi ADW,

Looks good so far keep it up, Granpa, scalloping is when the formers are sanded as ADW has. This little trick allows the covering material to be applied on the the longerons. What this does is prevent the so called "starved horse look". Paper or really any covering material tends to look as though it is sagging once it is shrunk down. By scalloping the formers of the fuselage the effect is gained that the formers no longer push out the paper. One can scallop the fuselage or as others have done simply sanding the curves flat in between the longerons. Although the fuselage will lose some its "roundness" the effect overall is a better appearance.

Jens
jensheydel
 
Posts: 73
Joined: Mon Jun 06, 2011 7:57 am

Postby ADW 123 » Wed Aug 17, 2011 10:14 pm

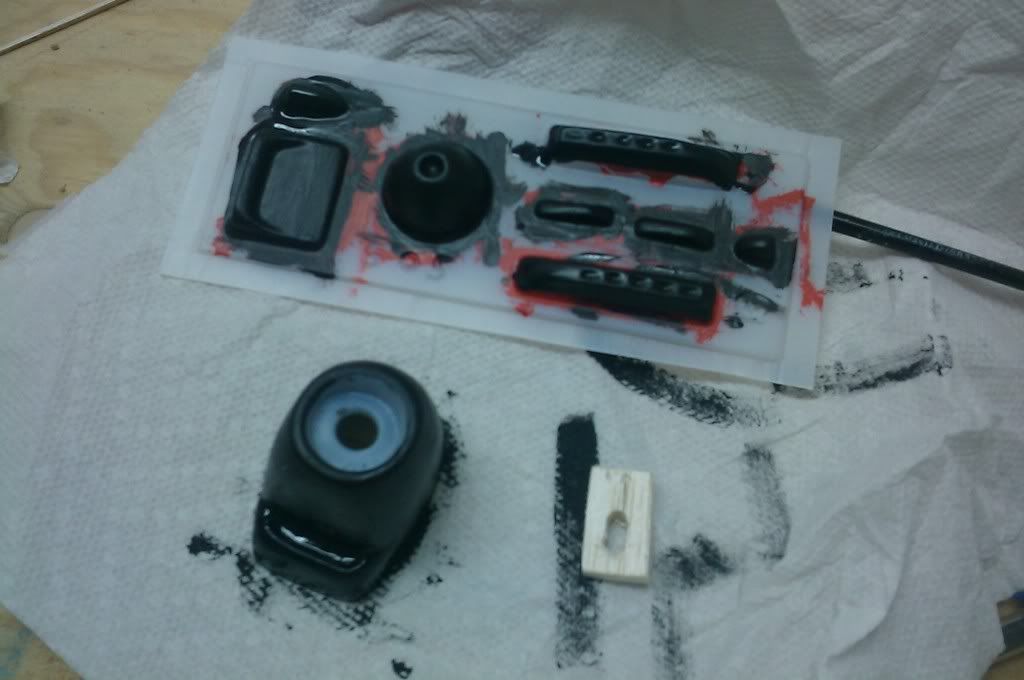
two coats of nitrate dope. getting this thing together. scigs, i followed your thread on your ME 109 and was wondering what you did for trimming for a turn. i have already added washout on both sides. (why do you the same washout on both wing tips??)


pictures

Image

Image

Image

more later
ADW 123
 
Posts: 1158
Joined: Mon Feb 22, 2010 5:22 pm
Location: Cincinnati, Ohio

Postby Phugoid » Thu Aug 18, 2011 4:39 pm

Having the same washout on each wing is an option as a means to add stability. I have used differential washout to add both stability and as a means to keep the wing up in the turn as created by the fin. Scigs' method is to use an acetate drag tab (sometimes refered to as a Gurney flap I think) this puts in the turn by increasing drag, and also keeps the wing up as it increases lift too. Scig's results speak for themselves and I used this technique to great effect in an indoor comp recently.

Andrew
Phugoid
 
Posts: 952
Joined: Wed Jan 20, 2010 8:17 am

Postby scigs30 » Fri Aug 19, 2011 1:15 pm

Yes, the drag flap works great and I learned that from Walt Mooney and it is also described in "Peanut Power" by Bill Hannan. To this day I still read that book and do all my trimming as described in the book, once again a great must have book. The Messerschmitt needs a lot of nose weight and some down thrust, mine came out to 50 grams and still flew great. I used 2 loops of 1/8 rubber.
scigs30
 
Posts: 844
Joined: Mon Nov 06, 2006 11:31 am

I can attest to the needing weight added

Postby joecrouse » Tue Aug 23, 2011 12:43 pm

To Get my BF 109 to even ballance I had to put 12-14 .22 caliber soft lead air rifle pellets in the front. And thats with moving the motor up 1 former and putting wire landing gear and wheels on it.


The thing still climbs a bit to steep under power but I may have over powered it I have 4 strips (looped then doubled) of 3/8th Tan Rubber on it.
joecrouse
 
Posts: 216
Joined: Mon May 23, 2011 9:20 am


Return to General Building Questions

Who is online

Users browsing this forum: No registered users and 24 guests