Kit #903 deHavilland Chipmunk Build

Ask other modelers for a little help / knowledge ?

Kit #903 deHavilland Chipmunk Build

Postby Arlo DiPasquale » Fri Mar 02, 2012 10:01 pm

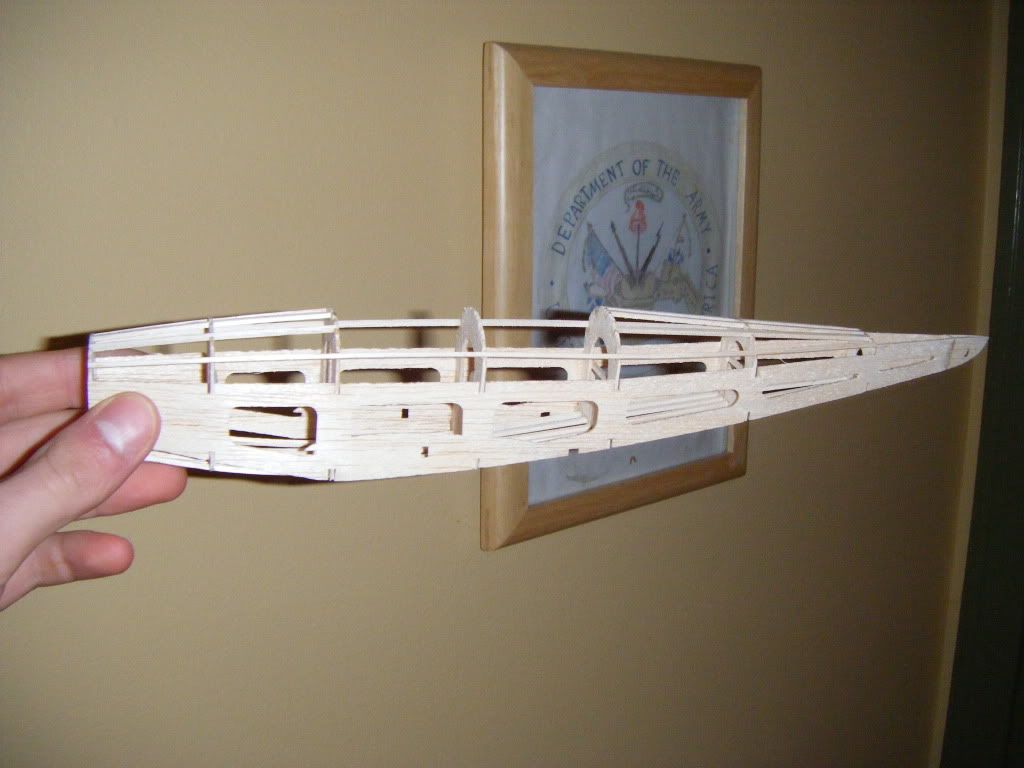
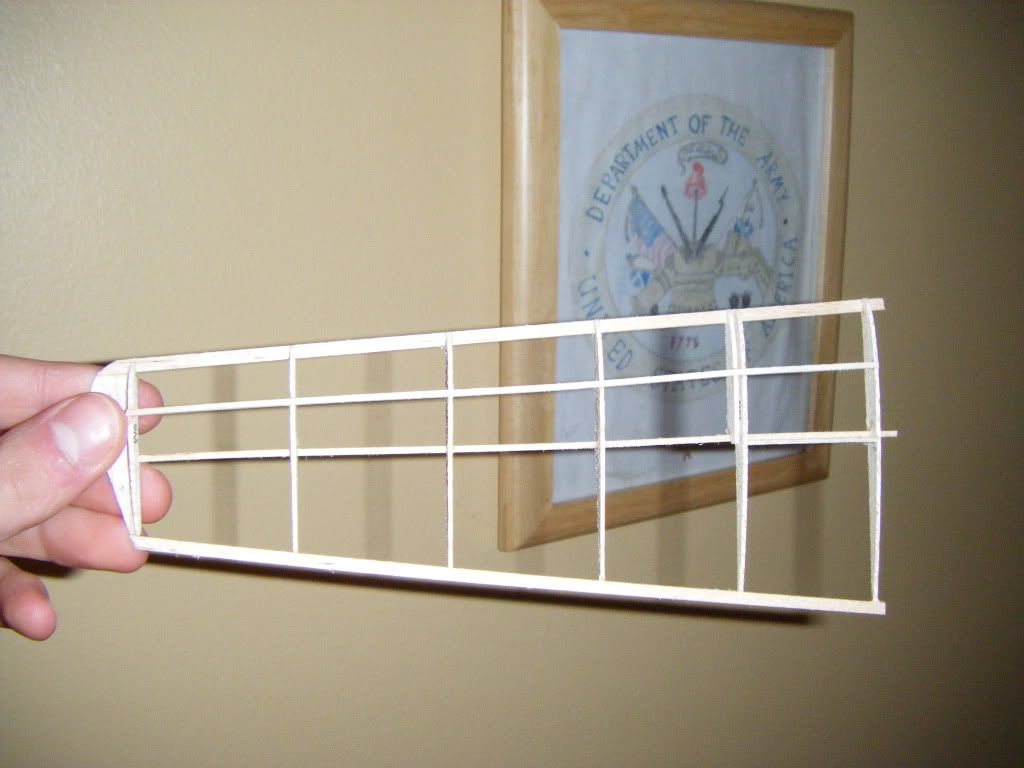
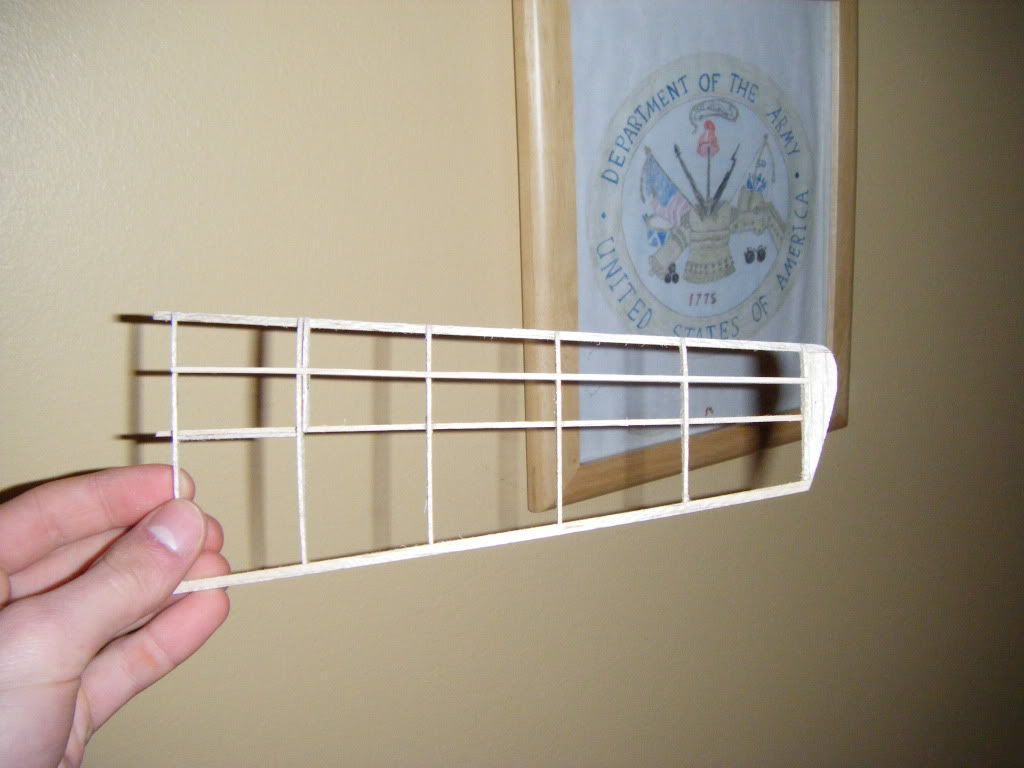
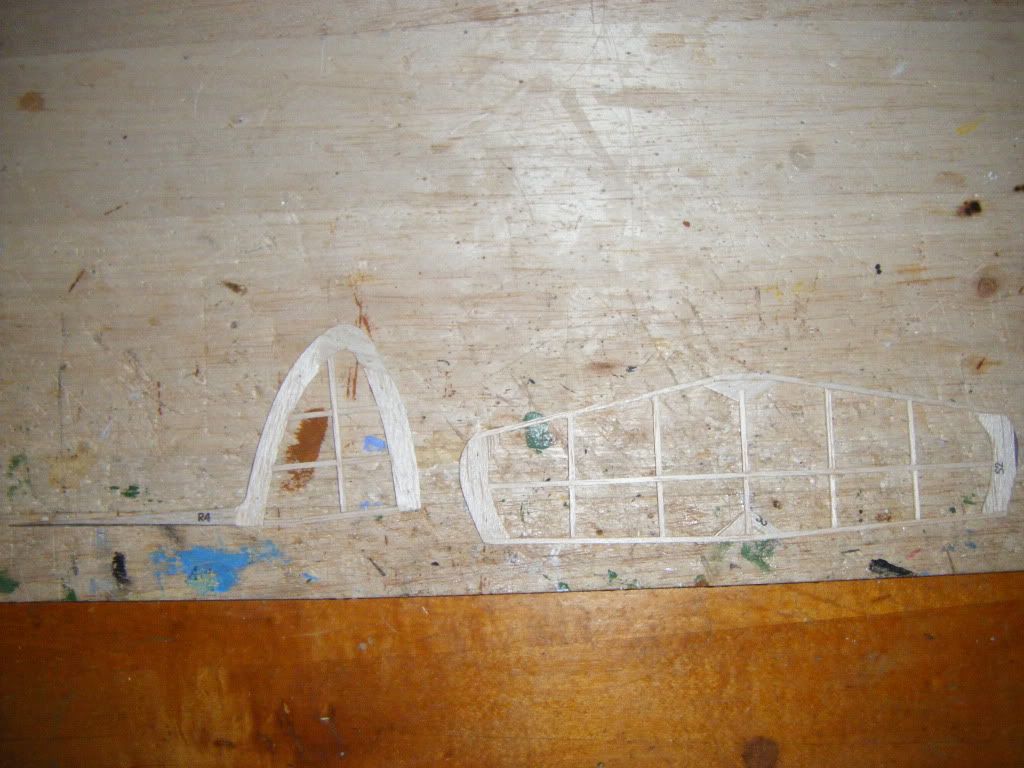
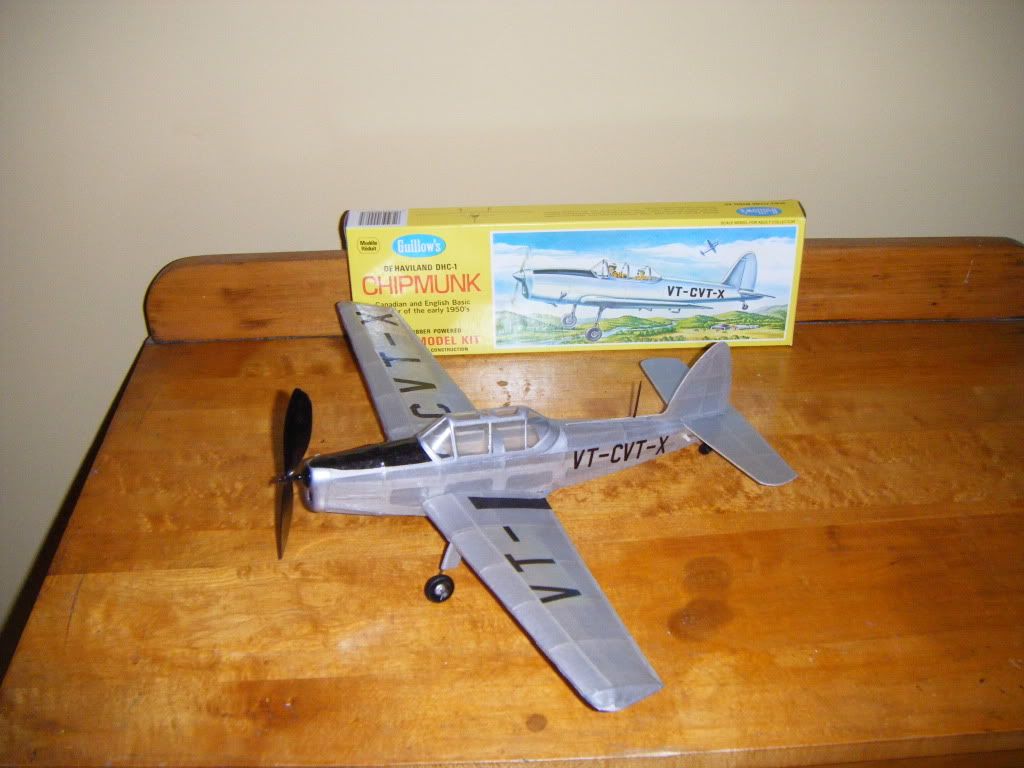
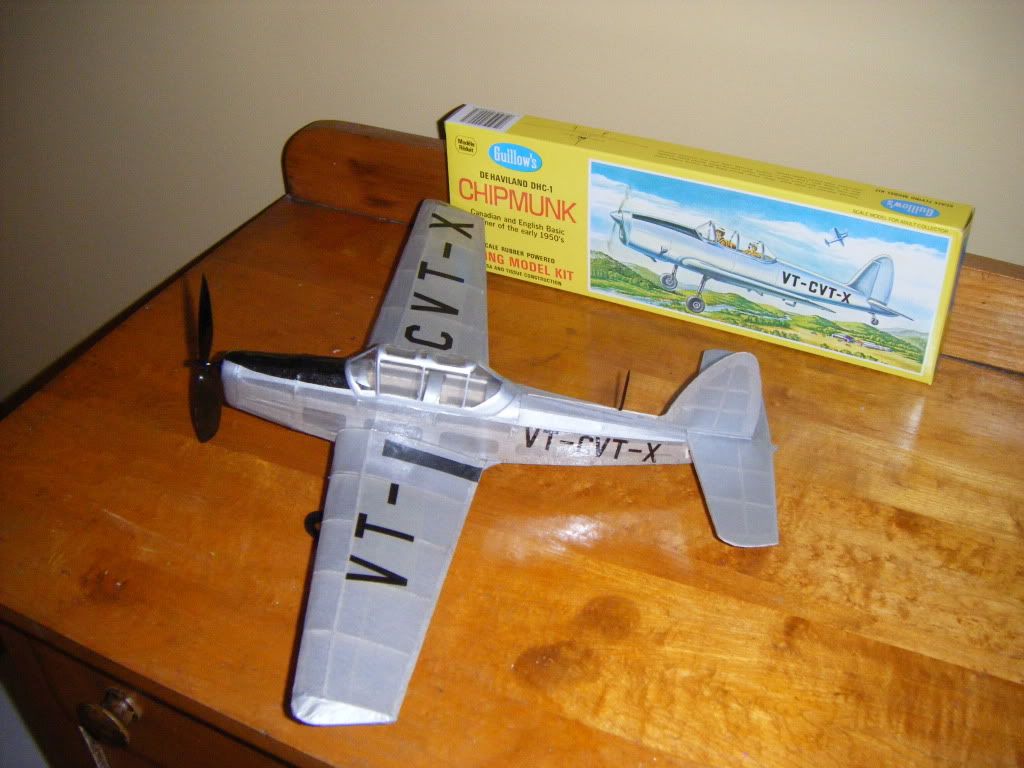
Had some fun this week building this little model. As always, comments and critiques are appreciated since there are much more experienced modelers than me out there.
Image
Image
Image
Image
Image
Image
Up next, I will build the Fokker Dr. 1 Triplane. More pictures of that build later.
Arlo DiPasquale
 
Posts: 207
Joined: Tue Jun 10, 2008 9:22 am
Location: Minneapolis, MN

Re: Kit #903 deHavilland Chipmunk Build

Postby regular guy » Fri Mar 02, 2012 11:32 pm

arlo

why, that is first rate!

see if Guillow's can use it for pictures of built kit.

Have A Nice Day!
regular guy
 
Posts: 147
Joined: Wed Dec 07, 2011 6:23 pm
Location: Southern California Low Desert

Re: Kit #903 deHavilland Chipmunk Build

Postby Wildpig » Sat Mar 03, 2012 5:44 pm

Looks great. How did you do the letters. Last time I built this kit , the letters were paper. Nice job on the canopy lines.
Wildpig
 
Posts: 529
Joined: Thu Jan 26, 2012 9:41 am

Re: Kit #903 deHavilland Chipmunk Build

Postby Arlo DiPasquale » Sun Mar 04, 2012 5:27 am

On the 900 series kits, they used to give paper decals that had to be individually cut out. At some point, however, Guillow's swapped the paper insignia for actual water release decals.
Arlo DiPasquale
 
Posts: 207
Joined: Tue Jun 10, 2008 9:22 am
Location: Minneapolis, MN

Re: Kit #903 deHavilland Chipmunk Build

Postby Bill Gaylord » Sun Mar 04, 2012 1:34 pm

Arlo DiPasquale wrote:On the 900 series kits, they used to give paper decals that had to be individually cut out. At some point, however, Guillow's swapped the paper insignia for actual water release decals.

Nice job Arlo
I'll have to look in the box and see what I have. I can't remember if it is waterslide or paper.
If you get around to flying the plane, I would not be surprised if it is one of the better "warbird" like rubber flyers.
I enlarged/modified the plan some years ago, and built an rc version, which is why the kit is still stashed. Some day I'll get around to a micro rc conversion, as I've seen a few that fly really well. As for the 34" version, it's plenty flyable.
You do not have the required permissions to view the files attached to this post.
Bill Gaylord
 
Posts: 904
Joined: Sun Nov 09, 2008 1:29 pm
Location: Grove City PA

Re: Kit #903 deHavilland Chipmunk Build

Postby joecrouse » Sun Mar 04, 2012 6:29 pm

very nice build

Did you have an issue with the b1 former being lopsided and or the nose not quite wanting to form to the right bends? Or was that just the 2 or 3 kits of that that I have put together.
joecrouse
 
Posts: 216
Joined: Mon May 23, 2011 9:20 am

Re: Kit #903 deHavilland Chipmunk Build

Postby sawingman » Sun Mar 04, 2012 10:20 pm

You did a great job on this build Arlo! Especially like your cover job and the clean lines of your canopy painting. How did you get the lines so crisp?
sawingman
 
Posts: 53
Joined: Mon Apr 11, 2011 8:39 am
Location: Fullerton, CA, USA

Re: Kit #903 deHavilland Chipmunk Build

Postby Arlo DiPasquale » Mon Mar 05, 2012 7:04 am

joecrouse wrote:very nice build

Did you have an issue with the b1 former being lopsided and or the nose not quite wanting to form to the right bends? Or was that just the 2 or 3 kits of that that I have put together.


Yes, i have found that getting the fuselage straight on all 900 series planes is quite hard.
sawingman wrote:You did a great job on this build Arlo! Especially like your cover job and the clean lines of your canopy painting. How did you get the lines so crisp?

As for the canopy lines, I cover the areas that I want to remain clear with blue painter's tape. It takes a while, but the results are worth it.
Arlo DiPasquale
 
Posts: 207
Joined: Tue Jun 10, 2008 9:22 am
Location: Minneapolis, MN

Re: Kit #903 deHavilland Chipmunk Build

Postby ADW 123 » Mon Mar 05, 2012 7:19 pm

a good way to do this is to take the piece of tape bigger than the window area and stick it onto the window area, being sure to make sure you have a little crease where the tape meets those little bumps in the plastic that are the support braces for the window. take a pen or pencil and trace where the window area ends. Then pull it off, cut it on the lines, and carefully stick it back onto the window. this method works for me very well. of course, if the window is curved a lot this is very difficult, but it works for most of them.
ADW 123
 
Posts: 1158
Joined: Mon Feb 22, 2010 5:22 pm
Location: Cincinnati, Ohio


Return to General Building Questions

Who is online

Users browsing this forum: No registered users and 10 guests

cron