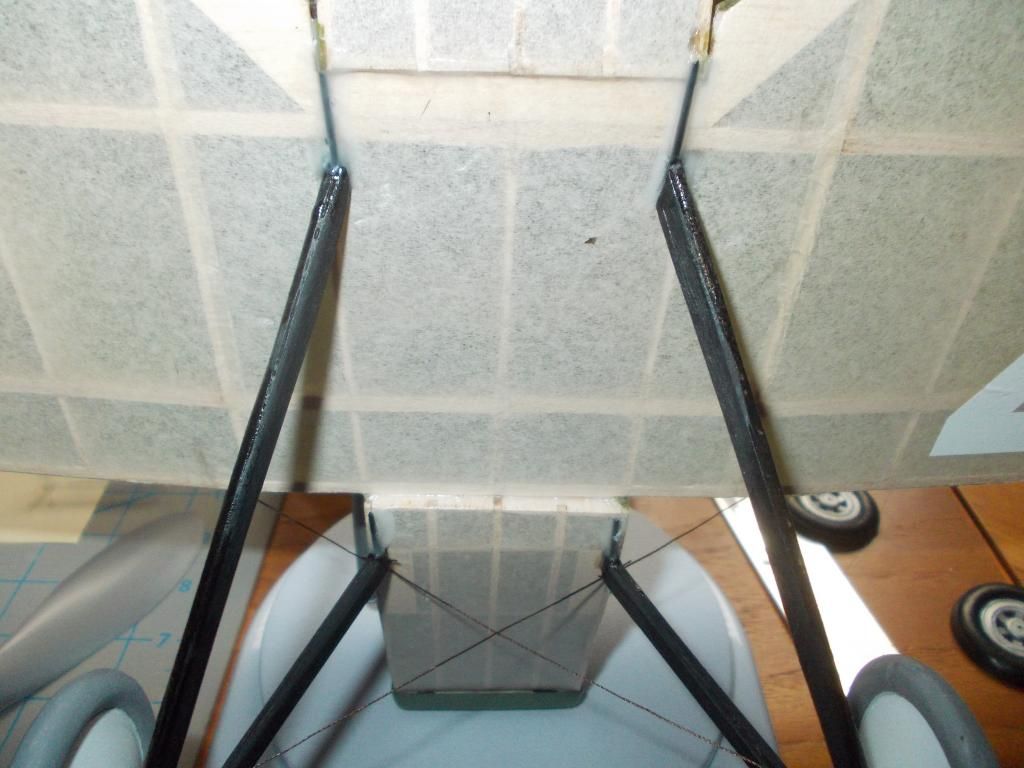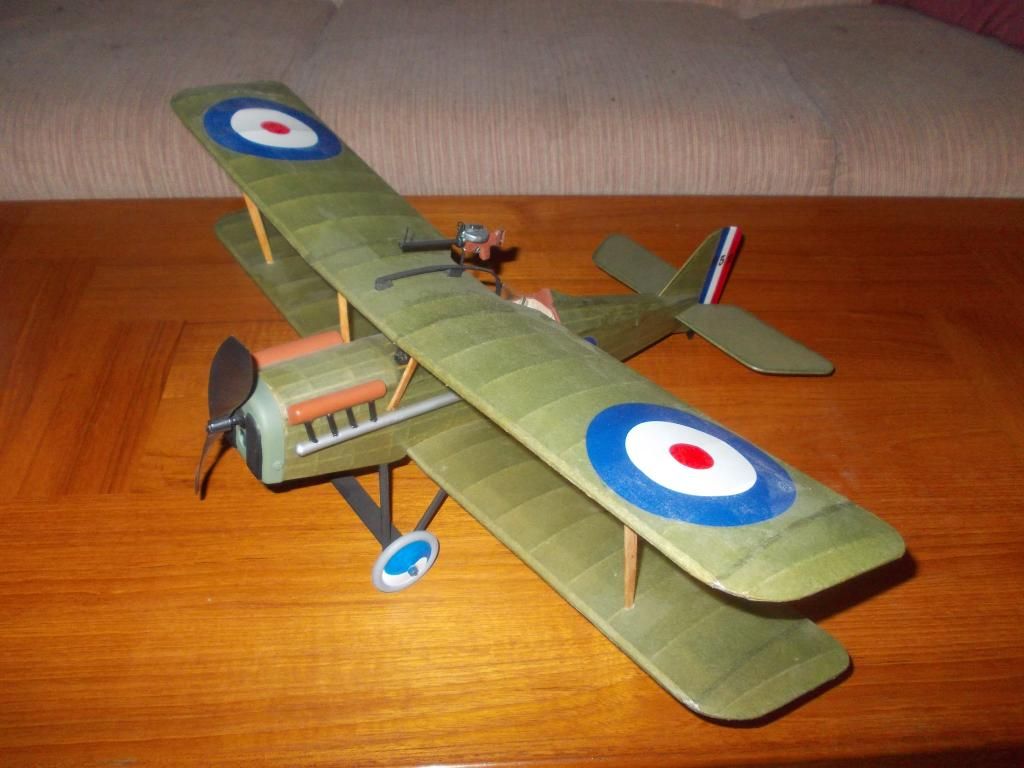
Detailing my SE5a

Ask other modelers for a little help / knowledge ?

Detailing my SE5a

Postby Mitch » Sun Apr 07, 2013 9:31 am

Good Morning... today I plan to work on getting my SE5a (Lazer cut, built to plans) up to standards for FAC contest rules:

Starting point:
Image
I built this model about 2 years ago, It has not flown yet. Some details were added as per plans, some were of my own design. I need to add basic rigging wires which will enhance the looks, and also add strength to the structure.

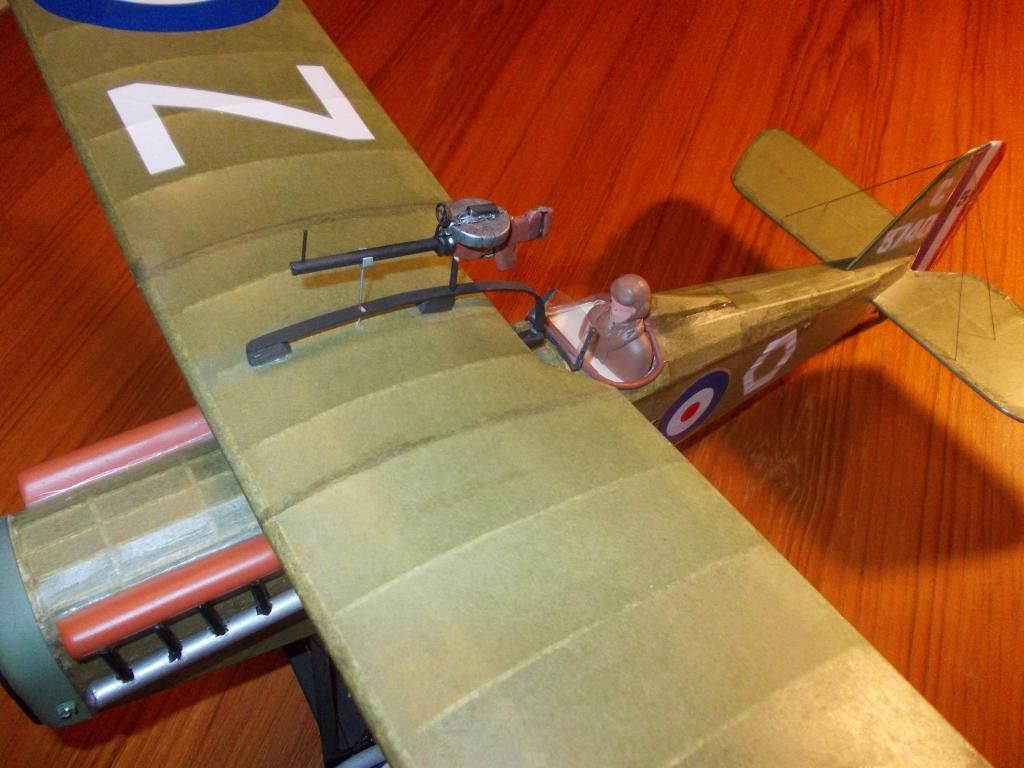
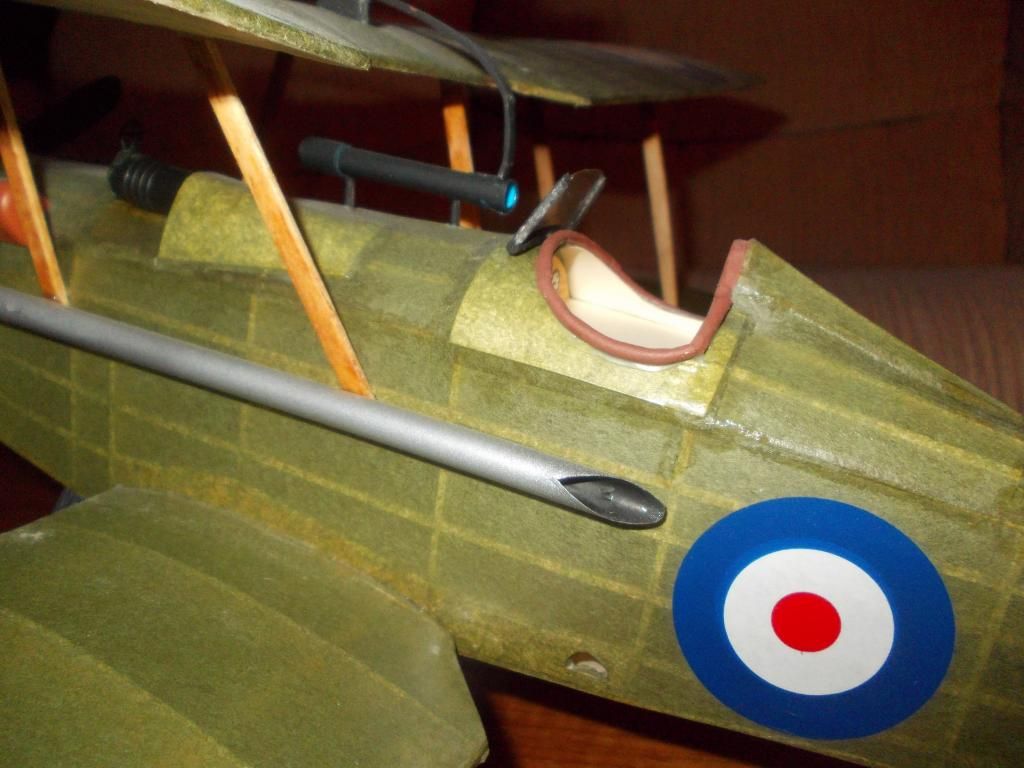
The Lewis gun is from the kit, but I replaced the "water jacket" covered barrel, with a coffee straw, also added sights, and trigger. The cockpit coaming is from Q-tip shafts, bent to shape and glued together.
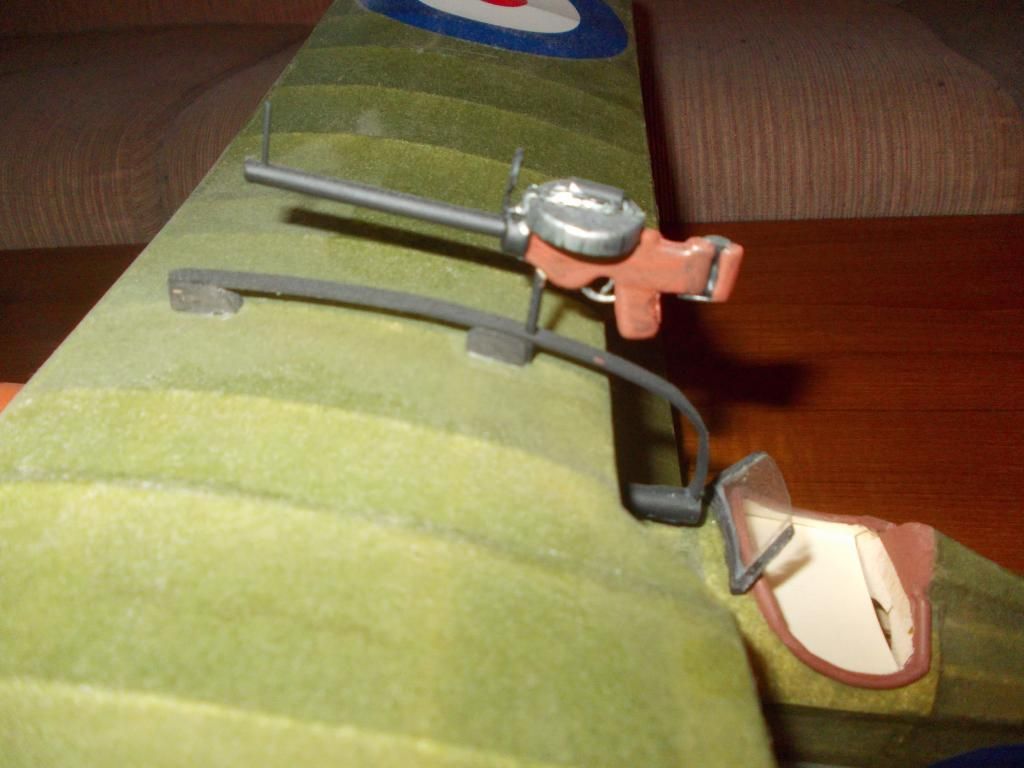
Image

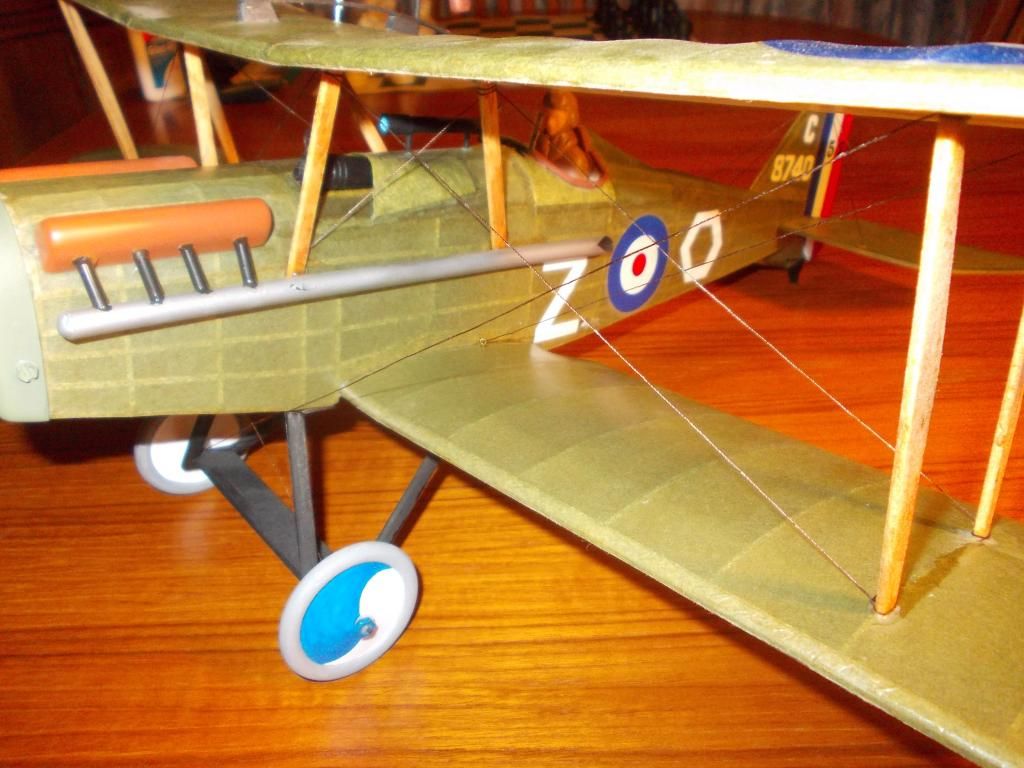
The Vickers gun was added and was made from some plastic tube and straws and added sight. I also studied other sources and came up with a gun sight in front of the windscreen. Manifold is from kit and exhaust pipes are more straws.
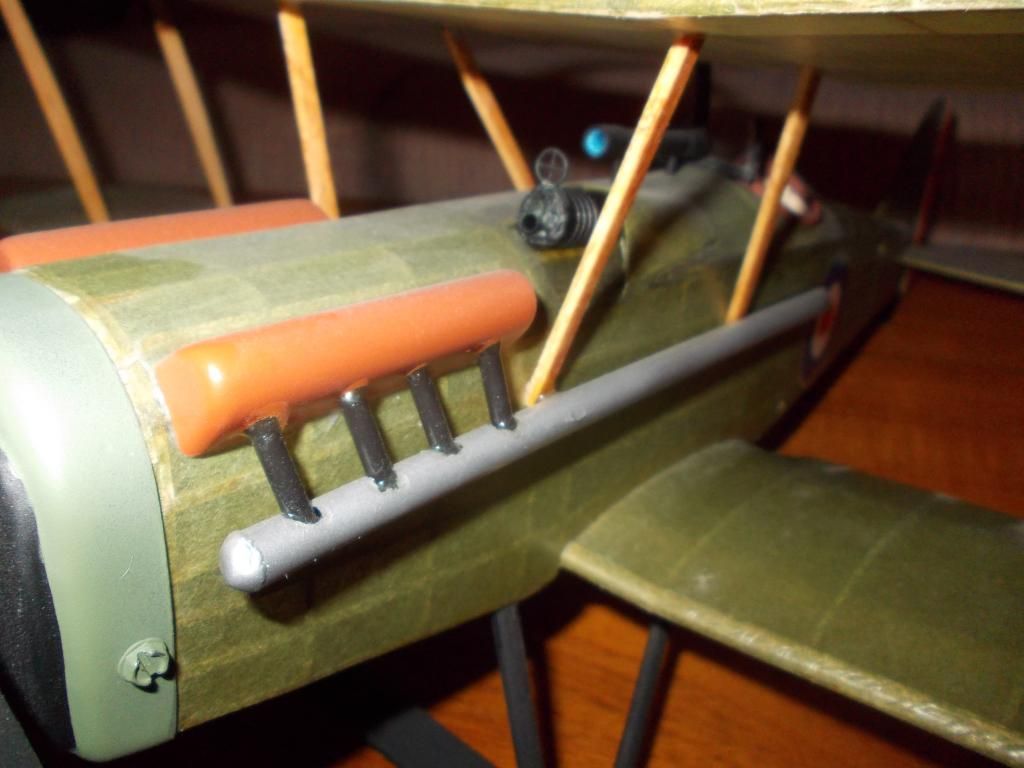
Image

I also put in the foot hole for the pilot as per plans:
Image

I plan to:

1. Finish Pilot figure
2. Add some rigging
3. Add designation numbers
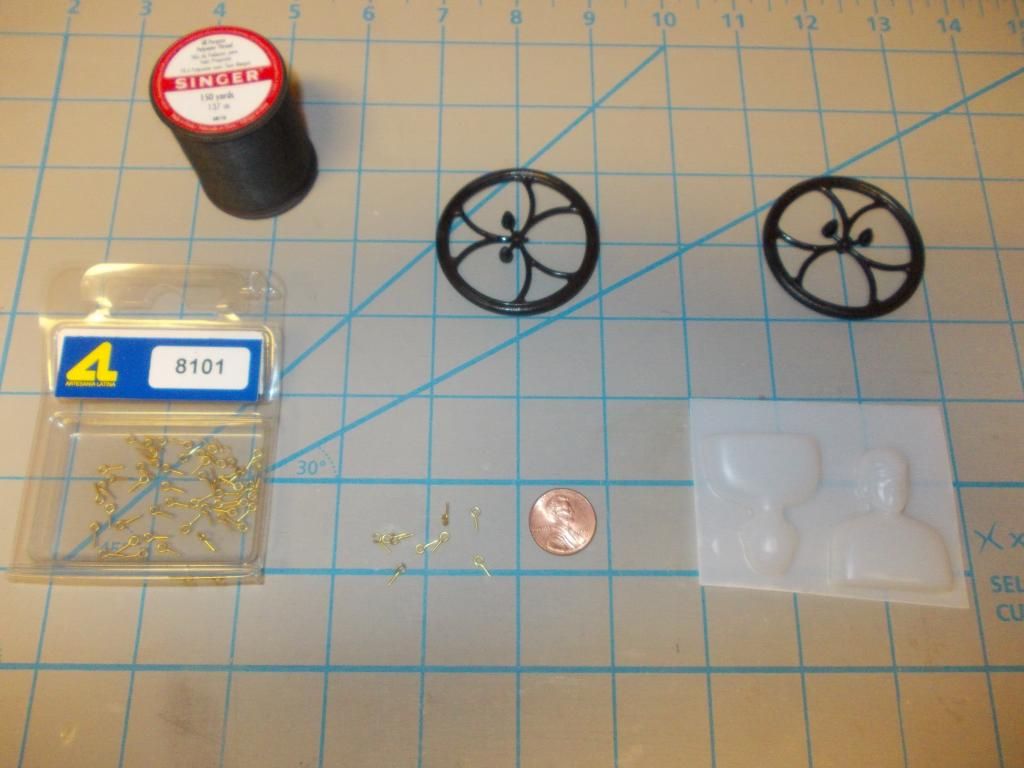
4. Change wheels to lighter design to save 10g.
Image
Although most of the rigging will go from strut to strut, when a line needs to be secured to the frame I bought these eye bolts, they are designed for ship building projects.

Mitch :D
Mitch
 
Posts: 1347
Joined: Mon Aug 22, 2011 9:16 pm
Location: Kent, WA

Re: Detailing my SE5a

Postby Mitch » Sun Apr 07, 2013 10:45 am

Thanks for the picture Dave!

When I look at models like that I am just in awe! :shock:

I see I need a brace for the barrel of my Lewis gun. I think I can do that.
I would like to add the stich work to the fabric, but never figured out how to do that.
I like the use of the attach point for the rigging wires.

I always build my static models with the "3 foot" rule. Looks good at an "arms" distance, it's good enough.

I want to get a score for my static display, but the FAC will not post score if model DOES NOT FLY! FAC = Flying Ace Club!
My Spit flew at 120g, my SE5a is now 140g. I can save 10g with new wheels and I think I am nose heavy so I hope I can shave off a few more grams...

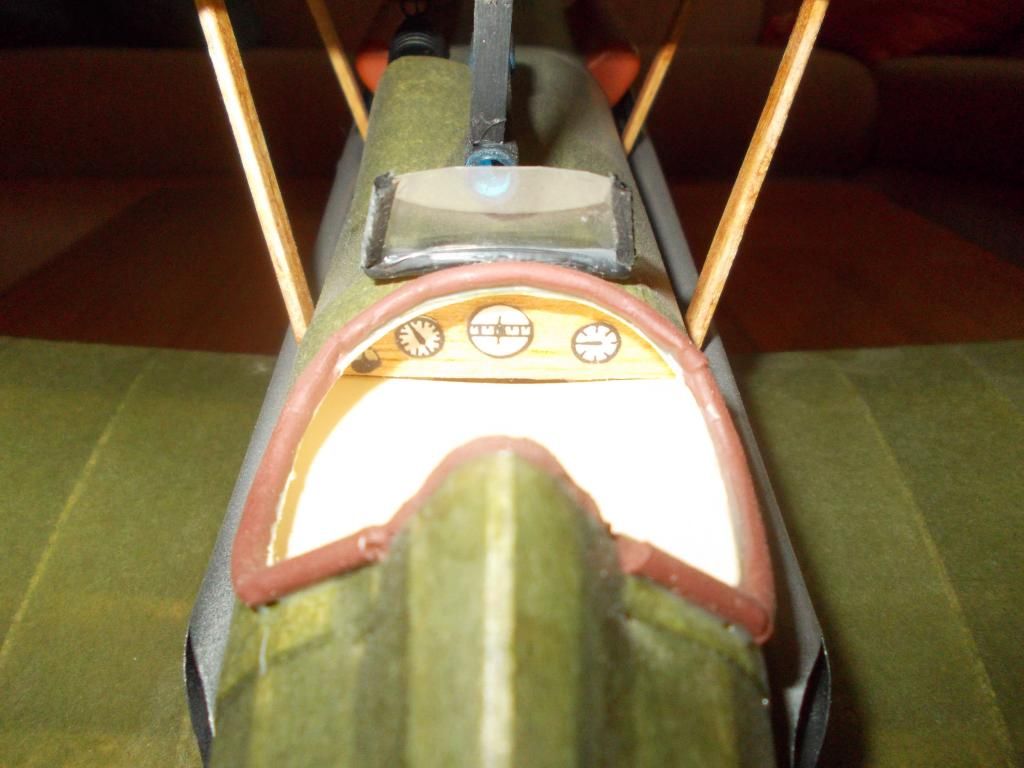
Another FAC rule... Cockpit detail NOT required, but instruments are...
Image
For my WW1 models I put in a stained piece of balsa and add a few instruments from the Guillows plans.

Mitch... coffee time over...

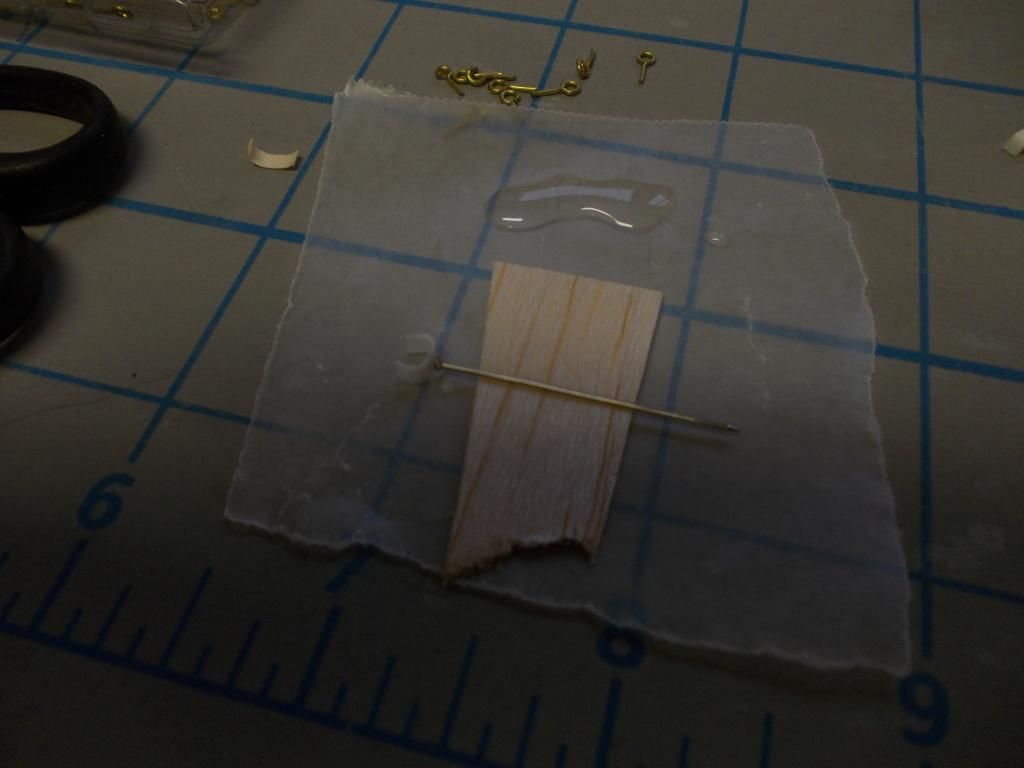
UPDATE: Making forward brace for Lewis Gun...
Image
Straight pin epoxied to small plastic scrap from Pilot Plastic.
When dry I will trim pin, paint and drill hole in Gun track and install! :D
Mitch
 
Posts: 1347
Joined: Mon Aug 22, 2011 9:16 pm
Location: Kent, WA

Re: Detailing my SE5a

Postby Mitch » Sun Apr 07, 2013 9:17 pm

End of Day Report:

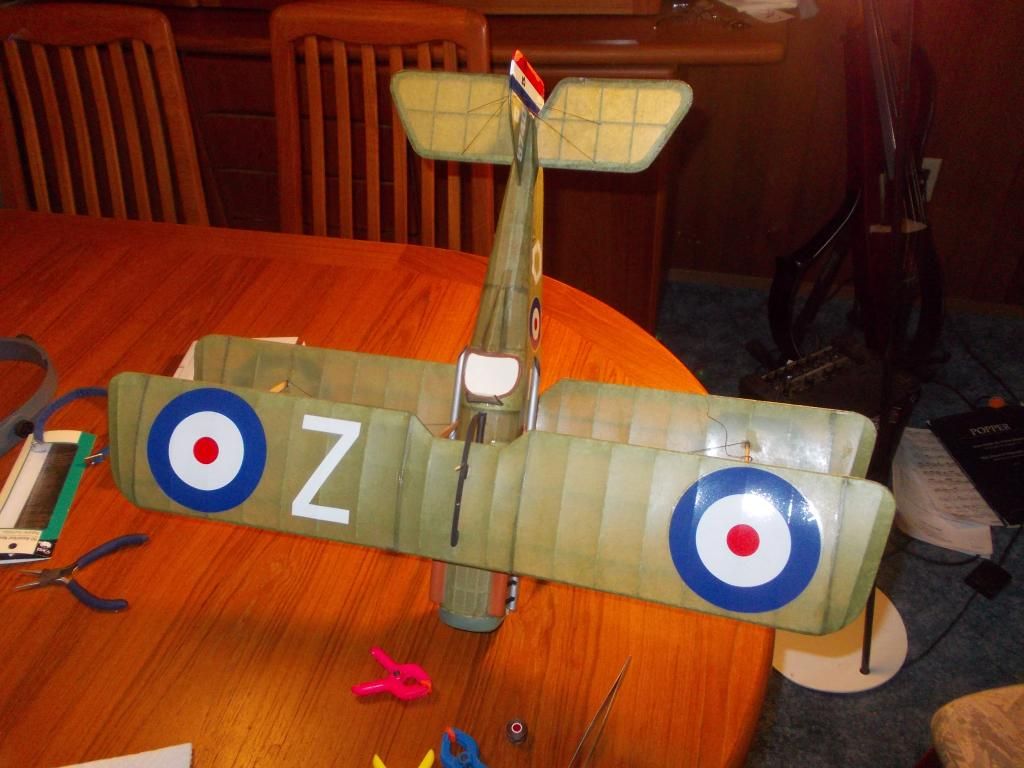
I decided to also add ALL the Guillow supplied decals...Just a bit more rigging to do but I'm tired...
Image
Thanks to Dave for the pic I made a front bracket for my Lewis mg! :D
Image
I think she should have a carved prop for the proper look...

Plan to: Change out wheels, a few more rigging wires, draw lines for elevator and ailerons, detail Pilot...
Mitch :D

PS I have a lot more pics if anyone is interested. Also let me know if you what to know how I did something...

...as Don Ross says in his book... "One can spend more time on detailing, than building the model"
Mitch
 
Posts: 1347
Joined: Mon Aug 22, 2011 9:16 pm
Location: Kent, WA

Re: Detailing my SE5a

Postby Mitch » Tue Apr 09, 2013 11:45 am

Need Help...
Image
I am having difficulty putting in last 4 rigging wires... Between the outer wing struts the short ones... I get one end tied and cant seem to keep the line tight as I try to secure the other end... Any suggestions? I will keep trying... I think I need a lesson in "fly" tying.

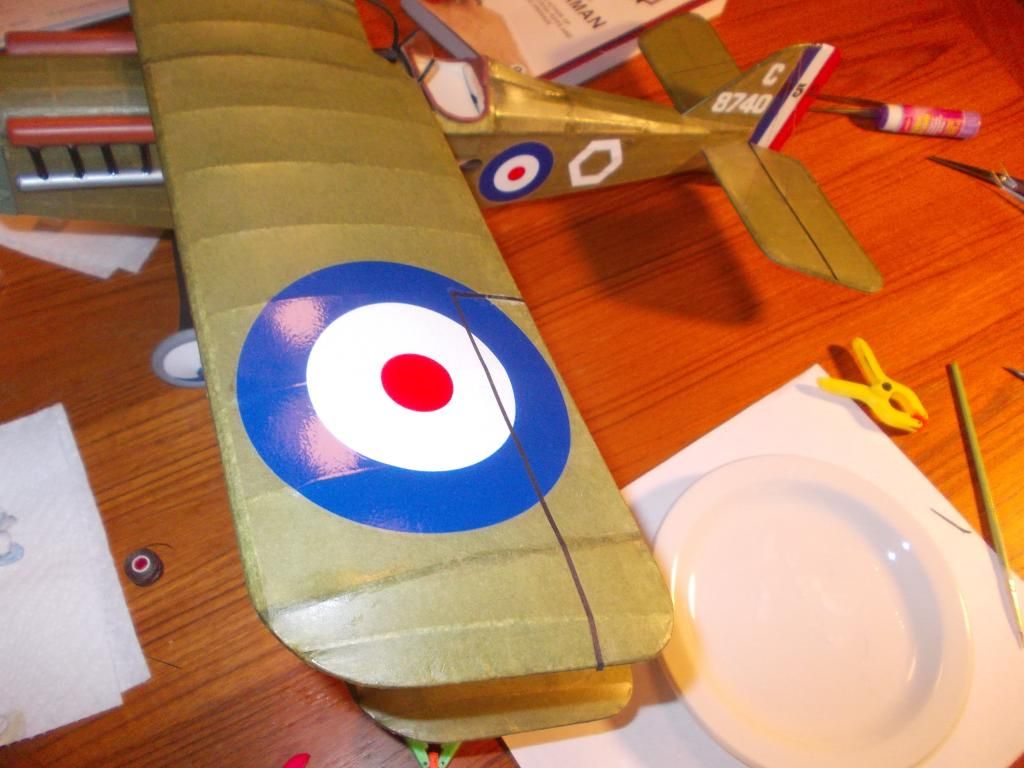
Also I decided for my SE5a to use black tissue cut in thin strips for separation lines. I was afraid the sharpie would not stick to the decal?
Image

Back to work...at the Royal Aircraft Factory... Mitch :?

PS Wheels will stay on as they the hub is glued on VERY well. Hope to start on Propeller today... :roll:

UPDATE: I also had to remove the tail rigging wires as one of the "wires" was on the wrong side of the stringer! :x This was one continuous line and only glued at the bottom so "not a big deal"

ALSO: Plan on carving a proper prop for display... so lets see how long that takes... Glad the plans show a 2 bladed prop. Most SE5's seem to have 4 blade, but I do see them with 2 blade, and that is what the plans show, so that is what I will do! :D
Image

Mitch
Mitch
 
Posts: 1347
Joined: Mon Aug 22, 2011 9:16 pm
Location: Kent, WA

Re: Detailing my SE5a

Postby Mitch » Tue Apr 09, 2013 2:35 pm

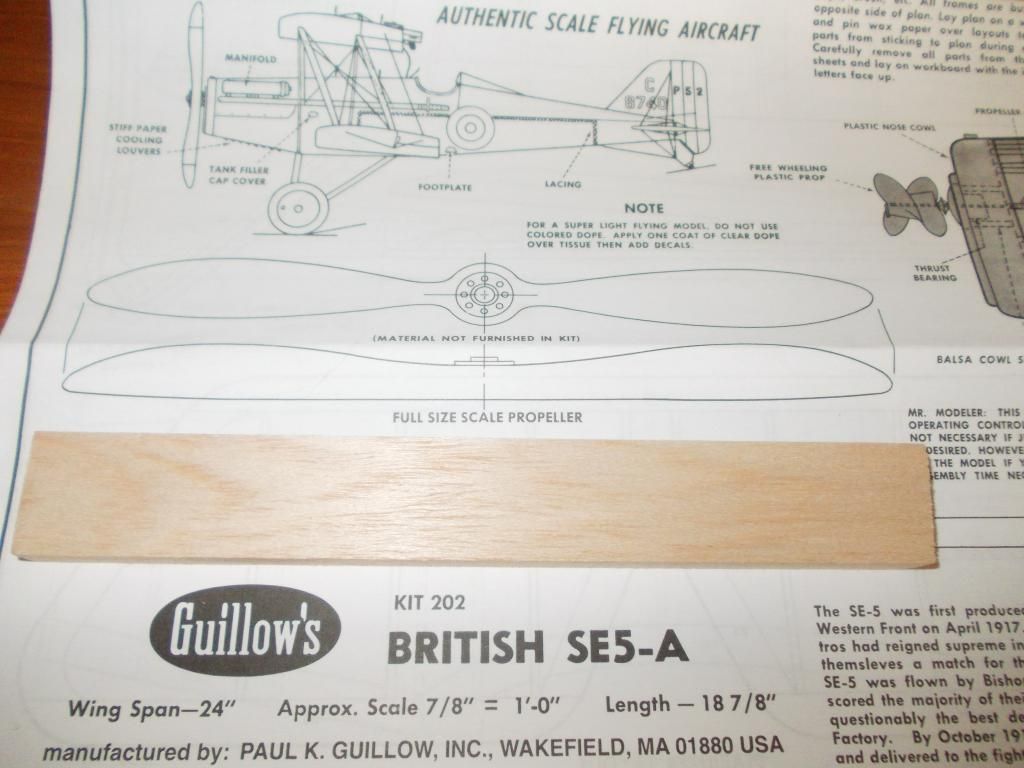
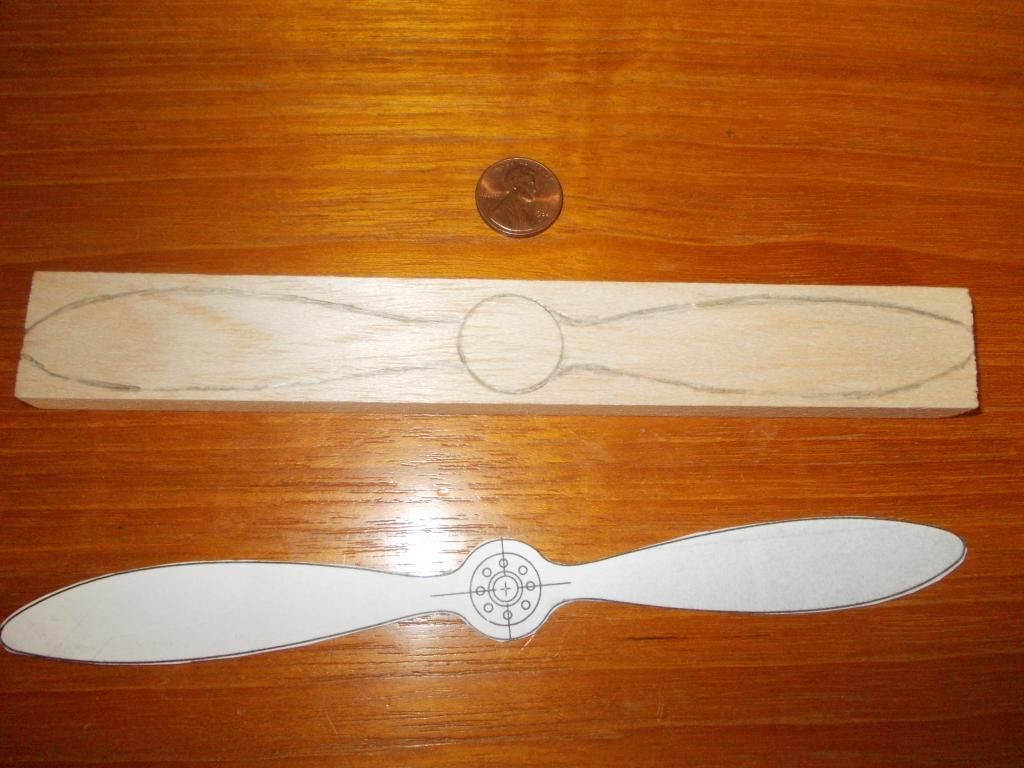
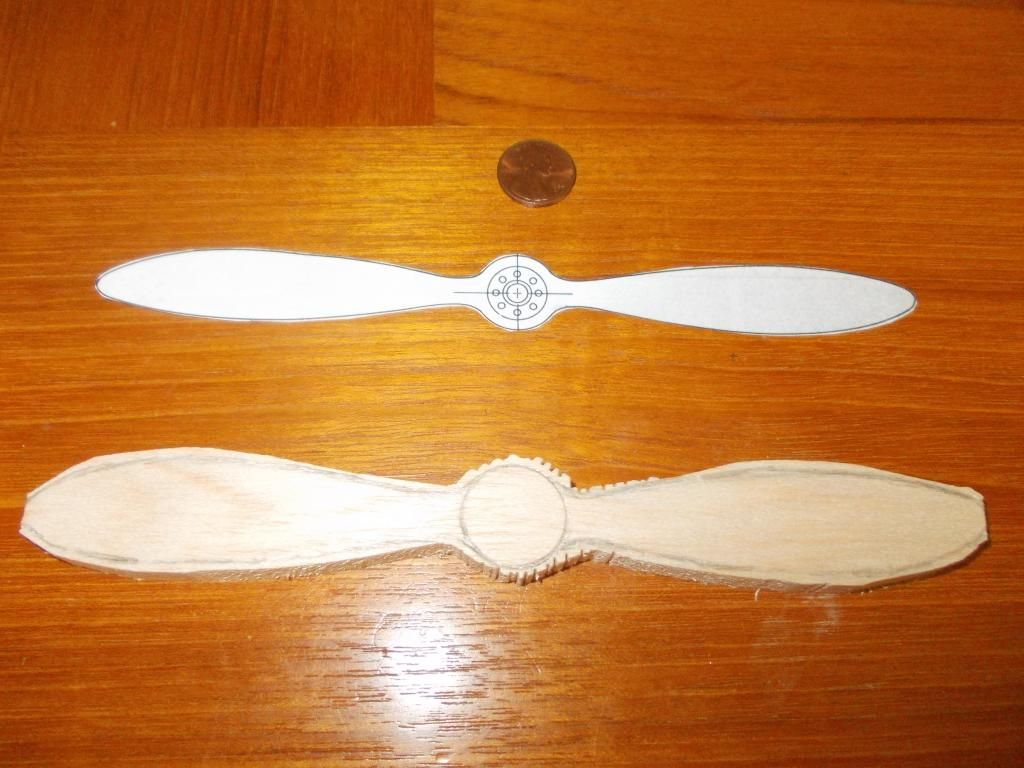
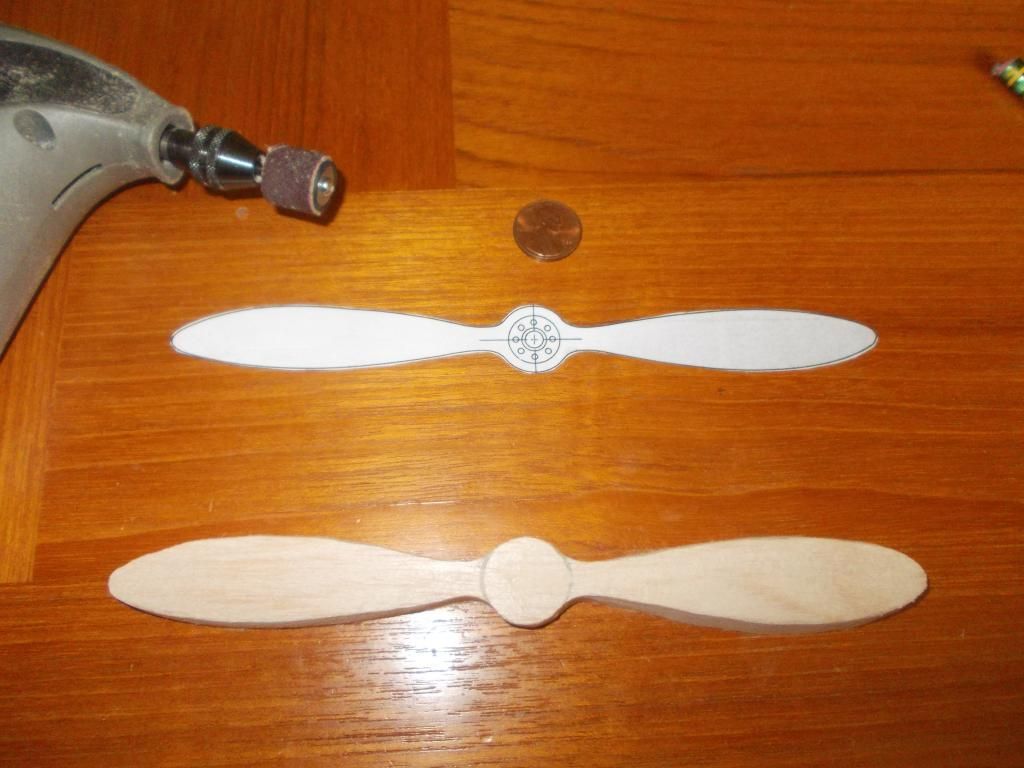
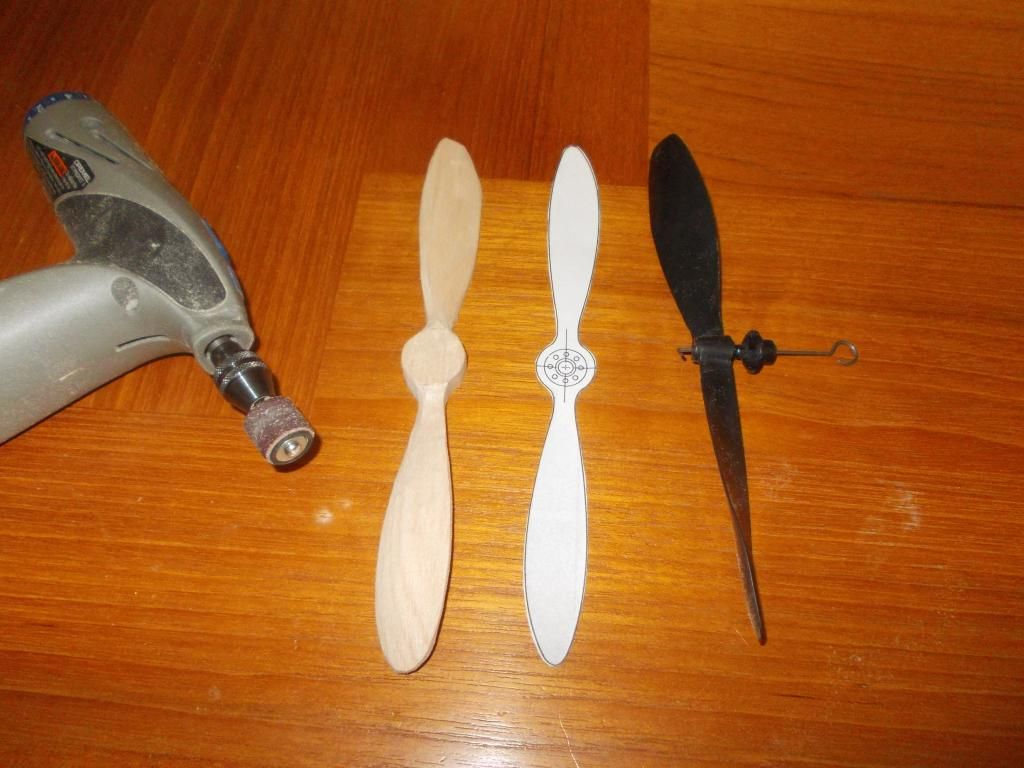
Since I remember a question recently on carving props... I thought I would give detail on how I am doing this one.

1. I copied plans of correct prop and cut out for template.
Image

2. I used my bandsaw to cut out to basic shape.
Image

3. I used my Dremal with sander to sand to line.
Image

4. With plastic prop as guide, using dermal, sanded angle of blades on prop.
Image

All this was done in less than 30 minutes... I will take a lunch break and then use x-acto knife and hand sand for final shape...

Mitch :D
Mitch
 
Posts: 1347
Joined: Mon Aug 22, 2011 9:16 pm
Location: Kent, WA

Re: Detailing my SE5a

Postby Mitch » Tue Apr 09, 2013 4:07 pm

After Lunch... did a bit more sanding and shaping...

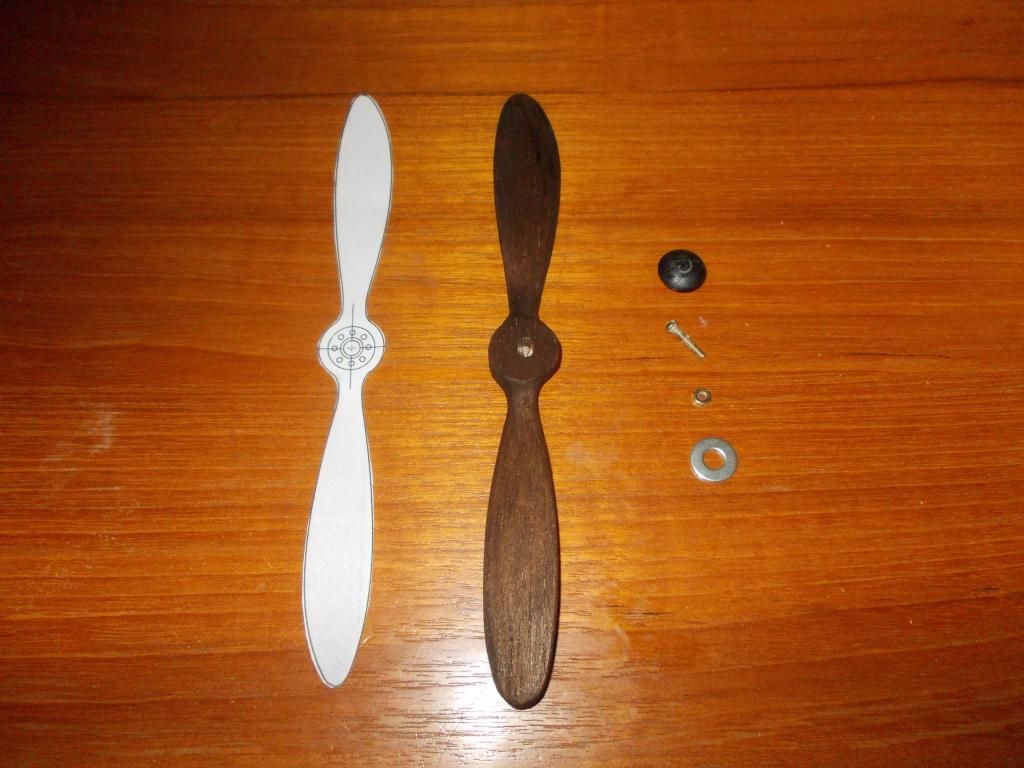
Then a coat of dark walnut stain:
Image
I used the template again to drill out the center hole.

I plan to use a no.10 washer to simulate the front plate and I drilled out an old thrust button to receive the brass screw and washer from a 400 series model to simulate the shaft and retaining nut.

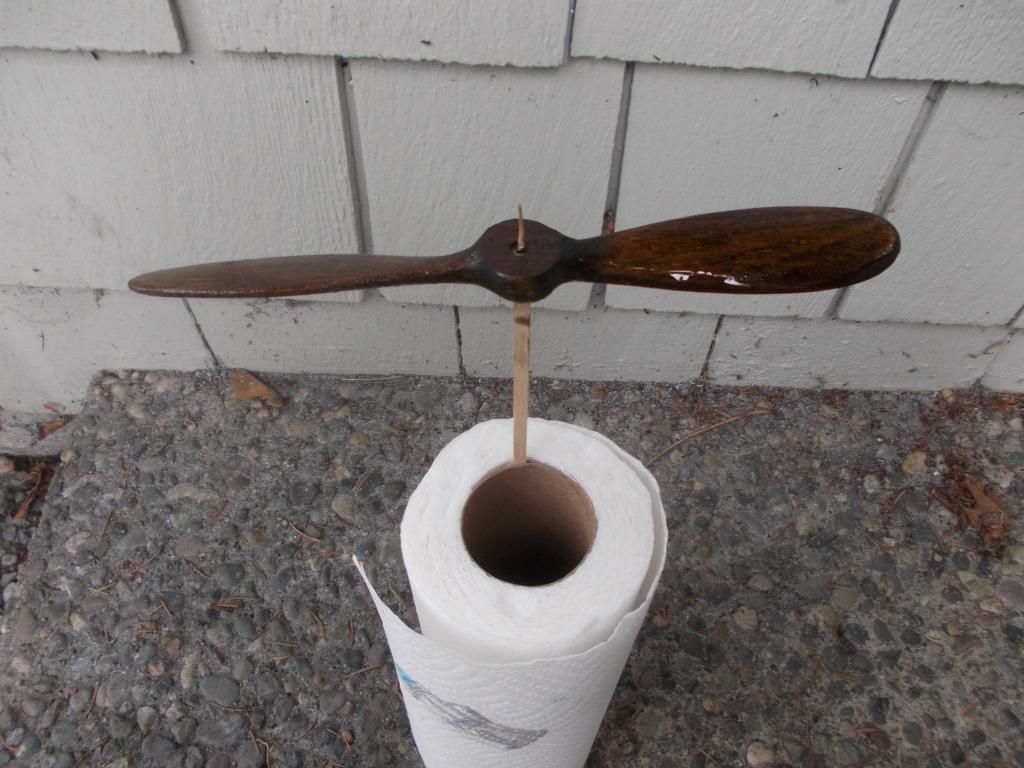
Took the prop outside for a good coat of dope:
Image
Plan on at least 3 coats of dope, or until I get the prop nice and glossy. Sanding between coats.

I expect with drying time the prop will be ready tomorrow! :D

Mitch
Mitch
 
Posts: 1347
Joined: Mon Aug 22, 2011 9:16 pm
Location: Kent, WA

Re: Detailing my SE5a

Postby Mitch » Tue Apr 09, 2013 10:50 pm

End of the Day Report:
Put a couple of coats of gloss varnish on the prop...

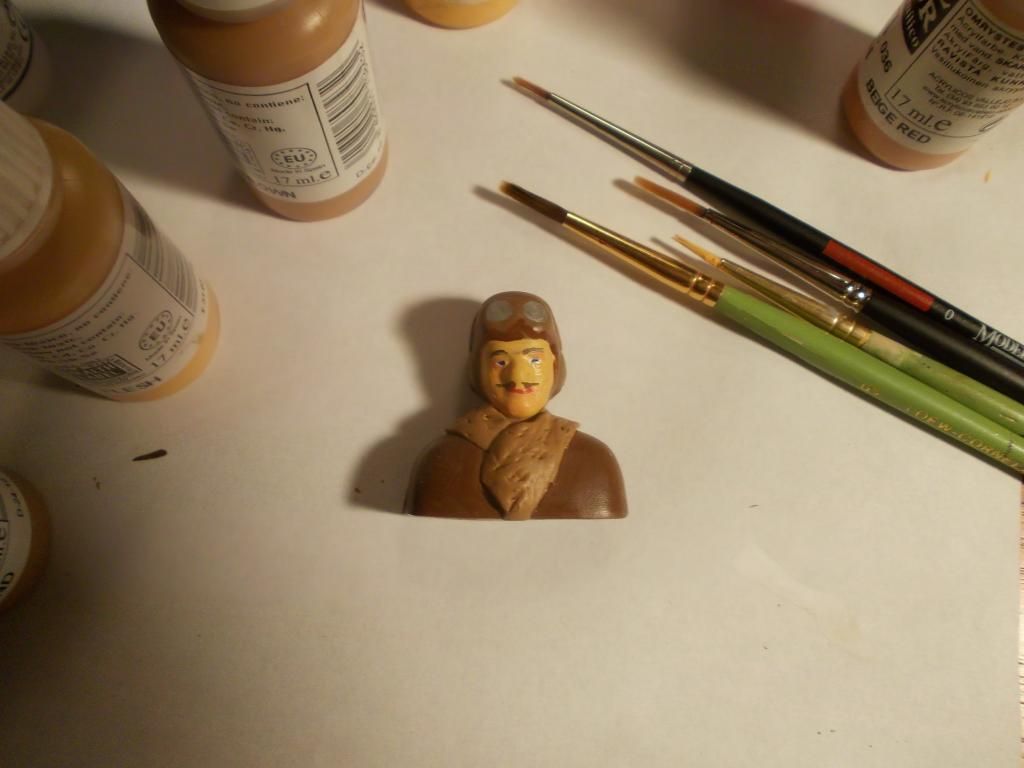
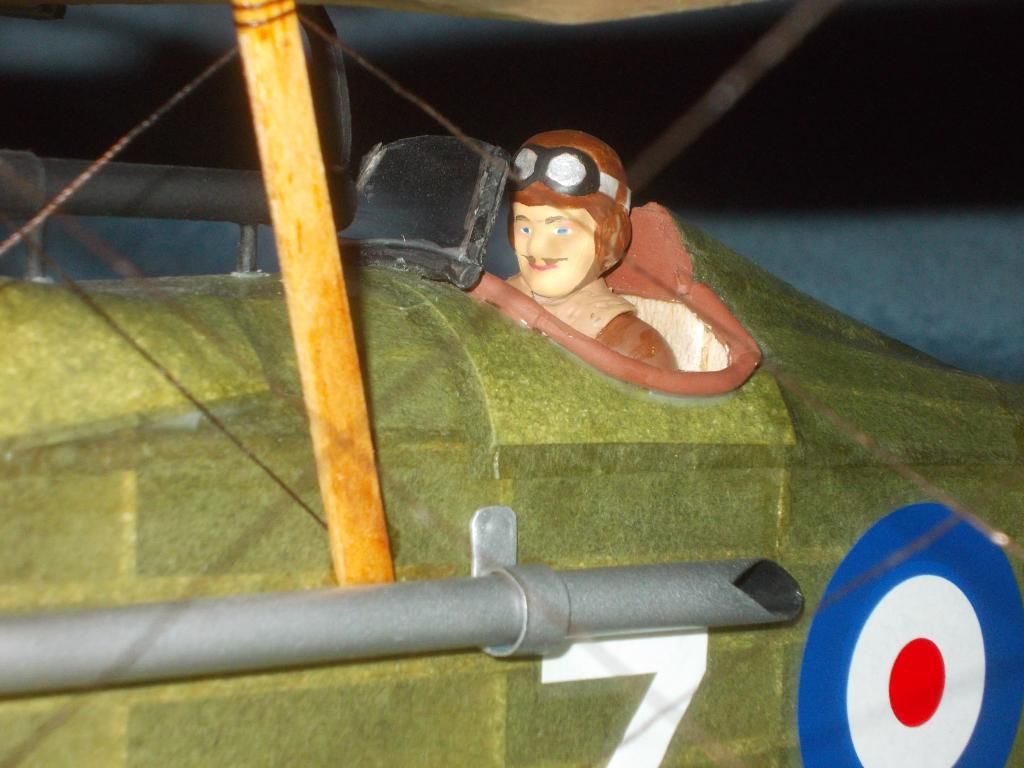
Thought I would work on the Pilot...
Image
This is the Guillow Pilot, I filled in his helmet and gave his jacket a fur collar. I used "Green Stuff" a 2 part epoxy. Painted figure with Vallejo Paints... about 8 colors used so far...

Gave him a "Very Proper British Mustash"

I think he looks good from the "3 foot" rule. I can do some more work on him, but I am shutting down the shop tonight.

Mitch :D

PS Another Hobby I have is wargames (past 30 years) and painting 28mm wargame figures (past 3 years)... Building Guillow models...almost 50 YEARS!!! :D
Mitch
 
Posts: 1347
Joined: Mon Aug 22, 2011 9:16 pm
Location: Kent, WA

Re: Detailing my SE5a

Postby Mitch » Wed Apr 10, 2013 11:11 am

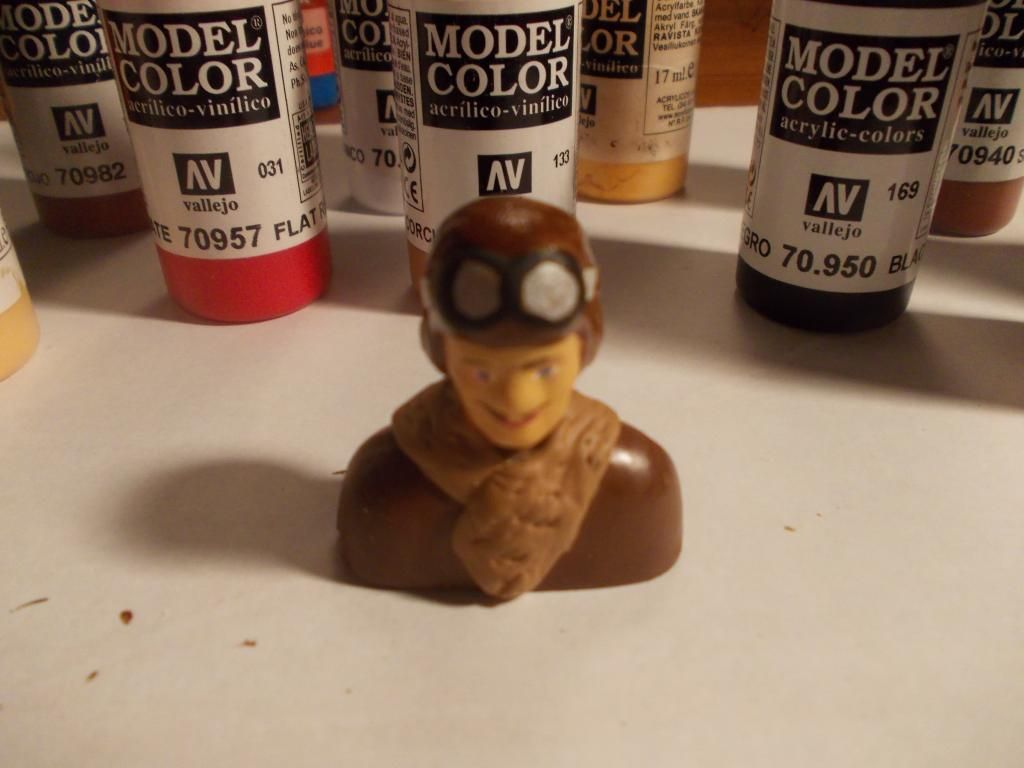
Good Morning...after a cup of coffee... but not too much, I went to work on Johnny again:

Image

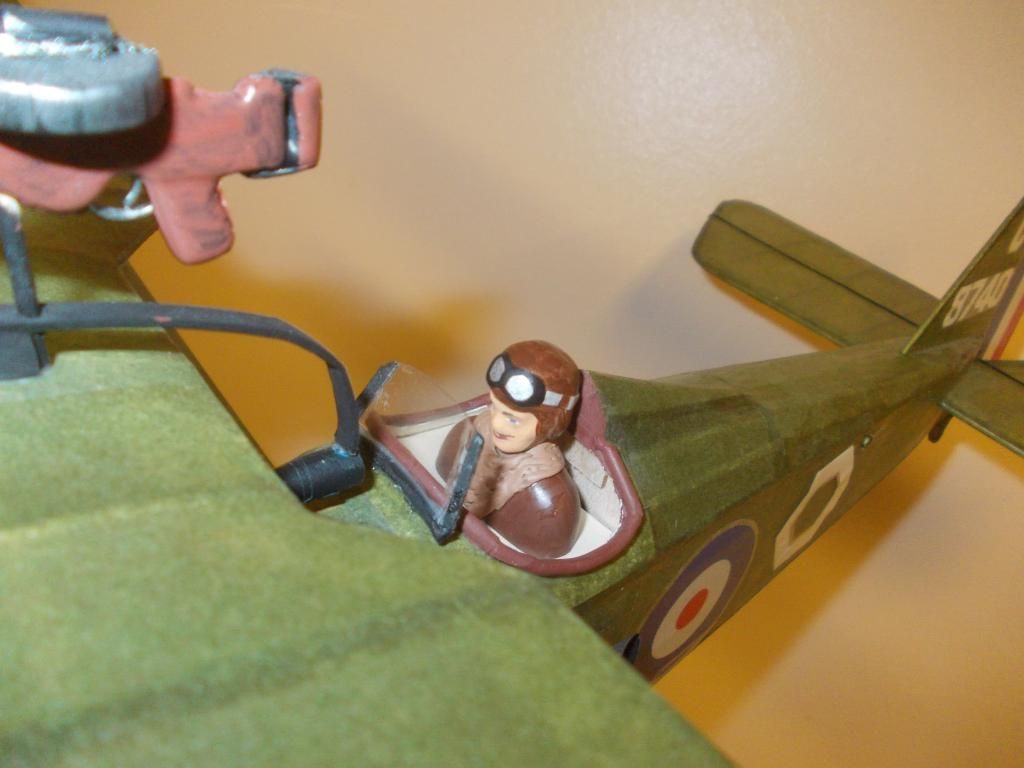
Since this plane is meant to fly it needs a "Proper Pilot":

Image

3 basic steps in Painting Figures:

1. Prime the plastic. I use "The Army Painter" comes in various colors
2. Use a good brush and a palette
3. Use water based paints, I use Vallejo Paints, comes in many colors.

Mitch :D

END OF THE DAY UPDATE:

I also added some brackets to hold the exhaust pipe in place...
Image

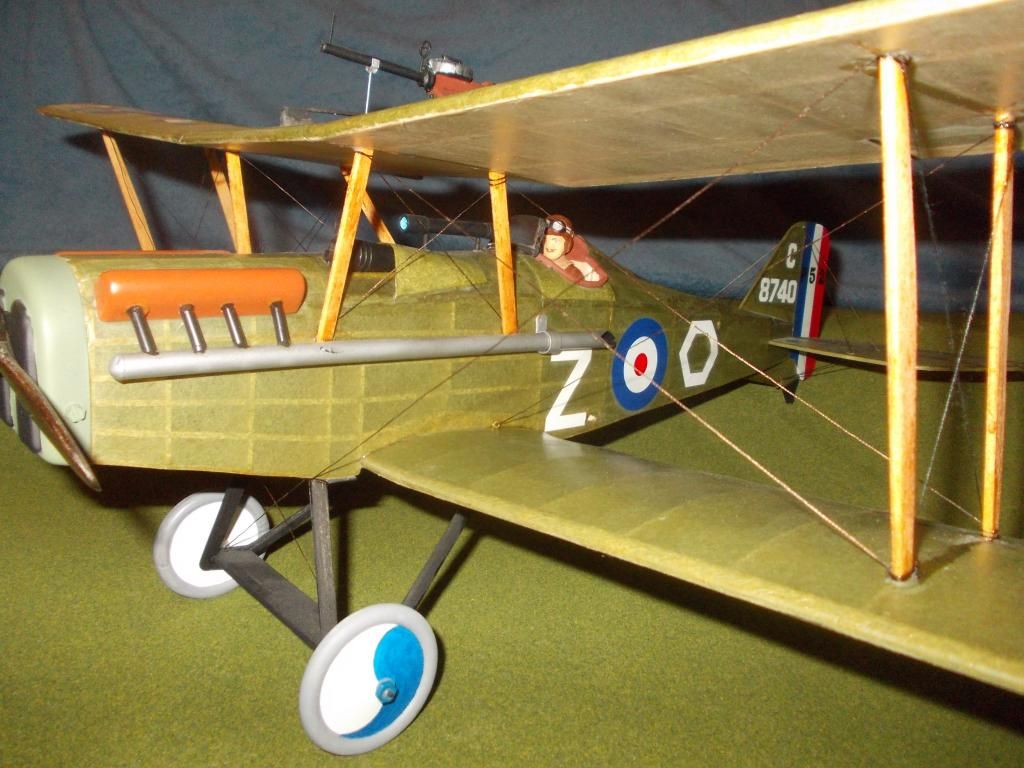
Finally got the rigging lines on, used the Singer thread... I Used Guillow line for all the other rigging... There are a few things I do not like, BUT there will always be next time, and I will take this in as lessons learned:
Image

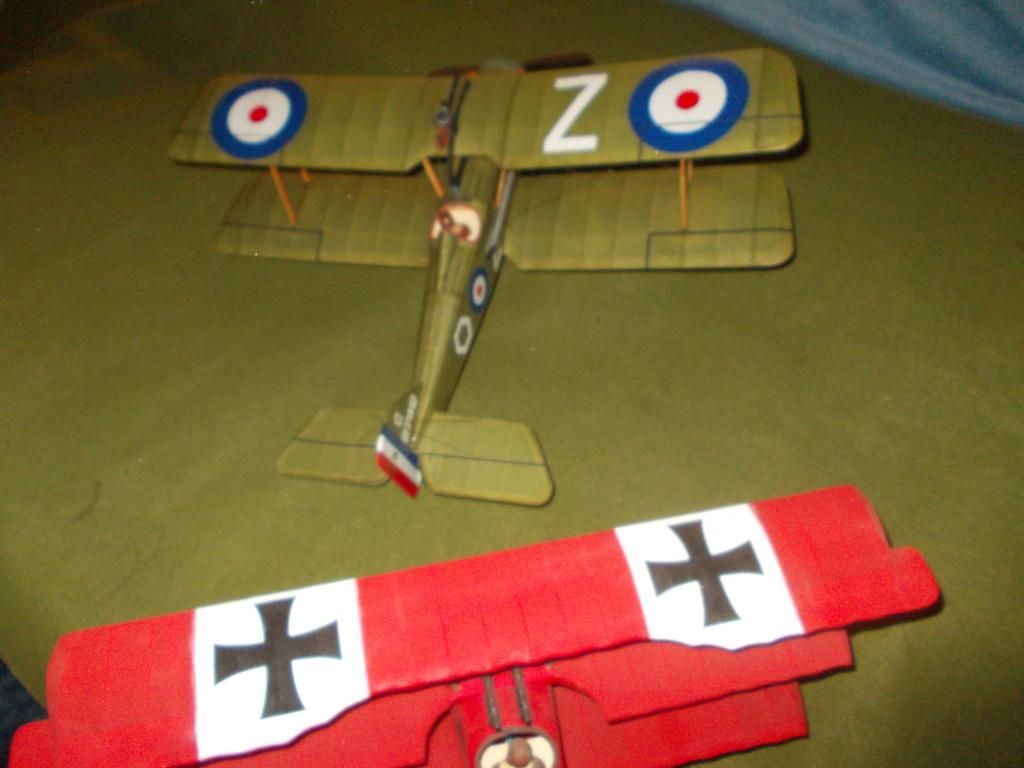
Now I am ready for combat... Took 30+ hours to build... Will it last 30+ seconds???
Image

THE END IS NEAR...

That's about it for my details, any questions or comments... I can take more pictures or explain how I did something... I think after my WESTFAC IV I will build another SE5a and make improvements from lessons learned... :wink:

That's All Folks... Mitch
Mitch
 
Posts: 1347
Joined: Mon Aug 22, 2011 9:16 pm
Location: Kent, WA

Re: Detailing my SE5a

Postby Wildpig » Thu Apr 11, 2013 10:47 am

Fantastic job, Mitch.
I really like the details; foot hold in the side of the fuselage,exhaust brace, Johnny's mustache.

I have built the very same model. The eye bolt idea is interesting. I have something similar, it's for model trains. I think I'll use the eye bolts for the rigging on my model.
Wildpig
 
Posts: 529
Joined: Thu Jan 26, 2012 9:41 am

Re: Detailing my SE5a

Postby Mitch » Thu Apr 11, 2013 11:56 am

Thanks WP et al...

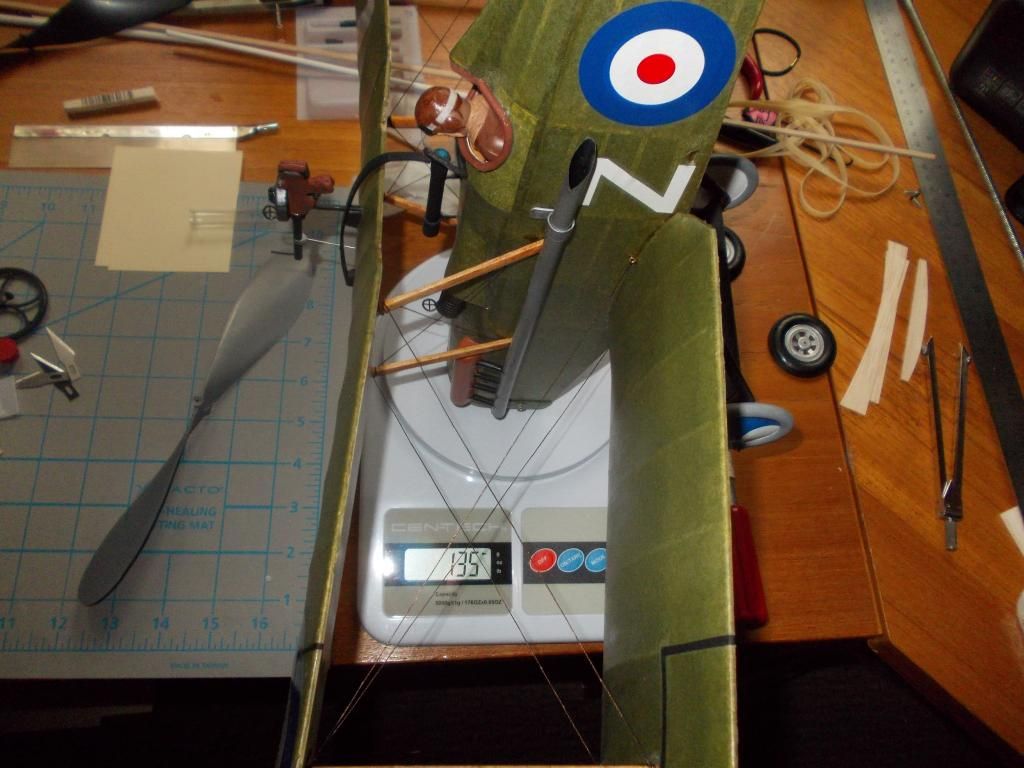
Put Johnny's Plane on the scale... w/o prop or rubber...
Image
135g... She's heavy, but I do not think the WW1 "Mass Launch" is NOT timed... I have NEW FAI rubber and I think I'll swing a 9-1/2 inch prop...

SO the GOOD news is ALL this detailing ADDED NO MEASURABLE WT.
My next gen SE5a will hopefully be MUCH lighter...

My Lexis Gun weighs 4g and those wheels are 10g's... that's killing me... Landing Gear is Coffee Stir sticks laminated around music wire...
Image
This plane was built to FLY and withstand a LANDING!

NEXT GENERATION:
1. Remove excess wood from frames
2. 1/32 hand cut ribs
3. Lighter wheels
4. Lighter Tail
5. Lighter Detail parts

My goal is 100 grams... If one flies these models I believe one needs to learn and re-build, I built 2 of the SE5a's (100 series) as a kid...

Mitch :D KEEP FLYING, STAY HAPPY
Mitch
 
Posts: 1347
Joined: Mon Aug 22, 2011 9:16 pm
Location: Kent, WA


Return to General Building Questions

Who is online

Users browsing this forum: No registered users and 2 guests