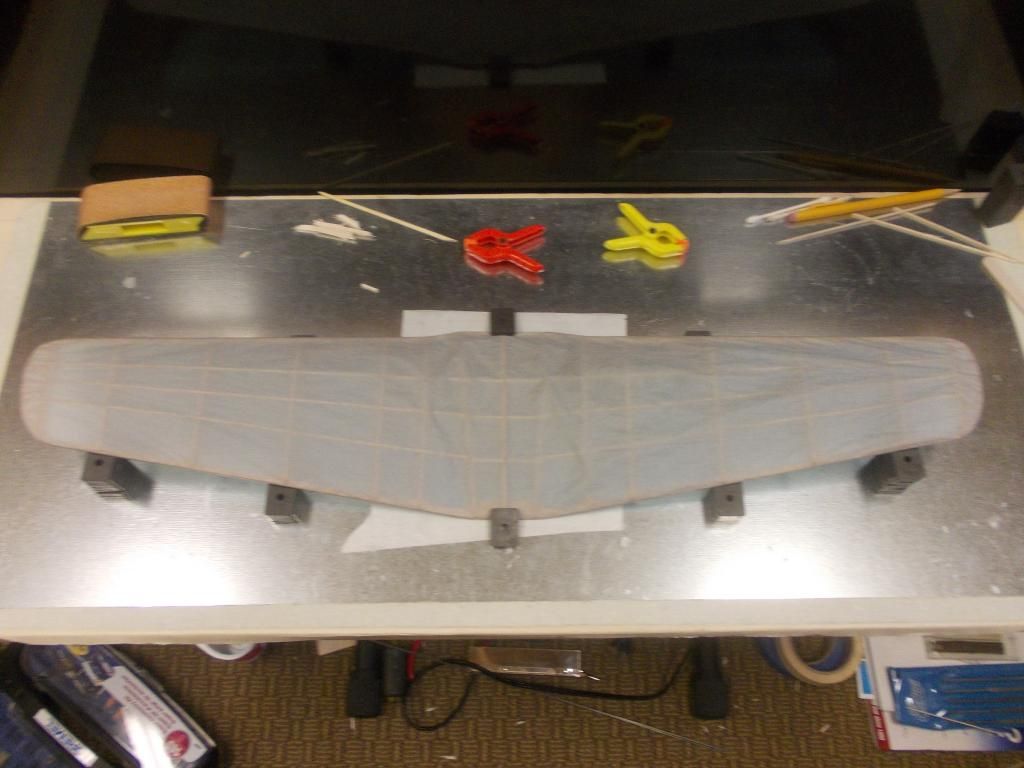
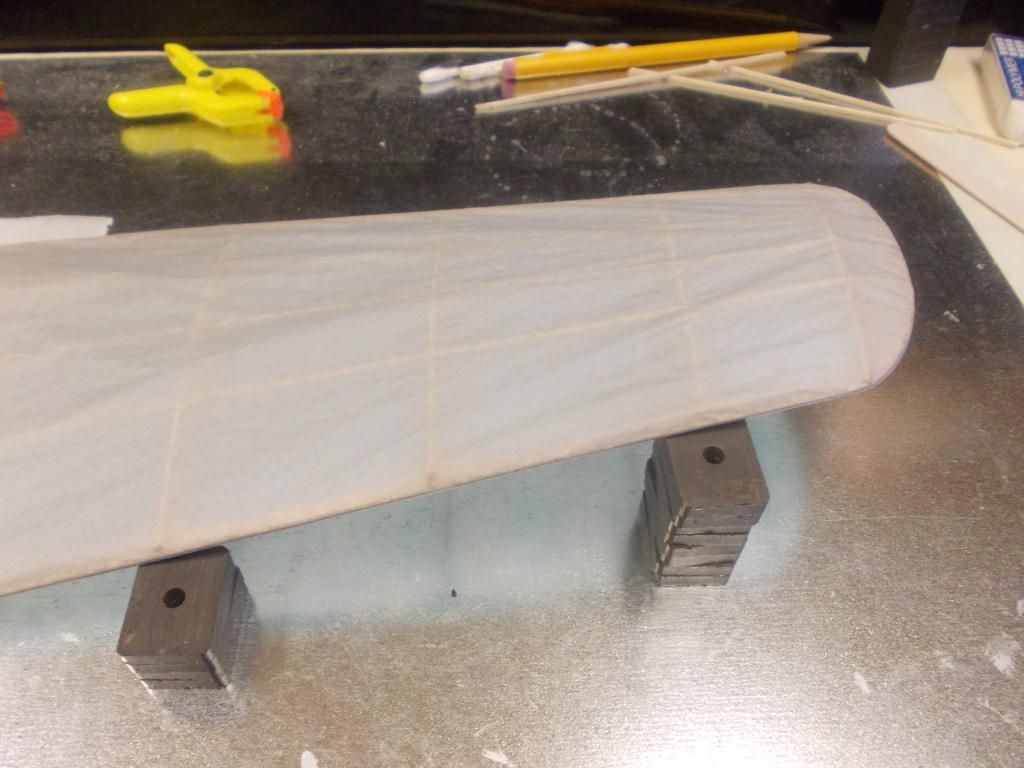
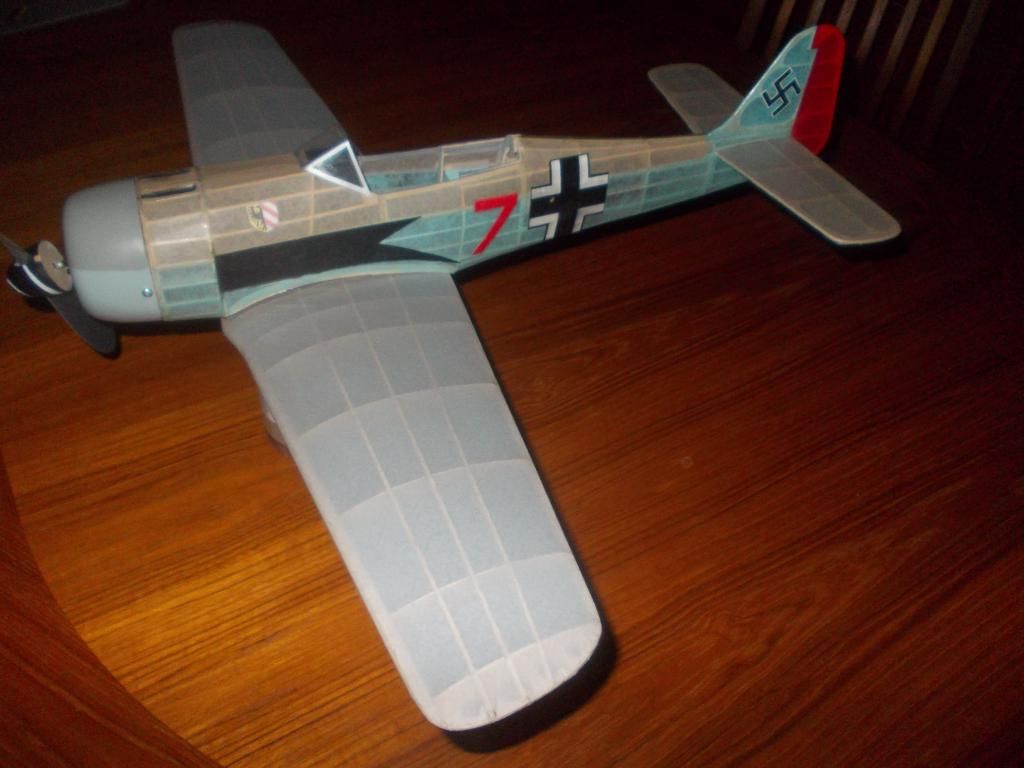
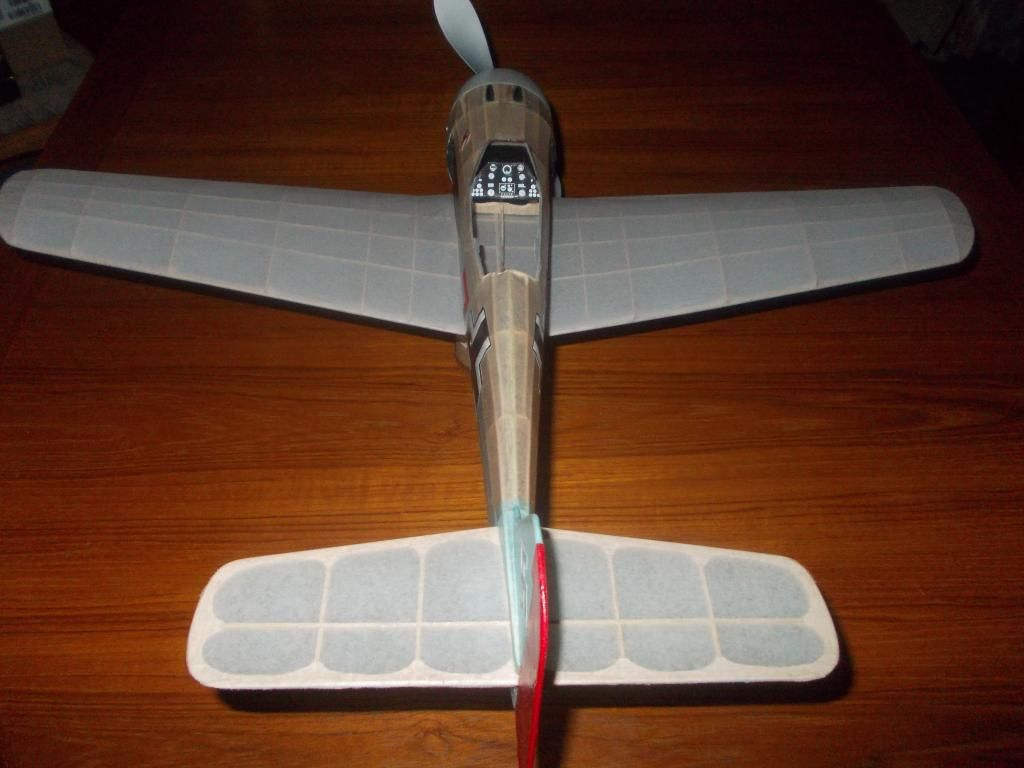
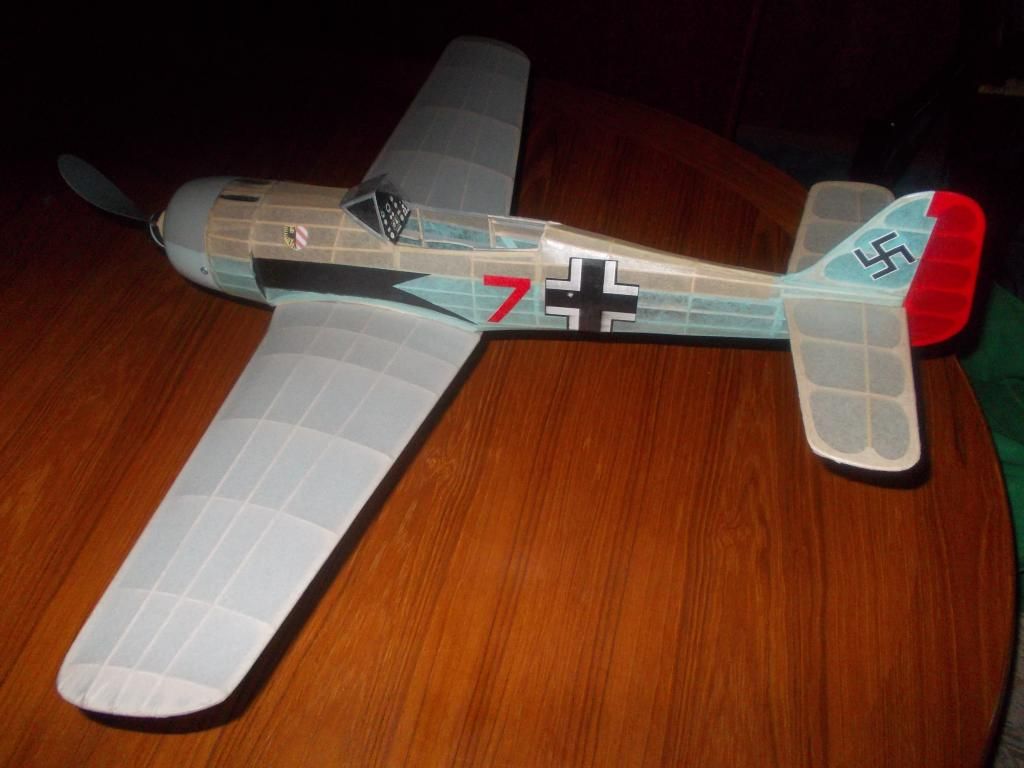
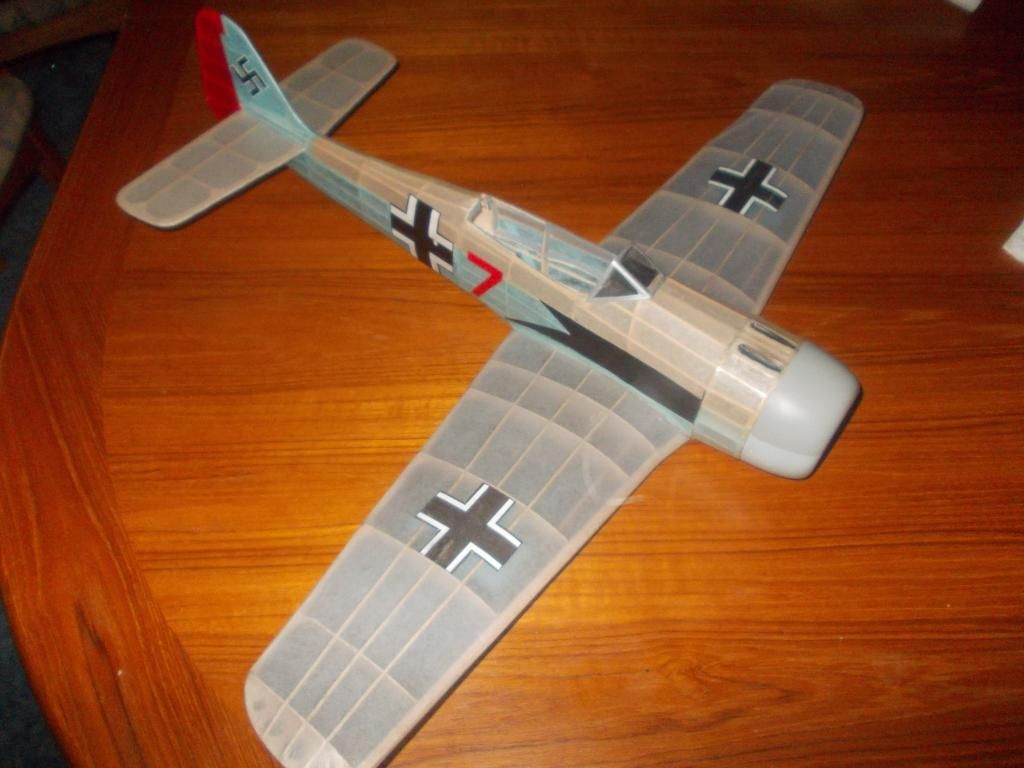
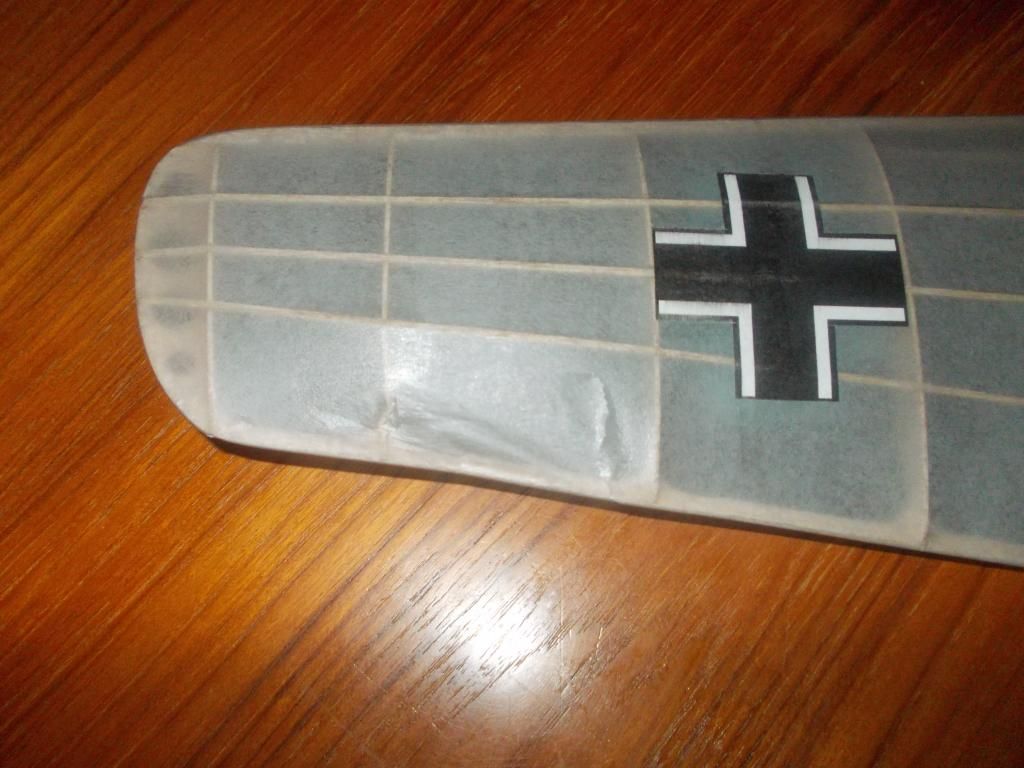
With the bottom trimmed, I decided to cover the top with ONE piece of paper. I usually lay on separate sheets at the change in dihedral and at the wing tips. But with using 1/32 ribs the paper is difficult to "hold on" at those breaks. I cut the paper at those areas to release the stress. I hope I do not regret my short cut... This is a test airplane now and I will build a new FW 190 as an A7 model and incorporate all that I learn. The A7 is 6 inches longer, so 1/16 scale it will be 3/8 inch longer in the nose, with big bumps over the mg's. I hope to get a FW for a contender in the next FAC contest... I always thought this plane has good potential to be a good flyer.
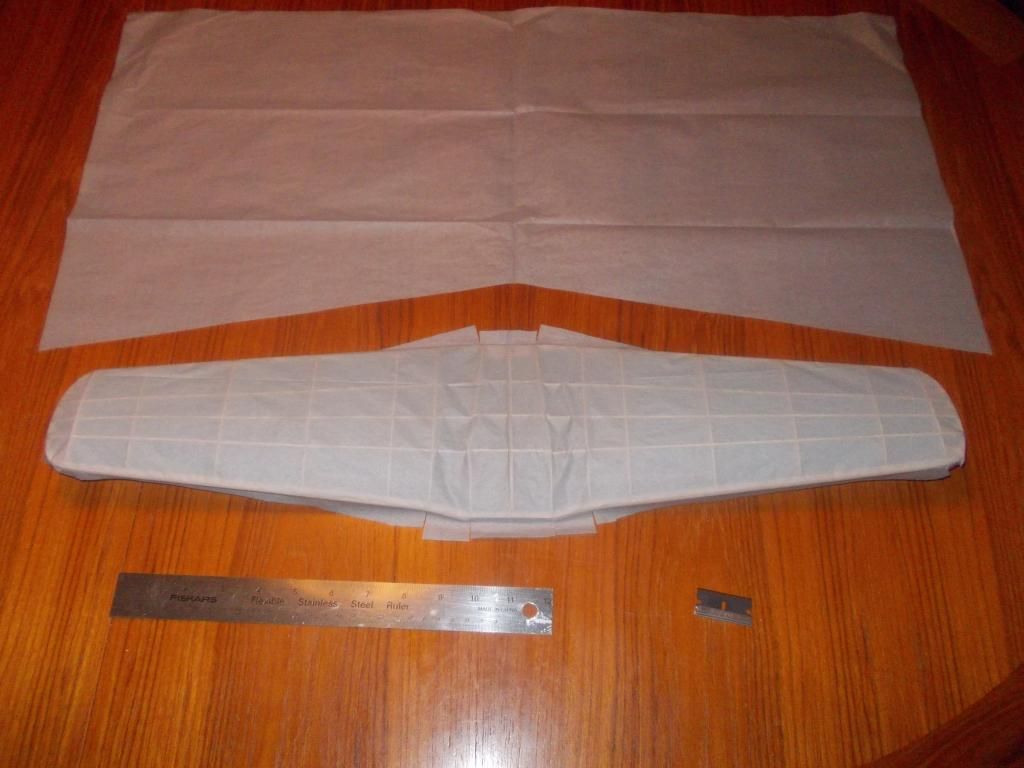
I will test the glue joint in a while then trim the top color with light sanding also. This should create a nice color line right at the turn in the LE.
Once I am sure the paper is glued on properly AND the glue is set and dried, I will brace the wing and spray it lightly with a water mist. Usually I soak the paper, but this wing is so delicate I do not want to set in warps if the paper shrinks too much...
Mitch

