SE5 or SE5a, this one is heading to WESTFAC V!

Ask other modelers for a little help / knowledge ?

SE5 or SE5a, this one is heading to WESTFAC V!

Postby Mitch » Tue Nov 11, 2014 7:49 pm

I need to build up my WW I inventory. I decided to start building the 100 series. I gave quite a bit of thought and decided to start with the SE5a. Although the box says SE5 I will call mine an SE5a as per plans, as I will be powering up my model with more power and that was the big difference with the 'a' model.

So besides the basic (engine) changes of:
1. Adjustable thrust line
2. Larger prop
3. More rubber
4. Change rear peg position, and use aluminum tube.

I have been studying the plans and come up with the following proposed (airframe) changes:
1. I plan to use hard wood (coffee stir sticks) for struts instead of balsa
2. Change the way the landing gear is attached.
3. Leave off the head rest
4. Lighten structure however I can.

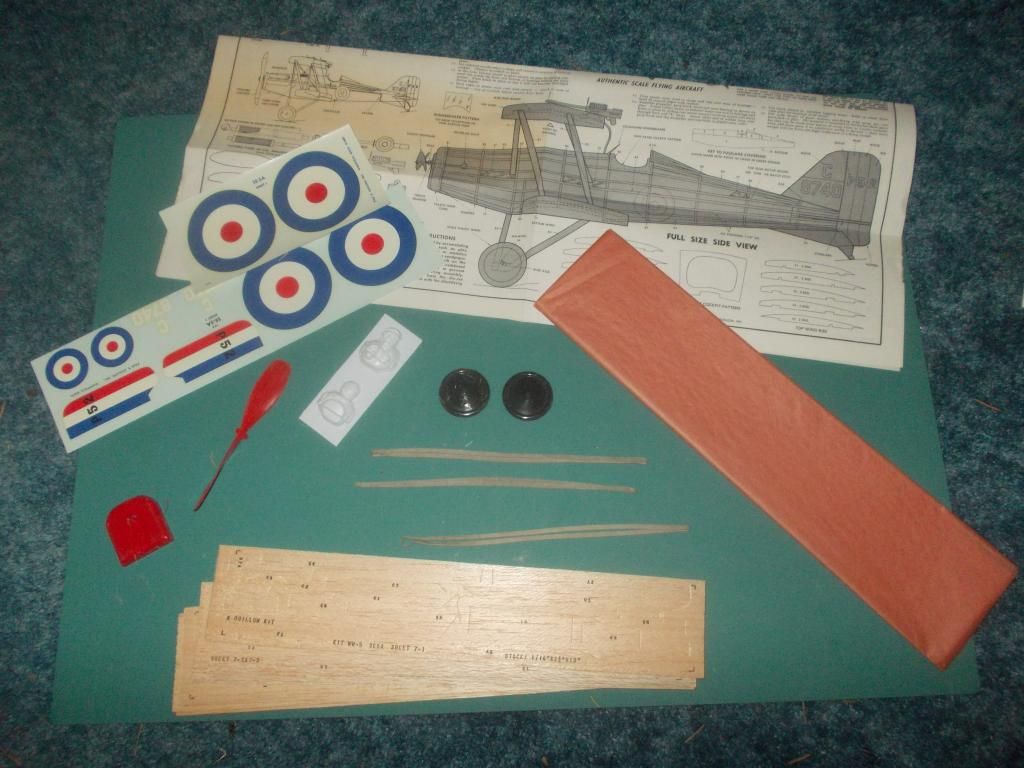
I think the kit I have here is the zenith of the 100 series. I has 2 sheets of decals. (ALL the markings) The earlier kits only gave you 2 wing roundels (I have 4) I have the plastic pilot. The kit came with 3 rubber bands. The paper almost looks like esaki paper. It is a orange/brown color.

Here is the box...I just removed the plastic wrap from Guillows:
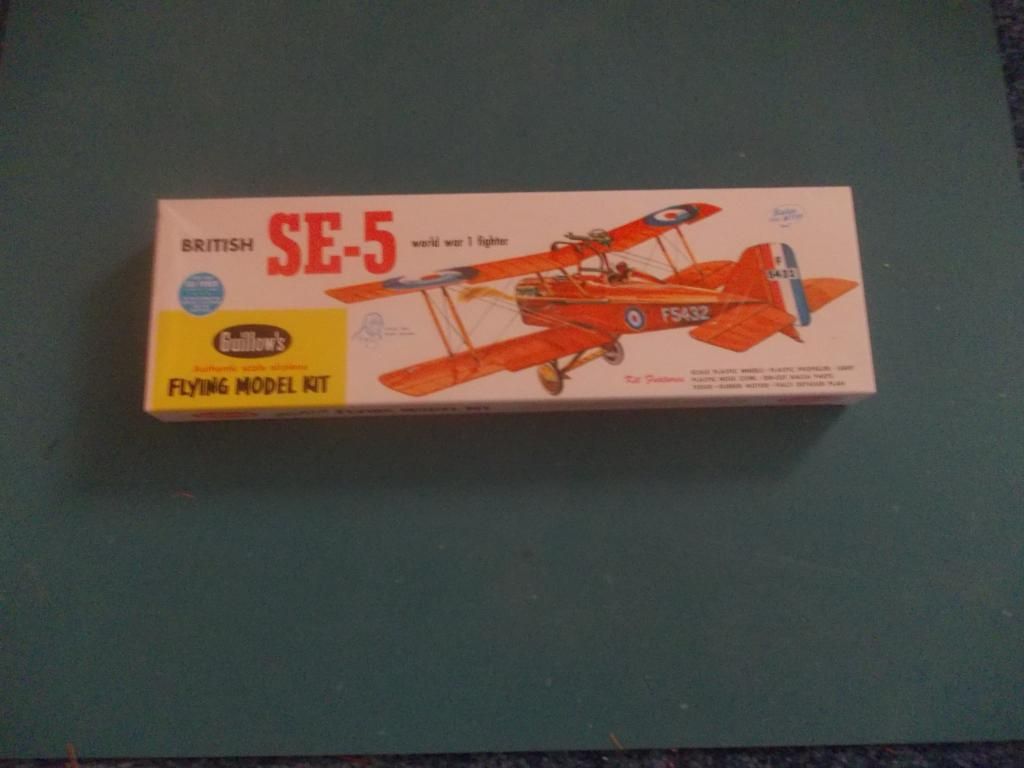
Image

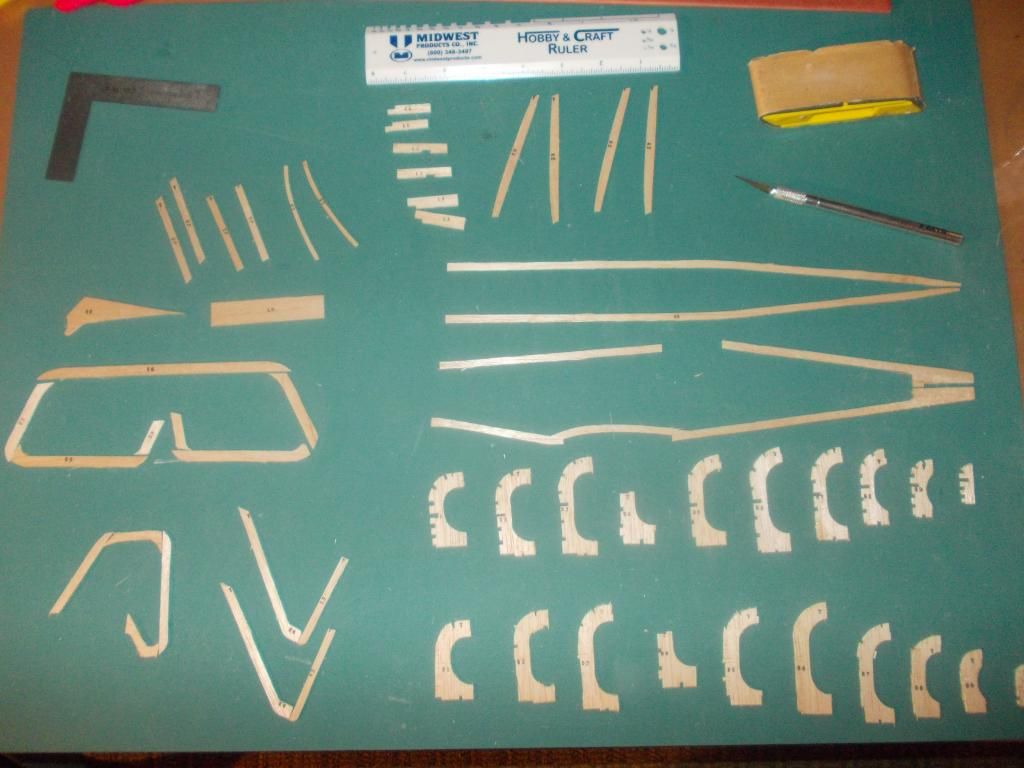
Here are the contents:
Image
The brown stained paper of the plans is where the balsa wood has been resting for the past 25+ years

Here is a picture of an SE5a w/o headrest:
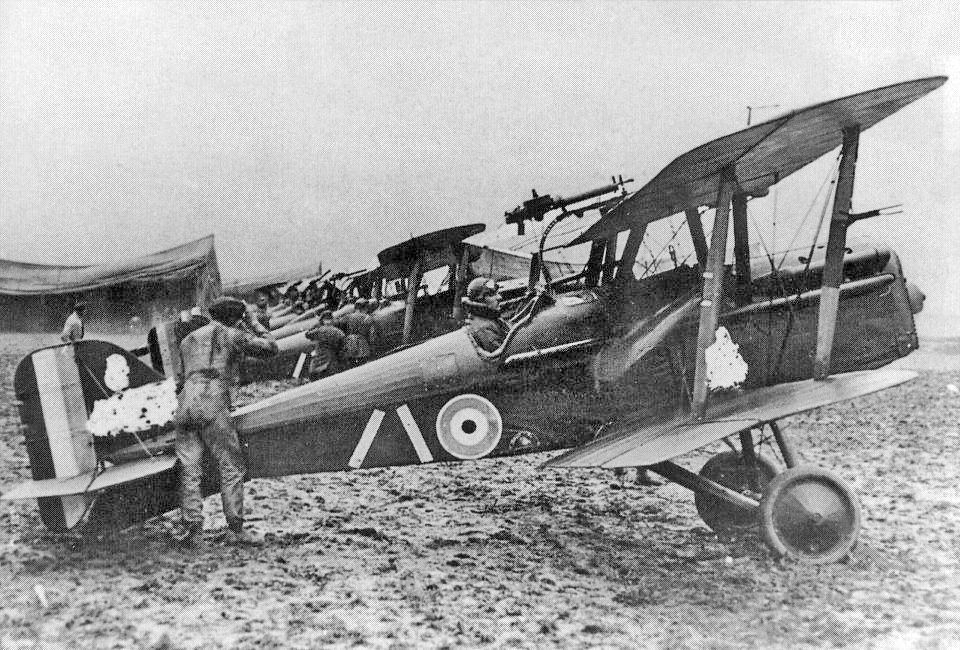
Image

I know I have a lot of models under construction, but I need some WW I models. I will be home until Christmas, so I believe I can complete this model in 2 weeks. Okay, there I said it... Let's see... I went to Staples today and copied the plans for $1.99 so I can use the copy to build on. I also copied the color markings for 49 cents. I plan to use bond paper marking and save the decals. I guess that marks the start of construction.

Okay...13 days to go... lets see if I can do it... :?

Mitch

PS: For the initial build I will be leaving off the exhaust manifold and machine guns, and flying wires... those can be added later.
Mitch
 
Posts: 1347
Joined: Mon Aug 22, 2011 9:16 pm
Location: Kent, WA

Re: SE5 or SE5a, this one is heading to WESTFAC V!

Postby davidchoate » Tue Nov 11, 2014 9:23 pm

I have an old Prelasercut Thomas Morse Scout. I have had no problems with the wood in the old kits so far. I am waiting to build it until I complete the Stearman I started a year ago.
davidchoate
 
Posts: 1263
Joined: Wed Aug 14, 2013 6:41 am
Location: PHiladelphia PA

Re: SE5 or SE5a, this one is heading to WESTFAC V!

Postby Mitch » Wed Nov 12, 2014 2:17 am

This is the 100 series not the 200 series. This model has an 18 inch ws. I built the 200 series SE5a, but it is much too heavy to fly. Rather than rebuild it I choose to attempt the models I started with. These were the first kits I built as a kid because they were 99 cents. Now, I do not like kits this small, but I enjoy building WW 1 models... I decided to go with the SE5a because it has a long nose and should be easy to balance. It also has a nice dihedral and should fly well. I always thought it looked like an old British Sports Car with a long nose... anyway, here we go.

Image

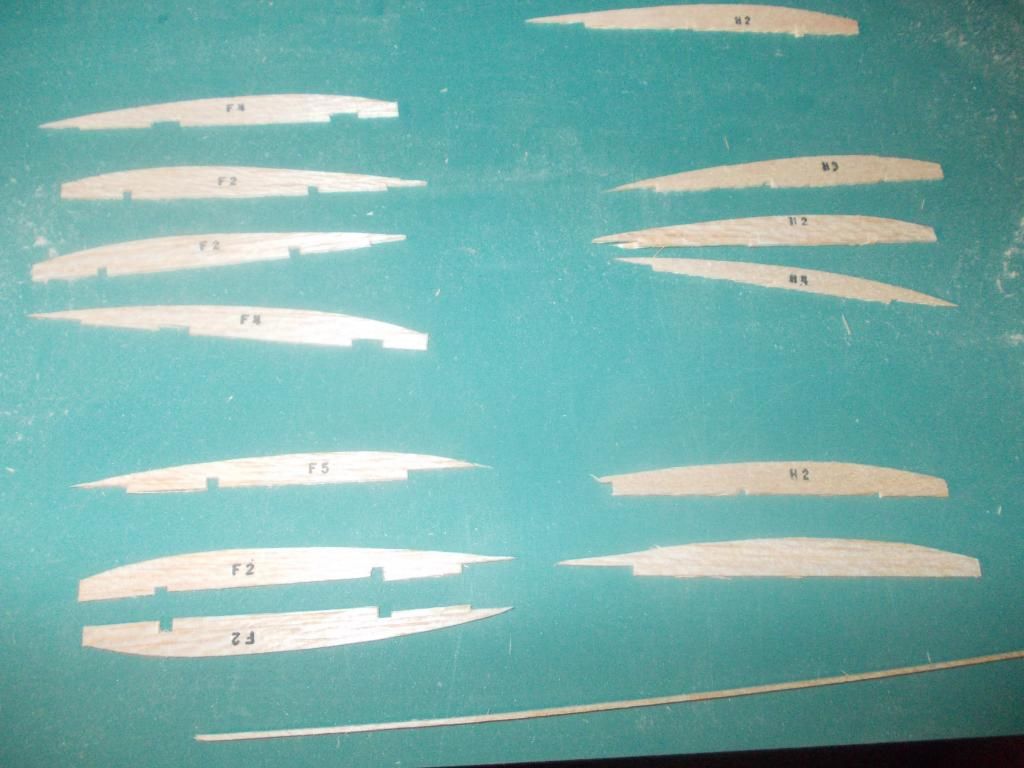
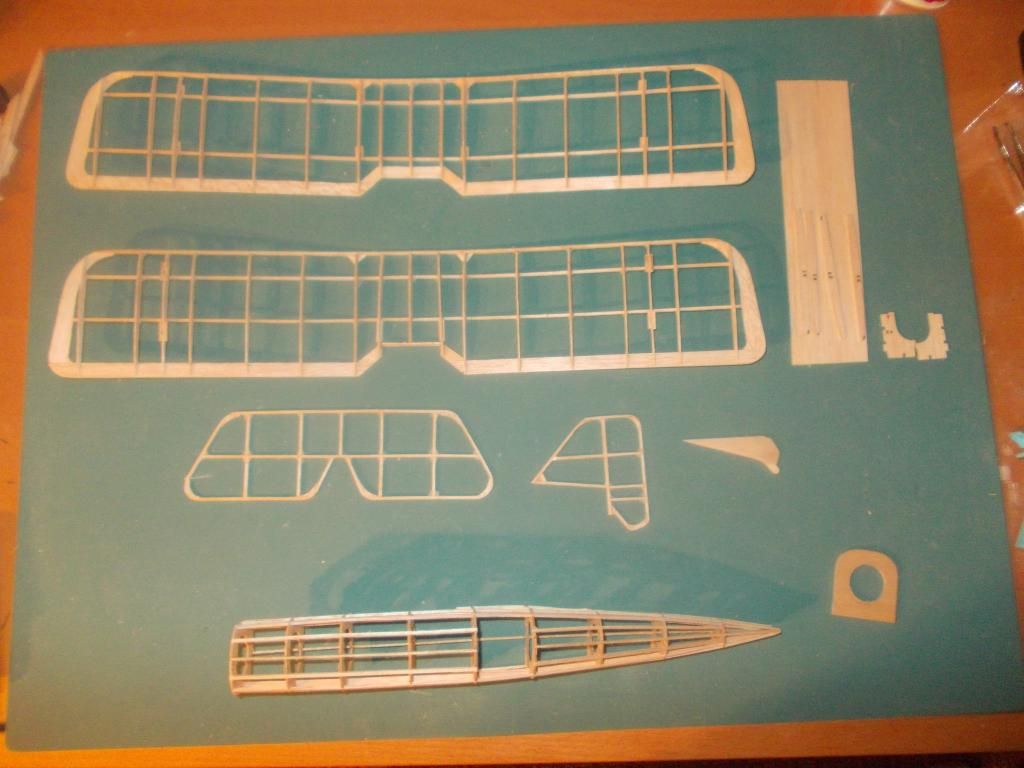
I have all the wing parts out. One H2 feel apart so I cut out a new one from the same sheet.

Some of the F2's and F3's are not perfect so I will glue on a piece of wood and re shape to the plans.

If I wanted to, I could buy new laser cut parts from DPC models. But I believe this 25 y/o wood has an advantage of being dried out, and very light! I plan to use as much of the parts that came in this kit.

I know my competition is going to be laser cut kits and hand cut kits... I found the model that won at WESTFAC IV, on line and it cost 150 dollars. I do not expect to win with this model, but I want to have FUN! The price on the box of my model was $3.00

I plan to inspect all the pieces and start building up the wings tomorrow.

Mitch
Mitch
 
Posts: 1347
Joined: Mon Aug 22, 2011 9:16 pm
Location: Kent, WA

Re: SE5 or SE5a, this one is heading to WESTFAC V!

Postby 42swing » Wed Nov 12, 2014 10:47 am

...plus there's just something cool about building an original kit. I too cut my teeth on the WWI series.
42swing
 
Posts: 33
Joined: Thu Oct 16, 2014 11:59 am
Location: Malvern, PA

Re: SE5 or SE5a, this one is heading to WESTFAC V!

Postby Mitch » Wed Nov 12, 2014 11:22 am

Thanks, I think so too. The wood seems quite good. I repaired 4 ribs and cut 1 new one that I broke. I also cut out a new E4 as the one in the kit had a pin hole in it.

I will use pins with pin clamps to assemble the wings, so I will NOT put any holes in the wood. The wood in these kits is very delicate.

Here is the math I did for this biplane. With 2 wings of 18 inch ws and 3.25 in cord that is 117 sq inches of wing area. Shooting for a wing load of .5 g / sq in. that would be 58.5 g AUW. So I am shooting for 45 g model weight with 30 % weight in rubber (13.5g) that would give me 58.5 and the magic number of .5 grams per square in of wing loading. (See why I picked the SE5a). Also the fact that this was the first Guillow kit that I attempted to fly... I am determined to see my SE5a finally take to the skies!

I plan to use a 7 inch prop from a 400 series. That is 38.8% of ws. My friends at FAC go up to 40%. The prop will clear the ground when the plane is at rest.

Cowl, prop assembly weighs 8g plus plastic wheels 9g that leaves only 28g for all the built up balsa of the model...I might have to remake the wheels from balsa...

Mitch

Back to the building board...
Mitch
 
Posts: 1347
Joined: Mon Aug 22, 2011 9:16 pm
Location: Kent, WA

Re: SE5 or SE5a, this one is heading to WESTFAC V!

Postby Mitch » Wed Nov 12, 2014 2:08 pm

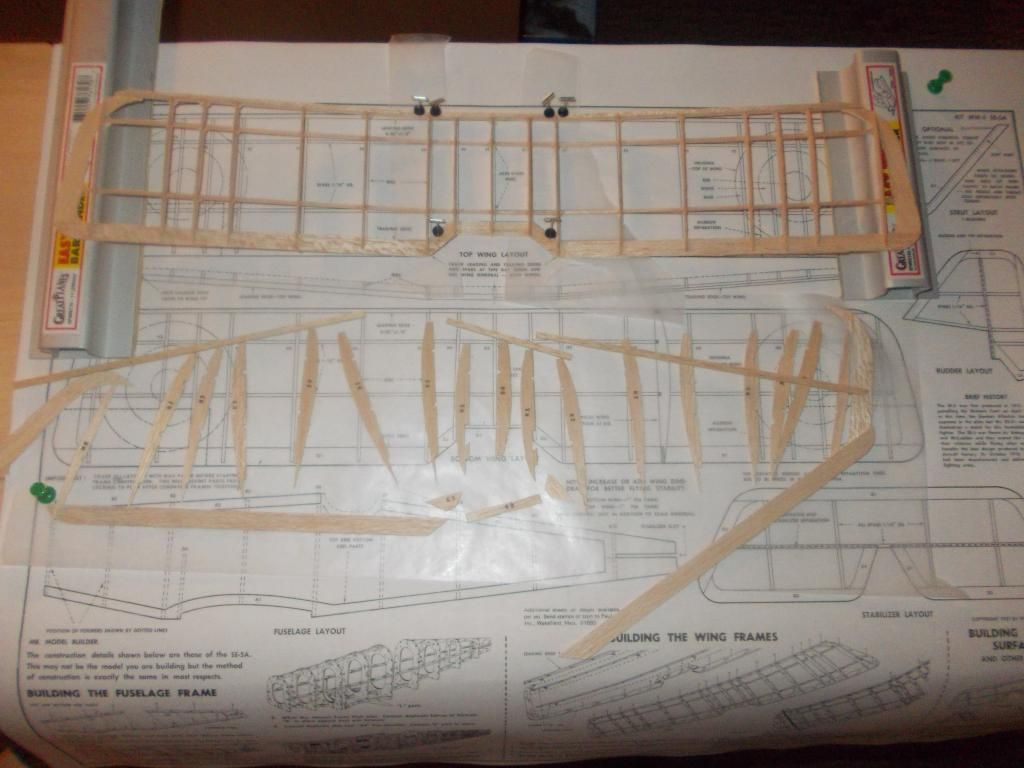
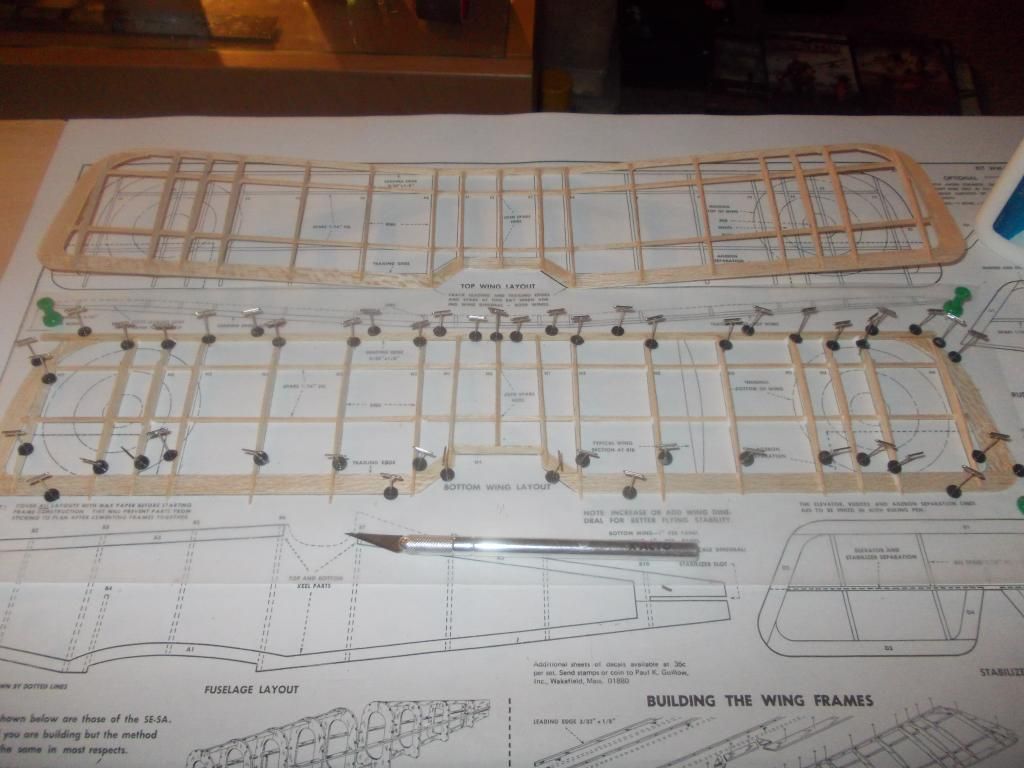
Well, I am not use to working with such small parts, but I am doing okay.

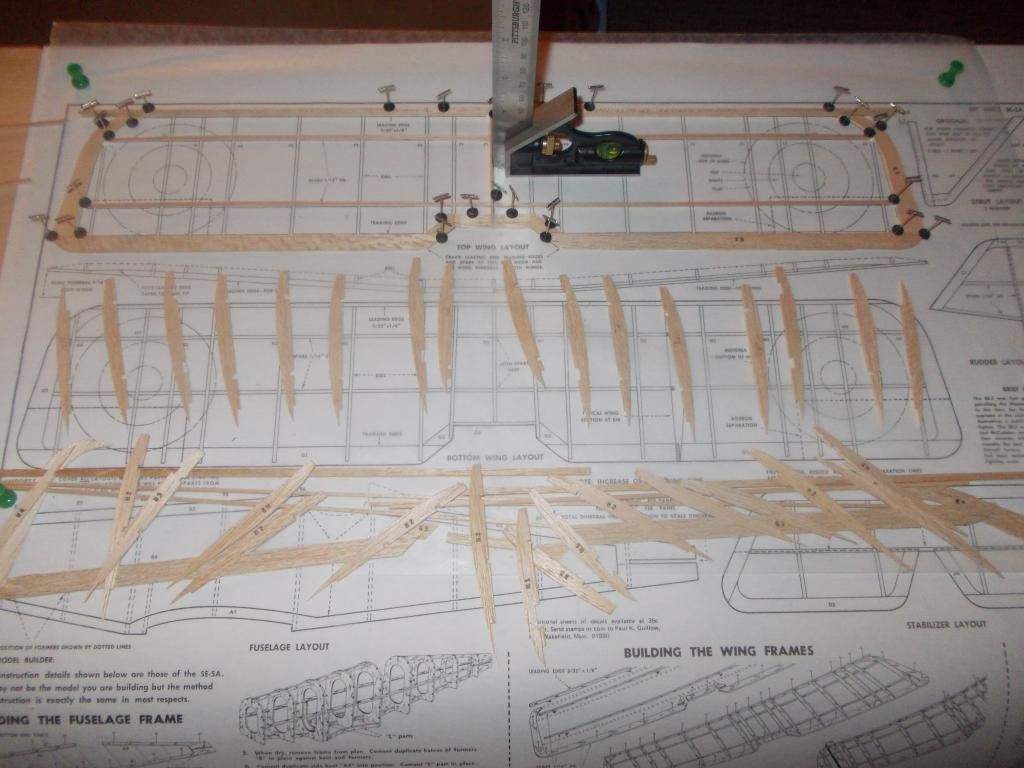
I think I can get all the parts on the board at the same time, and hopefully have them all glued up tonight:

Image
Top Wing coming together, I sanded the parts just a bit to remove most of the printing.

It says on plans OPTIONAL: for extra strength glue soft wire to landing gear for extra strength. (Material not in kit)
I think this is mandatory, and I came up with a different way to do it... More on that latter.

Mitch

PS Here is a video of the SE5a:
https://www.youtube.com/watch?v=SbWskc9vCyE
Mitch
 
Posts: 1347
Joined: Mon Aug 22, 2011 9:16 pm
Location: Kent, WA

Re: SE5 or SE5a, this one is heading to WESTFAC V!

Postby davidchoate » Thu Nov 13, 2014 12:58 am

Cool video. The real full scale plane looks like a model. Even when flying. Notice how thin the wings are?
davidchoate
 
Posts: 1263
Joined: Wed Aug 14, 2013 6:41 am
Location: PHiladelphia PA

Re: SE5 or SE5a, this one is heading to WESTFAC V!

Postby Mitch » Thu Nov 13, 2014 1:18 am

Yes, and mine will be the brown/orange paper that came with the kit. Under side of wings will be buff from my supply. I hope mine will fly.

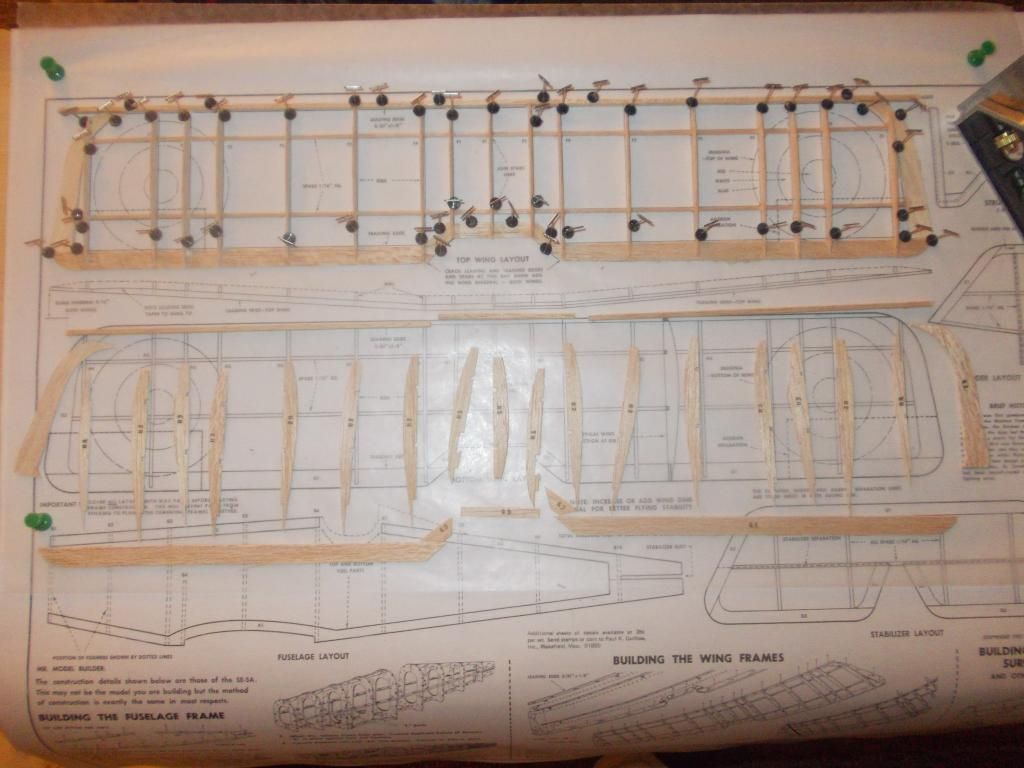
Not much today as other things came up, just finished gluing the top wing. That needs to dry before I can remove the pins.

Image

I made a mistake. The E2's were a bit long(wing tips). I should have sanded them down. I should have checked the fit, but glued up the frame in the AM, then came back and put the ribs in latter. There is a small gap at the TE where the rib touches. You can see a line on the plans where E1 should be (TE) there is about a 1/32 inch gap. I hope the glue joint will be good enough. I will not make the same mistake with the bottom wing.

Mitch

PS: I will need to add most of the flying wires for FAC rules. This is why the Fokker D7's dominate the contest, as they had no flying wires!
Mitch
 
Posts: 1347
Joined: Mon Aug 22, 2011 9:16 pm
Location: Kent, WA

Re: SE5 or SE5a, this one is heading to WESTFAC V!

Postby Mitch » Thu Nov 13, 2014 10:53 am

All this before breakfast:

All parts are out:
Image

Top Wing gets Flying Dihedral:
Image

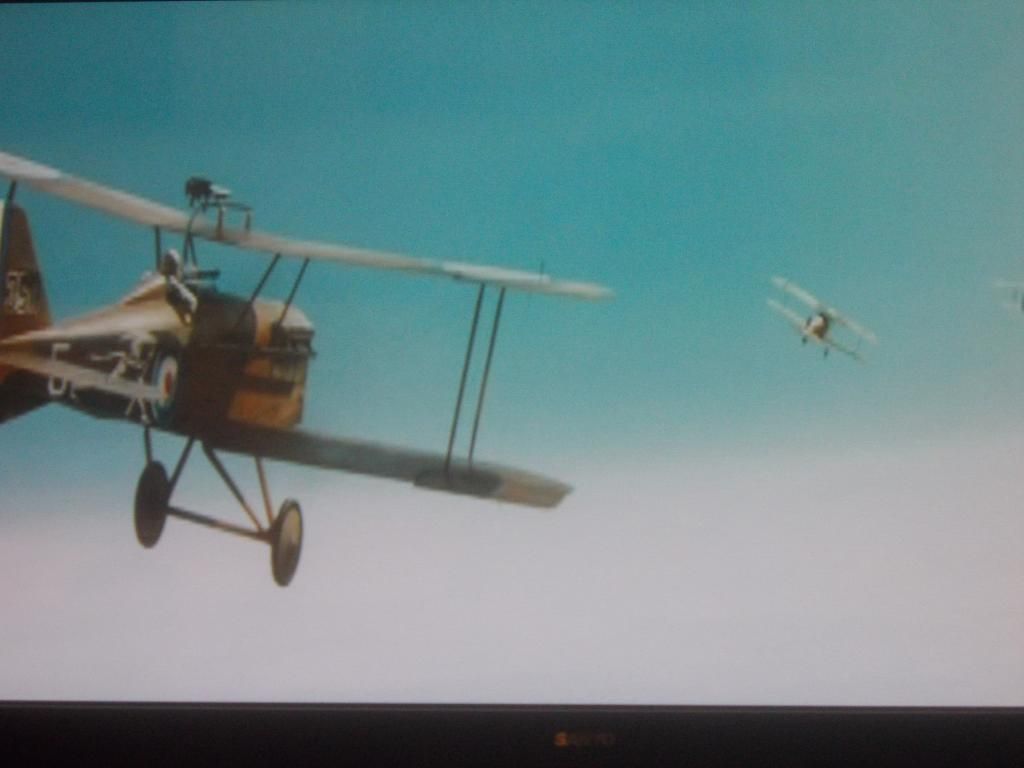
From the movie 'The Red Baron':
Image

I think I will add gussets to wing at dihedral 'break'

Mitch
Mitch
 
Posts: 1347
Joined: Mon Aug 22, 2011 9:16 pm
Location: Kent, WA

Re: SE5 or SE5a, this one is heading to WESTFAC V!

Postby Mitch » Thu Nov 13, 2014 8:31 pm

Top wing is done as per Guillows plans. One inch flying dihedral:
Image
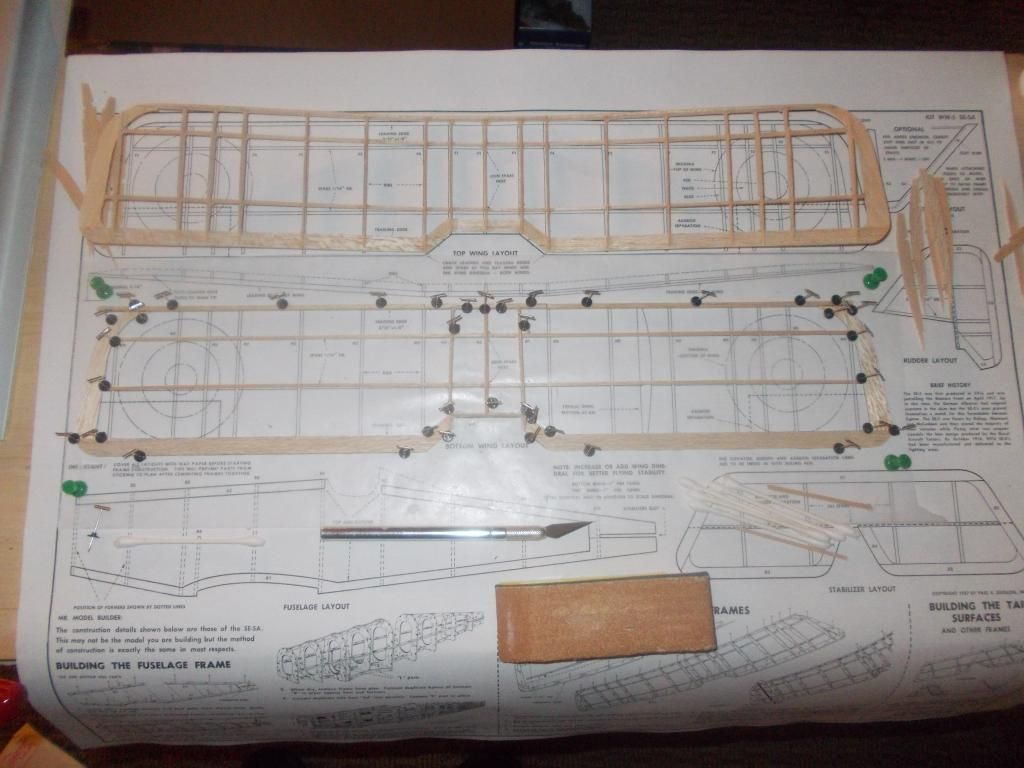
Bottom wing started... I sanded the parts and made sure parts are placed directly over lines on plan.

I plan to add gussets on both wings at the dihedral. There is not much support on this 100 series.

Top wing is sanded, it weighs 5 grams as is... needs gussets.

SE5a's coming out of the sun:
Image

Mitch
Mitch
 
Posts: 1347
Joined: Mon Aug 22, 2011 9:16 pm
Location: Kent, WA

Re: SE5 or SE5a, this one is heading to WESTFAC V!

Postby Mitch » Fri Nov 14, 2014 11:35 am

Morning of Day 3:

Bottom wing getting ribs:
Image

This should come off the board tonight and I will start on the fuselage. I used all the ribs as per the plans, but they were all sanded to the point to remove the printing.

Mitch

UPDATE: Added gussets to top wing (4 total)

While the bottom wing is on the board, decided to start working on the engine:

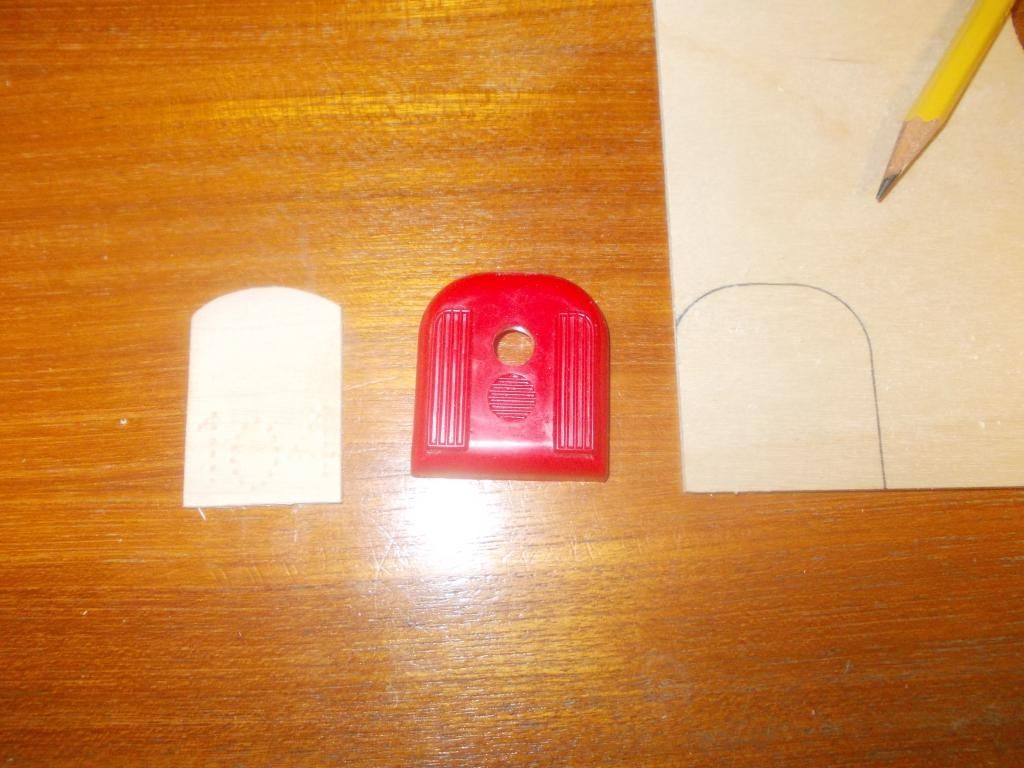
I plan to make the front end adjustable. However I can not use the plywood supplied as it is the wrong shape for my purpose. I will cut out a piece of 1/8th inch ply. I plan to have this just the right size so the plastic cowl will slip over it. The plywood will be glued to the model...

Here is the start:
Image

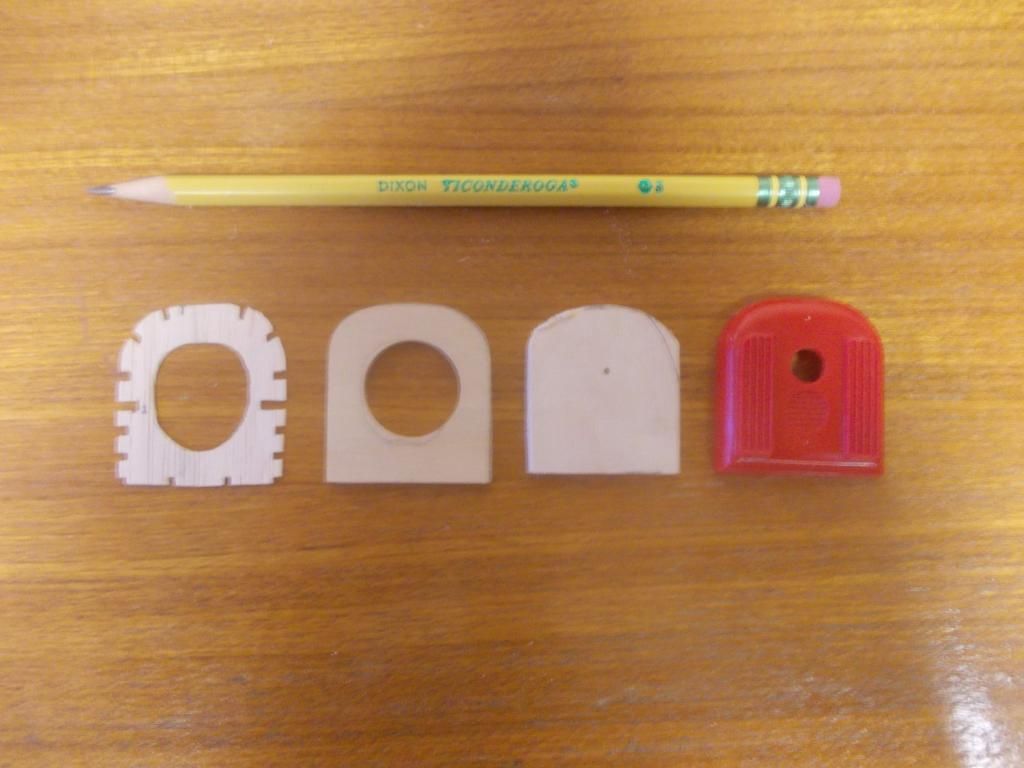
After a few minutes in the workshop I have this:
Image

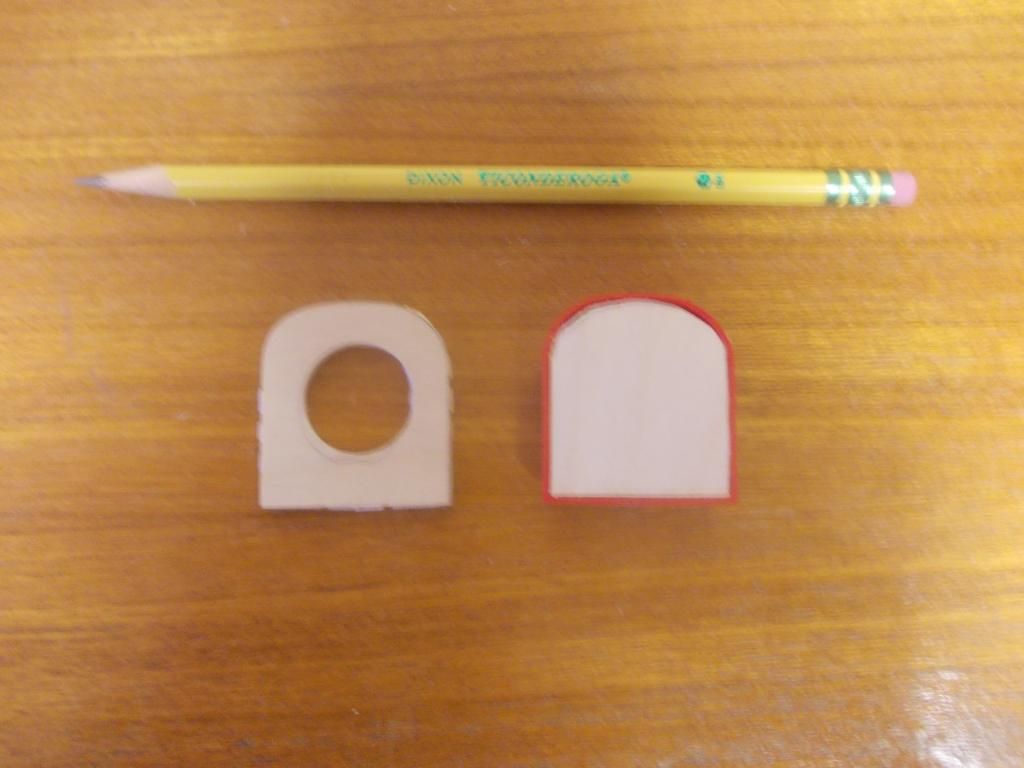
When assembled it will look like this:
Image
The plywood with the large hole will be glued to the model. The other plywood fits inside the cowl and will be glued in there...

Need to cut small hole in cowl plywood and add screws.

PS: In my workshop I have: 1 Bandsaw 2. Drill Press and 3. Belt/Disc sander. All these workshop tools come in handy when working with plywood.
Mitch
 
Posts: 1347
Joined: Mon Aug 22, 2011 9:16 pm
Location: Kent, WA

Re: SE5 or SE5a, this one is heading to WESTFAC V!

Postby Bill Gaylord » Sat Nov 15, 2014 4:23 pm

Nice find with plastic wrap and all. The pilot will look good in there. IMO the 100 series pilots are the best of all of them, and obviously versatile since they don't have set features such as masks with hands holding them on. Looking at the box, it appears to have the long exhaust pipes. I think the SE5 didn't have them. Some guys a week or so at RCG had a discussion about the small differences between the versions.
Bill Gaylord
 
Posts: 904
Joined: Sun Nov 09, 2008 1:29 pm
Location: Grove City PA

Re: SE5 or SE5a, this one is heading to WESTFAC V!

Postby Mitch » Sun Nov 16, 2014 10:56 am

I have never seen an SE5 or SE5a without long exhaust pipes. I have seen them with the prop in the high position (like Guillow's) or a bit lower. I think that is a difference in the a model as I believe the difference was the engine.

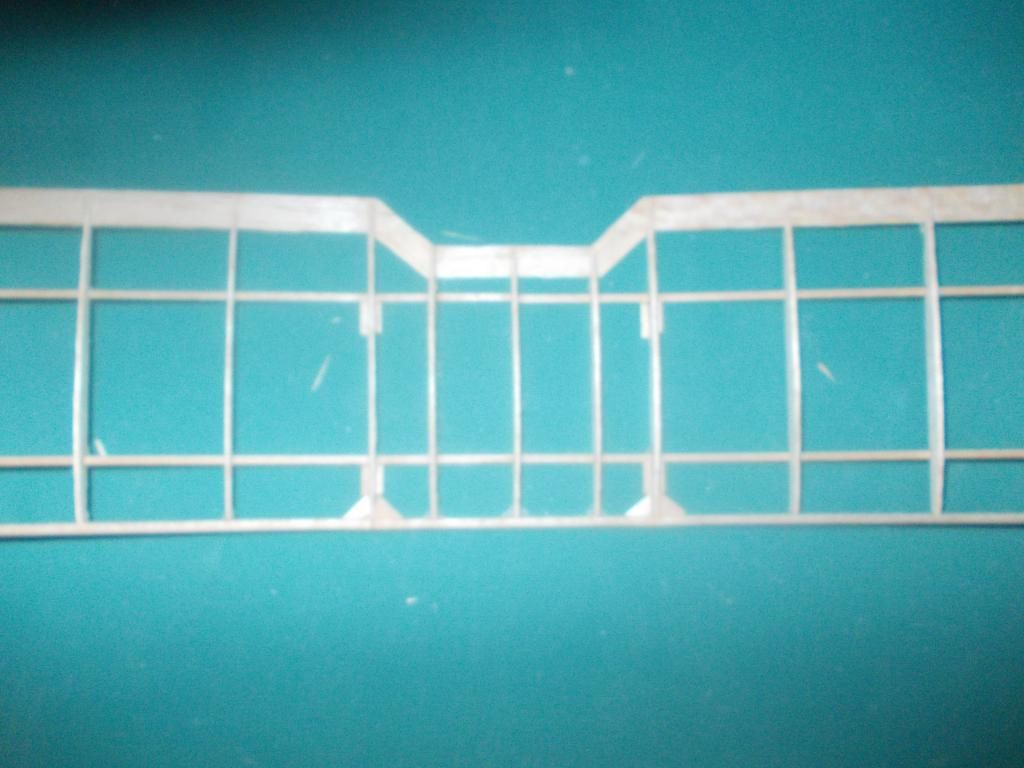
As for my engine I think I will go 1 piece of ply rather than 2. I do not want the front end to grow longer. The plywood that fits in the plastic cowl is a snug fit. I will glue that to the model and the cowl can be pulled off for winding.

Both wings are done with extra bracing. Wings weigh in at 11 grams for 2.

Image

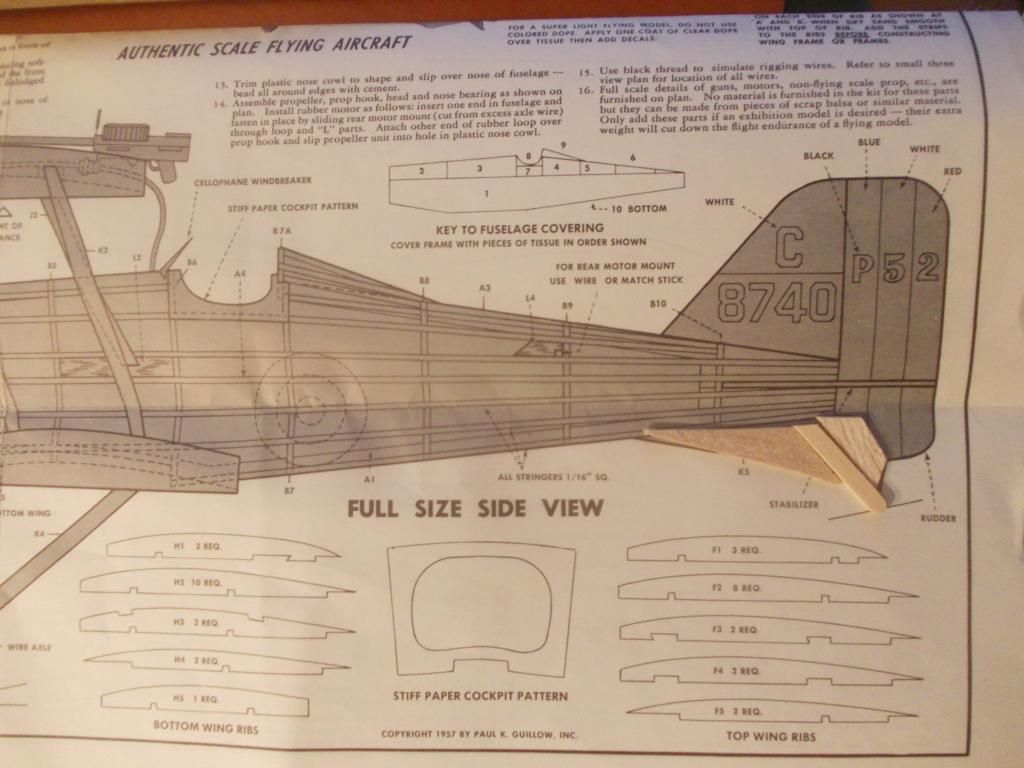
The tail skid broke coming off the sheet so this is my modification. I will use a coffee stick for the skid and just the kit part for the fwd part. I cut a new part (with grain of wood going in the long direction) for the after part.
Image
These will all be glued together and then covered on both sides with 1/64 sheet balsa (supplied in kit)

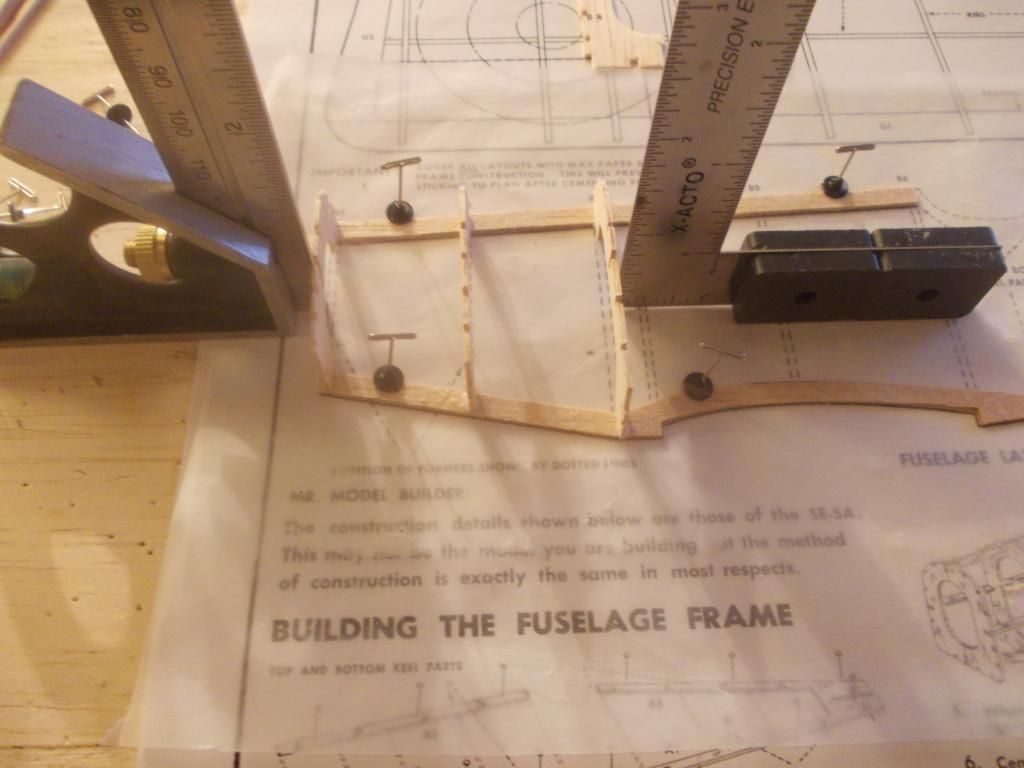
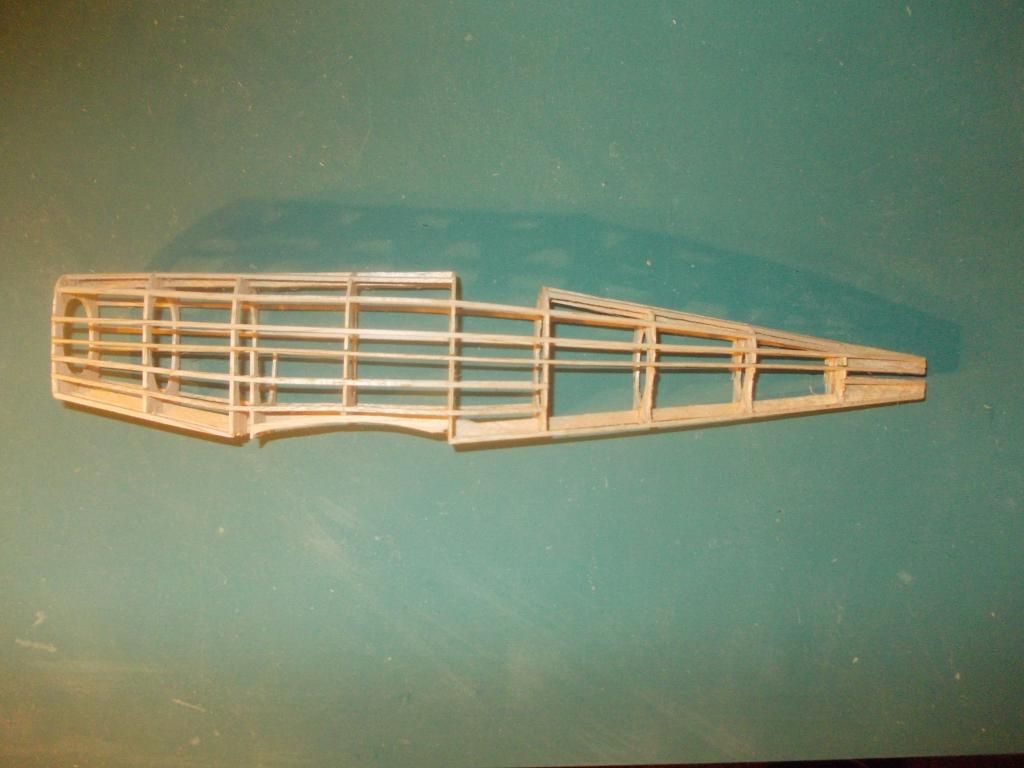
The fuselage half was glued up last night and is now off the board:
Image
It is now getting the second half of frames glued on.

In the above picture you can see I already set in the down thrust in frame B1. I am hoping this is close to what I need. I only plan on adding 1 adjustment screw for right thrust adjustment.

Mitch
Mitch
 
Posts: 1347
Joined: Mon Aug 22, 2011 9:16 pm
Location: Kent, WA

Re: SE5 or SE5a, this one is heading to WESTFAC V!

Postby Mitch » Tue Nov 18, 2014 1:22 pm

Okay... after 7 days I have most of the framework done:

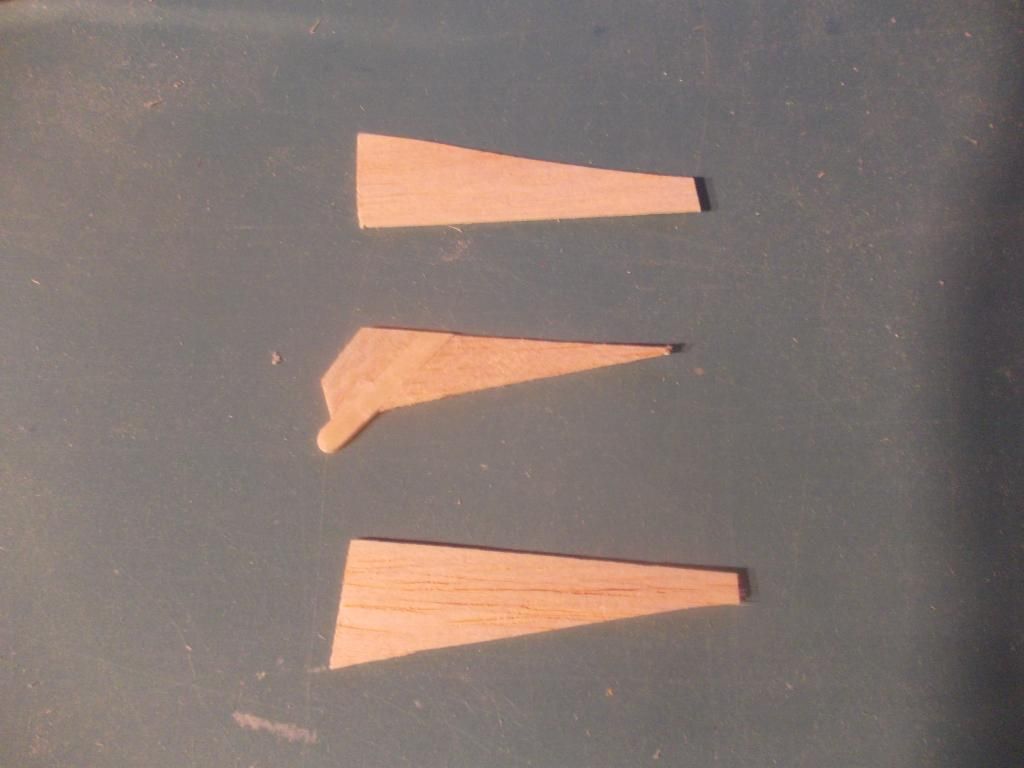
The tail was totally inadequate for a flying model. The skid is in line with the grain of the wood and broke coming out of the sheet. I made a new one using coffee stir sticks. Total of 6 parts. New skid is very strong and does not even register any weight on my scale:
Image
I laminated 2 sticks together for the skid. Used the K part for the forward part and cut a new piece for behind the skid. Then I used 1/64 sheet and covered both sides. After the glue set up trimmed and sanded structure. Tail skid is VERY strong and VERY light!

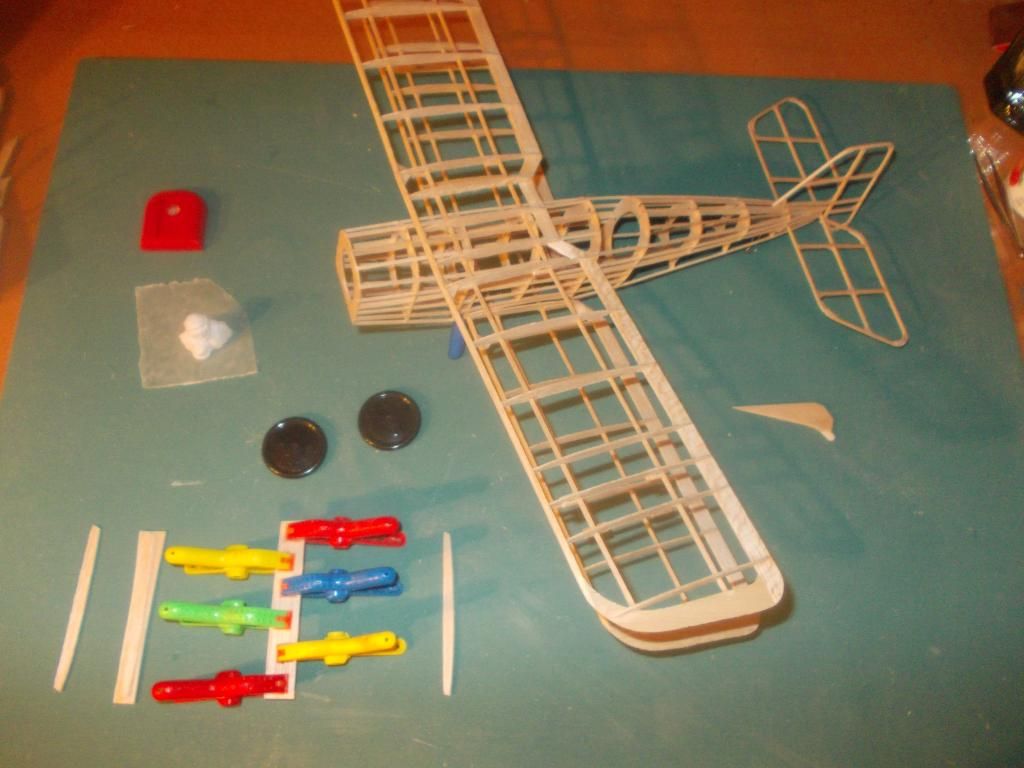
Here are all the parts so far:
Image
I weighed the C and D parts and they weighed 2 grams. I made my tail from only 1/16 stock and some gussets. The entire tail, Stabilizer, Rudder, AND tail skid all on the scale together do not even register 1 gram!

The fuselage needs a bit more work and I need to get some light music wire for the landing gear support (not supplied in kit) I do not want to use the stuff from the 400 series as that is too heavy.

Mitch
Mitch
 
Posts: 1347
Joined: Mon Aug 22, 2011 9:16 pm
Location: Kent, WA

Re: SE5 or SE5a, this one is heading to WESTFAC V!

Postby Mitch » Wed Nov 19, 2014 5:21 pm

Day 8:

Parts getting fit check. I am laminating the K parts (struts) and then can shape the parts nicer. They do not weigh much more but are much stronger with a nice glue joint between the 2 parts of balsa.

Image

The framework weighs 18 grams at this point.

I deleted 6 of the longrons in the after part of the fuselage. I believe these are not needed as my rear peg will move forward and be just behind the cockpit. I also scalloped the frames, and believe I saved 2 grams. More since I will not need ballast for that!

Image

I also removed some wood from inside the frames to get more room for MORE rubber!

Mitch
Mitch
 
Posts: 1347
Joined: Mon Aug 22, 2011 9:16 pm
Location: Kent, WA

Next

Return to General Building Questions

Who is online

Users browsing this forum: No registered users and 3 guests